ahsoka hilts genuinely ready for curving!
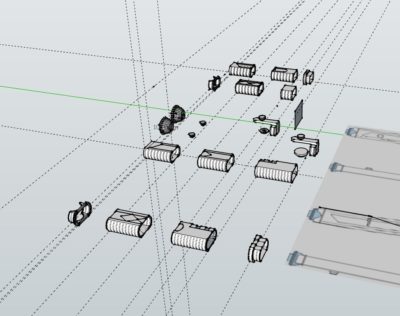
There’s an extension for that. A reminder of all the pieces I had made.
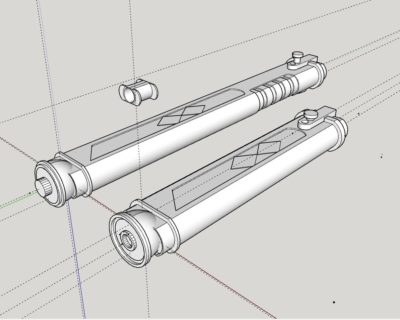
And now totally new model with 16 pieces (well will be when I make the blace support for the smaller hilt.
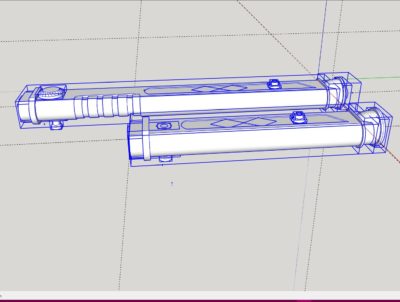
So pretty. And to show they are indeed separate pieces!
Next I am going to use the Bender extenion as that’s what I used for vetress. I’ll have to make sure the ends are definitely straight so they do not affect the greeblies.
I am so happy with these I can’t say how much 🙂 I wish I’d rememered all the extensions I’d used as there are a few very handy one. I hope the threading ext. works. It is going to help me hold the saber in place.
See those long pieces at the end? They are l shaped braces to hold the end cap in place. The screw has been made to go all the way through the model into the corresponding button and counter sunk button respectively in the long and shot sabers.
I think i have a light source sorted. It’s a but spendy but actually within budget so I may hit the “buy now” button on the torch and batteries and charger.
I just need to figure out how to rewire a torch intended to be used with an aluminium body that acts as part of the circuit. I think.
But I wired up my mini hilt last time so…. Also- I can print a battery holder- I have seen some on thingy verse so I think I can use then to help make one that will fit in this. I’ve also figures a way to help strenthen a few weak points in my hilt 🙂
Very next things to do:
Add a tiny stop to the screws. mothers to the button and counter sunk piece.
Get my curves! Get them to full length including straight ends. These are done as lines outside of a group- so I will need to group my components, then make a curve then fingers crossed!
then slice (and I have a tool for that now 🙂


