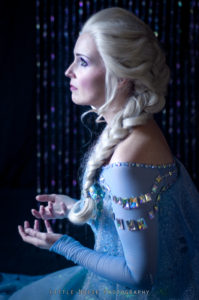
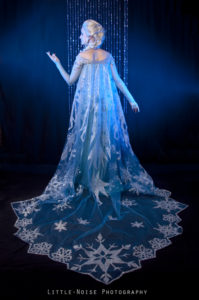
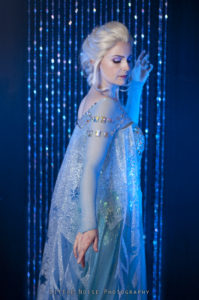
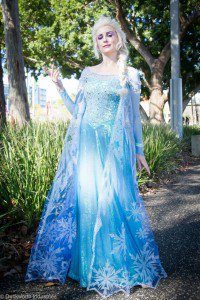
(All studio photos created and edited by by Sylvie Kirkman of Little Noise Photography, please do not redistribute without her permission)
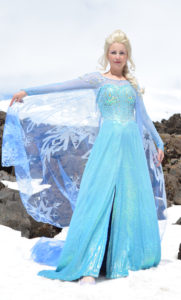
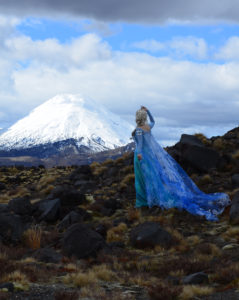
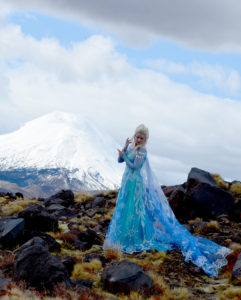
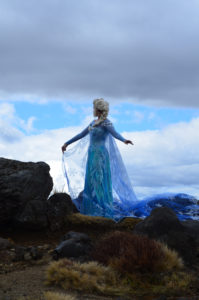
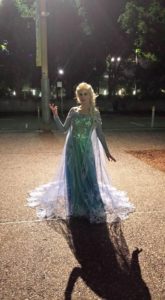
All location photos at Whakapapa Ski Field, on Mt Ruapehu, Tongariro National Park, New Zealand.
(Photo by Duckworth Industries)
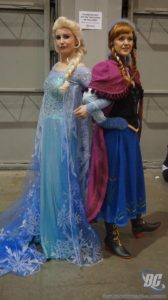
(Photos by Beyond Cosplay Photography, with Starfirephoenix as Anna)
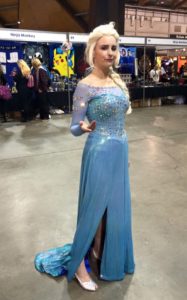
(Photo by Martin Studer)
(photo by Alison Humphrey)
Materials:
7 yards crystal diamond tulle, white- Spotlight
5 yards white glitter snow tulle- Spotlight (also known as spider tulle)
6 yards HeatnBond lite- therm.o.web
164 yard spool polyester machine thread- Mettler metrosene plus (col. 0790)- may be known as Seralon
blue iDye poly- Jacquard
Several sheets of A3 paper with printed snowflake and flurry patterns.
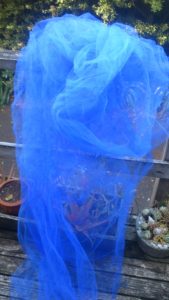
Unfortunately the fabric I most wanted for my cape was not available in a warm blue so I had to dye it to match. This is not as easy as it may appear as the tulle becomes very crinkled when boiled and so it took many attempts to iron it flat. Even ironed flat and rolled up it managed to crease! When worn however it springs and floats just like in the film so was worth the days of pressing required!
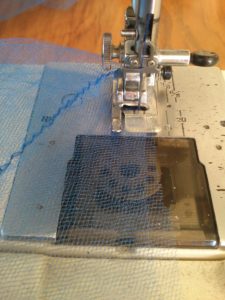
However the colour worked beautifully and created dark lines where there fabric overlayed itself and was almost invisible straight through. I assembled the gored sections using a narrow short zig zag stitch that pressed and stretched with the tulle.
The next step was to create the ice patterns. These are supposed to be super sheer but quite coarse, so I wound up using a spider tulle/snow tulle as the net backing is practically invisible and quite open, the woven thread creating the fine white crazy lines stands out with even greater space between the patterns. The fine sprinkling of glitter adds to the delicate frost effect.
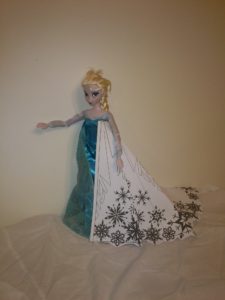
I had to of course create the patterns as graphics files in order to be able to test the scale and proportions right for my height. I used my own Elsa doll as a scale stand in (she’s the height of a fashion doll so fairly easy to scale to!)
In order to get the pattern on to the tulle I had to test a few methods. Eventually I chose Heatnbond Lite as it is durable enough to stick two crisp polyester fabrics together but did not leave residue on the back. This requires double pressing- the first to bond the two layers, the second to dissolve the excess adhesive exposed in the open cells of the tulle.
To this end I recommend a ceramic bottom iron and a full table top covered in wool and cotton to create a large ironing surface.
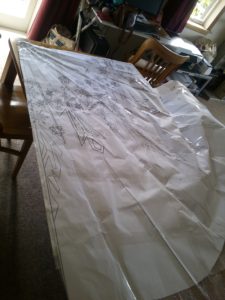
The actual pattern of the flurry and flakes were designed in photoshop to full size and printed at full size- the flurry as a tiled pattern, each flake on a separate A3 page.
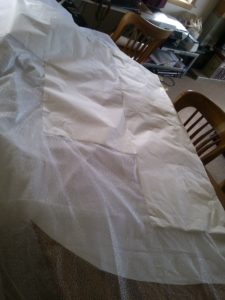
I then ironed the Heatnbond to the snow tulle and pinned or contact sprayed the patterns to the backing:
And starting cutting with dedicated sheers, rotary cutter and fine embroidery scissors.
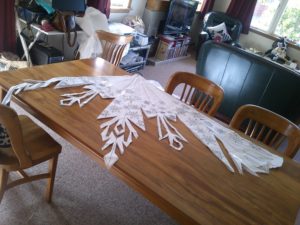
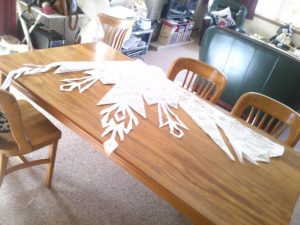
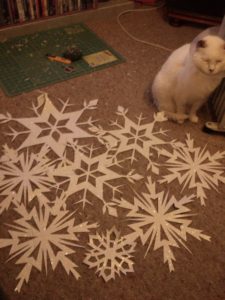
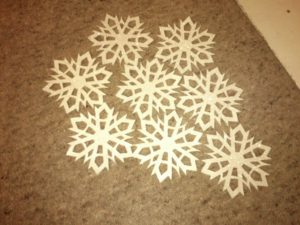
Then of course each cut away flake in the flurry and each large snowflake in the hem. There are more than 64 flakes at the hem!
The tulle was extremely delicate, the heatnbond like a fine plastic film, the backing of the film was waxy and much heavier than the glue and tulle combined, and then the paper with the snowflakes was thicker and less weildy yet!
Trying to remove each flake from the backing required extremely careful planning as it was very easy to tear the flake rather than just remove the paper.
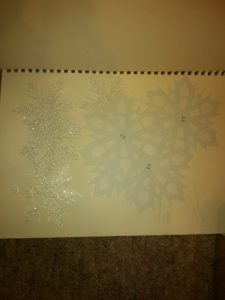
I also had to remove the backing in batches. So the flakes were stored in a large sketchbook to keep them flat and in correct position between each pressing.
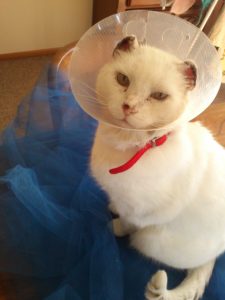
My cape is very delicate and so I only wear it for special occasions. This was also my last major project I got to spend with my darling kitty.
