ahsoka greeblies!

#ahsokalives hilts with nearly all the little buttons. I also cleaned out the inside of each piece, tidying up guidelines or removing interior lines and planes.

So to make the D ring holder actually fit I have to be very careful about the curves. I see they sort of curve there in the line art but it is a bit much to try to do right now. Also I need to make the emmitter and make sure that fits in the end of the sabers. They are different to each other too.

I need to rest my ribs again. It’s also quite cold so a bit of warmth from the blanket will be good too 🙂

That’ll do

It would be so nice if there was a super easy way to scale in SKU! It really should be as simple as selecting all, choosing scale and typing in the measurement- but there is a trick to clicking and unclicking and holding the mouse while typing(?) and so I am amazed I managed it. But scaling up by 1000% means I can do half mm in my print.

It is essentially an architectural tool so I get why it is much more sensible to have started at this size. Anyway.

Not bad for a single day where I had a big rest in the middle! My ribs are still sore, and my muscles in my forearms are sore (the shortened bones in my hand mean the tendons and muscles are overworked all the way to my elbows.)

So there are little greeblie details to add but I genuinely have to stop typing in 3,2,….

Ahsoka hilt snag

I’ve been using the @starwarsrebels supplied concept images of Ahsoka and found I’m only a tiny bit shorter than her, which sort of balances out if I wear orthotics in the boots, which is sensible, and can potentially just pad a little more between me and the headpiece.

(edit, this was supposed to be posted before my last post but well.. I mistake the “add tags” and “publish” buttons!)

So I decided I will scale to the appropriate height of her vs me as it won’t be so far off as to look like I’m carrying oversized versions.

But I want to eventually put a blade in. But even with a little rounding up to account for the blurring of the lines when scaled I wind up with a 20mm thickness. My Shaak Ti and Talon blades are 20mm. I find it mimics the OT and SWR style well while the 25mm (1″) blades often used really mimic the prequels and TCW.

What this means is I would want at least 24mm thickness. This is because there is an inset piece that should be at least 1mm. That gives me 1mm thickness around the blade- a bit close but my ventress hilts are that thin in places. And I could also cut a piece of the same acrylic tubing to support vertically on the belts. Or I could just accept that I can’t have both? Though I did just scale the fronts to match as if I was going for 22mm thickness and that is not so bad. So maybe I could do that.

This has a 3mm thickness and is at the to scale size. Now to see what I can do with a 2mm thickness.

Ahsoka progress means sketchup progress

I totally forgot how to do all of this so what should have taken a half hour took a few. But I did finally settle on scale. I enlarged 10% on the face and 20% on the side. It really was the only way to keep length and minimise thickness disruption. Now I need to remeasure and work on the weird grip.

Okay I forgot to publish so here is where I am now!

Next is to figure out the size of the diamonds to add them in and also make the emitter. But I forgot to have lunch and also my ribs are so sore I have to have a lie down.

Today’s plans

There is a mix of street works and digging of property happening so my head is a little unhappy. But I have Maleficent, Elsa, Elissa and Ahsoka to choose from. Or Mina.

Maley and Ahsoka are in the workroom, both are safe in terms of tools and materials so technically I could make use of the patchy sun for Ahsoka.

Maley is at the stage I need to possibly use my dremmel to kick back some of the plastic support as I think I need to scoop out and move some clay from near the base- I think that is what is making my horns curve too much.

Mina needs her bodice internal support tested. The form she was made on now obviously won’t fit as I have padding inside. Also very nervous about my ribs. This bodice is built like a corset. With hip gores and everything. Still I need to try it on.

Elissa would be sitting on the floor sewing the last few jewels then basting the skirt to ruffles. Much as I really need that skirt support for the Wishing Dress and for The Mina I think I should keep it just for Elissa.

Oh speaking of which. I decided to test my voice. And it really is true- somehow trained singers can sing better with a chesty cough than normally. I am not sure how but I found my voice sitting really well. So well my pitch was more stable than it has been in the past. So my pitchy pals- you can do it- take teachers advice but also sing for yourself and enjoy it as much as possible, record yourself and play back just to yourself to get used to how your voice sounds outside and love it at every stage. Love your voice, only you sound like you. Also often it really is less about not being on note but about support and placement. It really is.  And of course that relies on stable core support so when that slips the note slips. It may take time but that muscle memory will lay down. I wish I’d really understood that as a teen.

I was in a group recording (not sure what) and I heard myself. I was asked how I could in amongst all those voices- it’s because I have listened to my voice on tape day after day for years. And so I know what it sounds like even in a mix. Also I tend to be able to pick up the training-my vibrato and when it turns to bleating. Funnily enough it actually works really well when I place my voice higher I sound like a few musical theatre singers when I do that. Still too nervous to ever pull that in an audition. Though I did once at my perf. arts. school. Did well. Hmmmmmmmmmmmm..

Maybe I just need to embrace the twee?

But I also had trouble because all the mics I have blow out no matter how far from them I am. Had luck placing my hand over but not touching my phone. Protected the mic. Unfortunately in that recording I did miss a note so I’m just going to remember what I did then see if I can get something out there.

ahsoka- step forward step back!

I have to redo all the leather parts. It’s okay though I have heavier grade russet and found the line art I did so phew! I just am not totally sure how easy this thickness will be to form but it’s kind of my only option atm!

The montral working though is huge. The shape of the molds mean I can’t in fact get inside the molds to brush or spray so I have to cast each half and then trim, then join. But now that I have a good stash of blades and know the limits of the latex and timing I will be able to at least make a test cast building on the technique.

The tunic and sleeves have taken colour, not quite enough and slightly uneven thanks to the dye settling in the bottle but hey. I should be able to wash properly. Just need to overlock some loose ends.

think things are sorted…

Only photos so far are of Ahsoka sitting nicely on my head next step it to decide if I want to make that rigid section permanent and how much shaped padding to put in. But having the support in place now means that I can actyally make that shaping 🙂

A post on different SFX techniques is needed I think..

But I found an older Mina bodice lining and I think I prefer it! Not as it is but umm.. I can put hip gores in just like with a set of stays so why wouldn’t that work???

And I also got ABS juice in my Leia molds! IT WORKS!!!! So far the back hip has been mostly cast and it is so light. A bit too light, I think the surface had enough dust that it got mixed in. That said this is definitely going to let me scan them to get them digitised 🙂 Now I just need to hunt down the missing collar piece. Very frustrating to have that missing.


And yes, the prednisode is making me feel freaking AMAZING right now. But it can only be temporary because of how it works. So much misinformation, I really want to do a post full of real research that shows what we actually experience.

whoops, fell into a research rabbit warren

In order to figure out history of the gown I wound up with dozens of reference notes about the production of garments and how there are multiple copies and why.

I still haven’t found the specific references I want (all secondary atm) but enough to feel confident in several statements made.

But there are some conflicting descriptions of materials, I have my suspicions about why so will also have to discuss those.

So yeah. I can now start the day and do things.


But I also will have my abs juice ready to go today and the latex work of yesterday will hopefully pay off today. Unless it didn’t adhere in what case I get to strip the base back and redo it. IsoPro does work but it is a PITA to time correctly. The latex needs to be clean and dry for the next layer of latex. But with a very damp climate there is a fine layer of moisture on anything outdoors- or in a room without insulation.


What else… Oh yes. I need to bleach my sateen panels for my 1870s gored stays. I worked out what I need vs the original pattern styles so will also see if I can make one in red sateen finally. I have tried to do this in the past and somehow wound up with stays too short.

What I need from stays is less about squish as it is about reducing stress on ribs. My current pain is a very good reminder! My ribs are very long, there is barely two fingerwidths distance at the side of my waist between ribs and pelvis. So this means if I want a wasp waist I either deal with ribs being heavily squished or I make it nip in only at that narrow point. Or I can avoid too much restriction and taper the stays to the waist then flare out over the hip.

This last one is what I find gives a shape that is both acceptable to a modern eye as well as historic. If I nip in only at the waisy it tends to make everything else seem disproportionate rather than drawing the line in.

So today will be spent cutting fabric and bleaching to have a summer and winter variation. There may even be enough silk satin left over, though that feels a bit extravagant!


sewing day

I wound up breaking out the overlocker all day instead of working on horns. Which was probably wise. The rain is still leaving everything damp so curing would be risky.

So I zipped around the edges of my Worth sunburst skirt (the satin is so perfectly buttery that it was just nice to do!) and used the drafted bodice pattern from the 1876 tool to trace a new pattern for my new Phantom wedding dress bodice. I did use the vintage organza after all so that leaves some of the crepe for a potential Moulin Rouge dress. If I ever find a trim that works!

So that was tracing and transferring the pattern to a layer of twill, a layer of calico, and a layer of organza then overlocking all the edges tidy.

And then finally I cut the trim for my Cleves sleeves having removed the colour from the silk. And that leaves some softer trim for the undersleeves.


And finally, my last cast from my Ahsoka molds finally worked!

ahsoka progress

I was very worried as my latex thickener took a while to arrive and my molds wound up soaking too long. But it’s all good 🙂 But the latex I had was certainly bad. Not so bad that it couldn’t be rescued but rescuing requires a lot of work 🙂

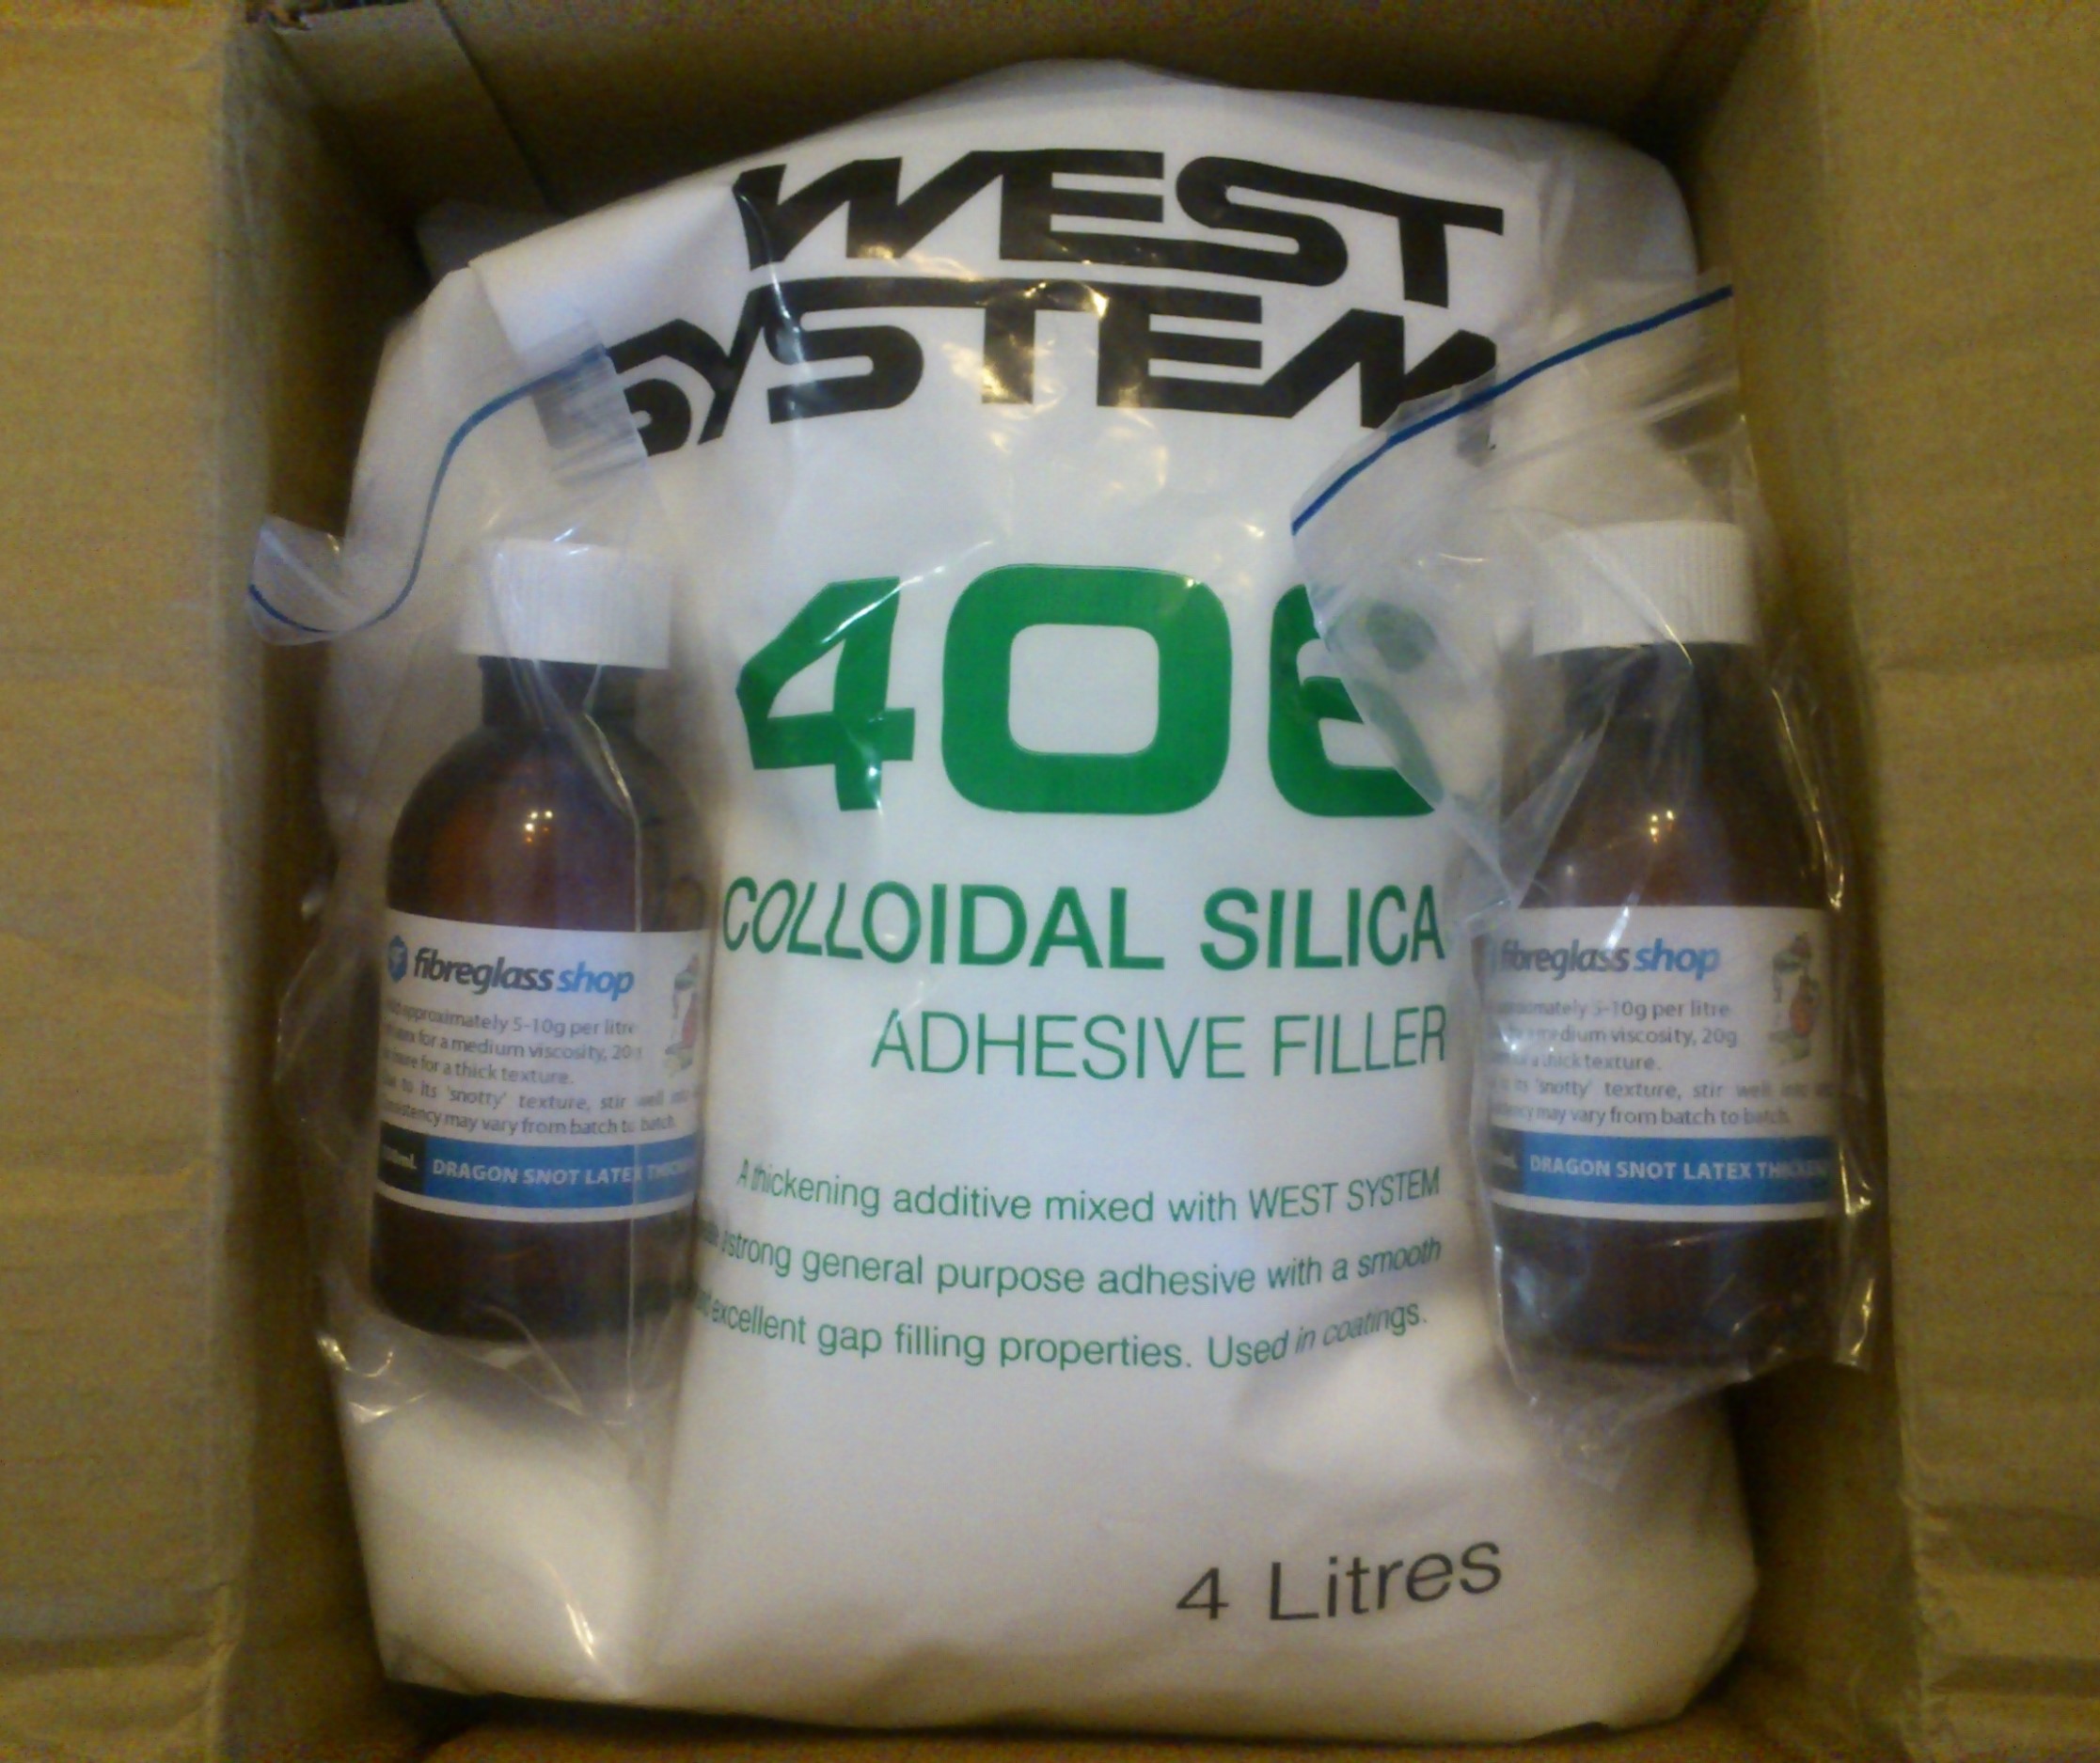
Thickener and coloidal silica 🙂 I probably should have grabbed microballoons, explained later 🙂

I used up as much of my latex as I could- two bottles of thickener will turn 2.5L of latex into a very thick consistancy, but it does still run, not immediately but over a few hours.

What have I done here you may ask. Well here is the answer 🙂

Self supporting latex

In order to have self supporting horns but an adjustable thickness tentacle latex layer I first lay up a thick layer of the thickened latex (for this also with some added silica to limit warping) then  a layer of peeled foam in 5mm or 10mm thicknesses soaked in a latex and water mix. I push the foam into the latex just enough to adhere but leave a layer of just latex to create a skin to the foam.

This is tricky! If the environment is too warm the latex well turn tacky while working with it causing deformities. This has been my fifth run and it’s the first time this hasn’t happened because it was much cooler yesterday than any other day this summer.

The peeled foam is very soft, very soft and not at all self supporting alone. In fact its use is to pad and create a soft layer.

But once soaked in latex and left to cure it becomes fairly rigid. The cells become rigid but the air pockets remain.

The foam also tends to not pull away from the walls of the mold while the latex is curing. This makes it much easier to be able to control warping of large pieces like this. It also reduces weight and can be stitched then glued/latexed to hide the join. It is also possible to pare back the foam with a knife to thin it out for the tentacles.

This is sort of a reverse industry standard method of skinning foam for creature effects. Having a mold means I control the skin texture a lot more but means working a bit blind in terms of being able to know exactly how thick that skin is.

This standard method is how I make my lekku in general. And as I work to finish this piece I’ll be able to share tips on how to do that- it still requires skill to avoid limiting stretch of the foam and adding  weight! I also want to update my Rachi Lekku and Talon lekku 🙂