ouchies but progressing
I’ve started to tidy and compiled my past website builds as some of them were really fun 🙂 And as they were all hand coded in an era of tiny data storage and bandwidth they are remarkably suited to the hand held era.
I am though experiencing a lot of inflammation in my hands which is not surprising but it means I need to take breaks and meds that feel like overkill. It’s just my hands, it’s a small area of the body. But they are used for everything I do so it is worth resting more than less.
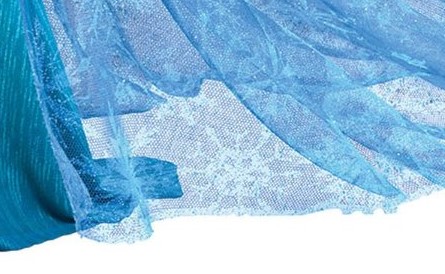
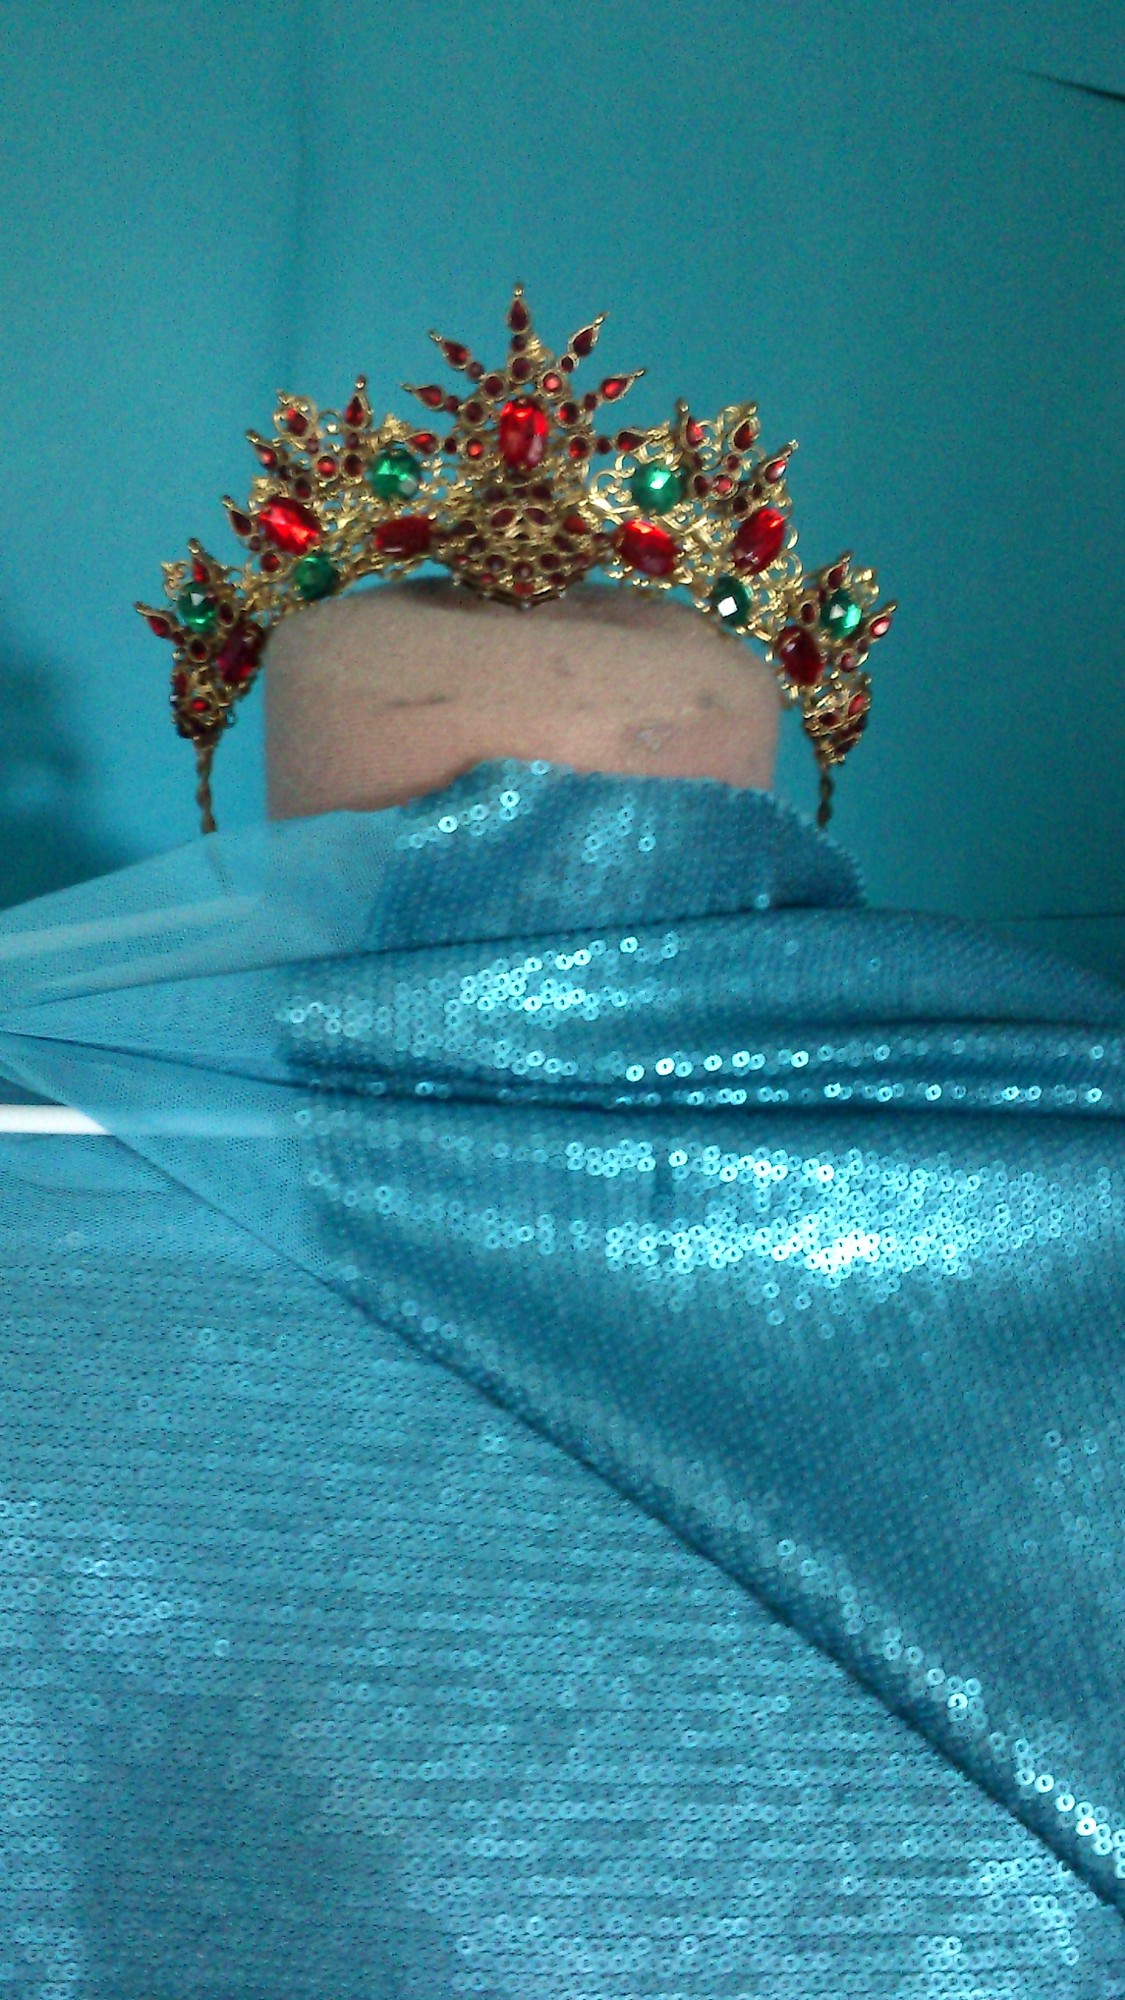
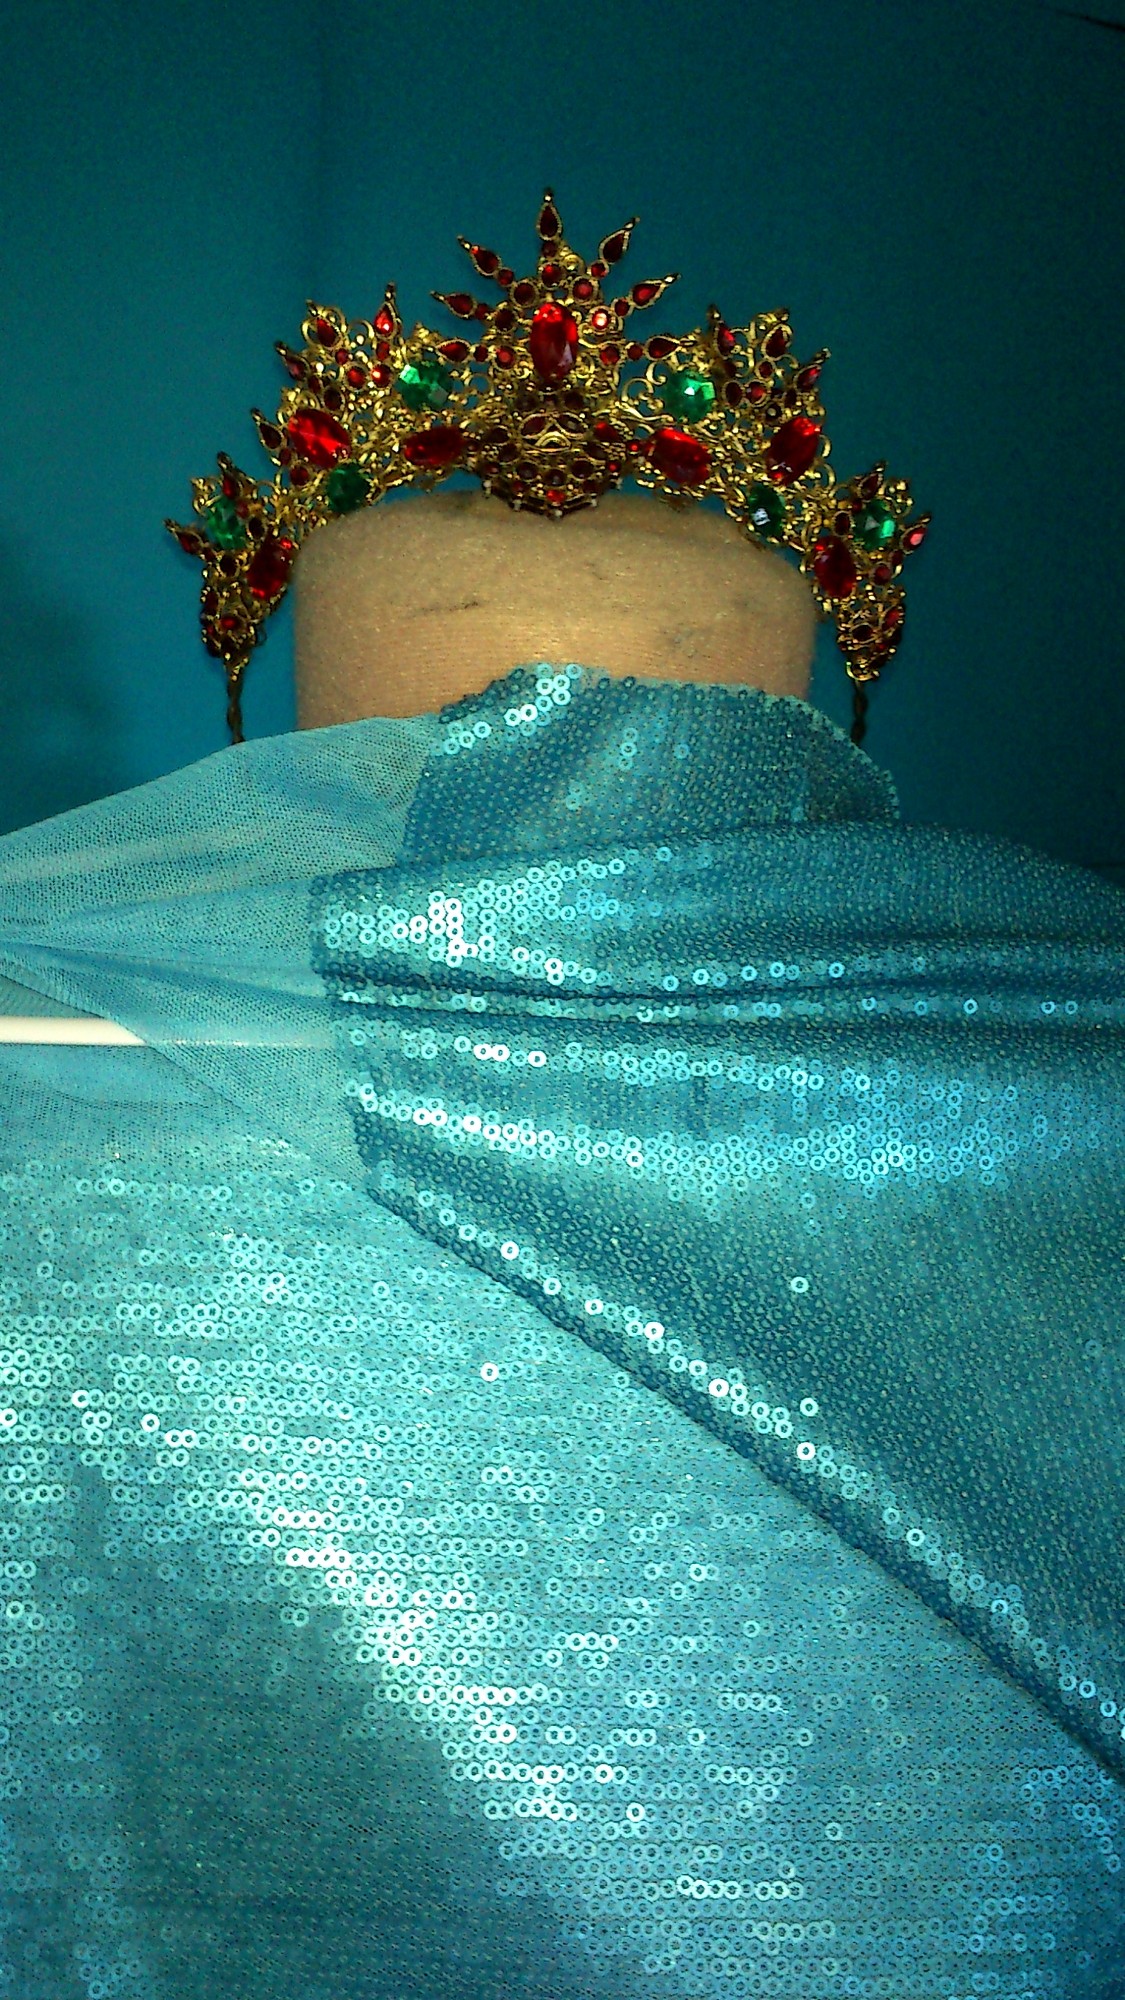
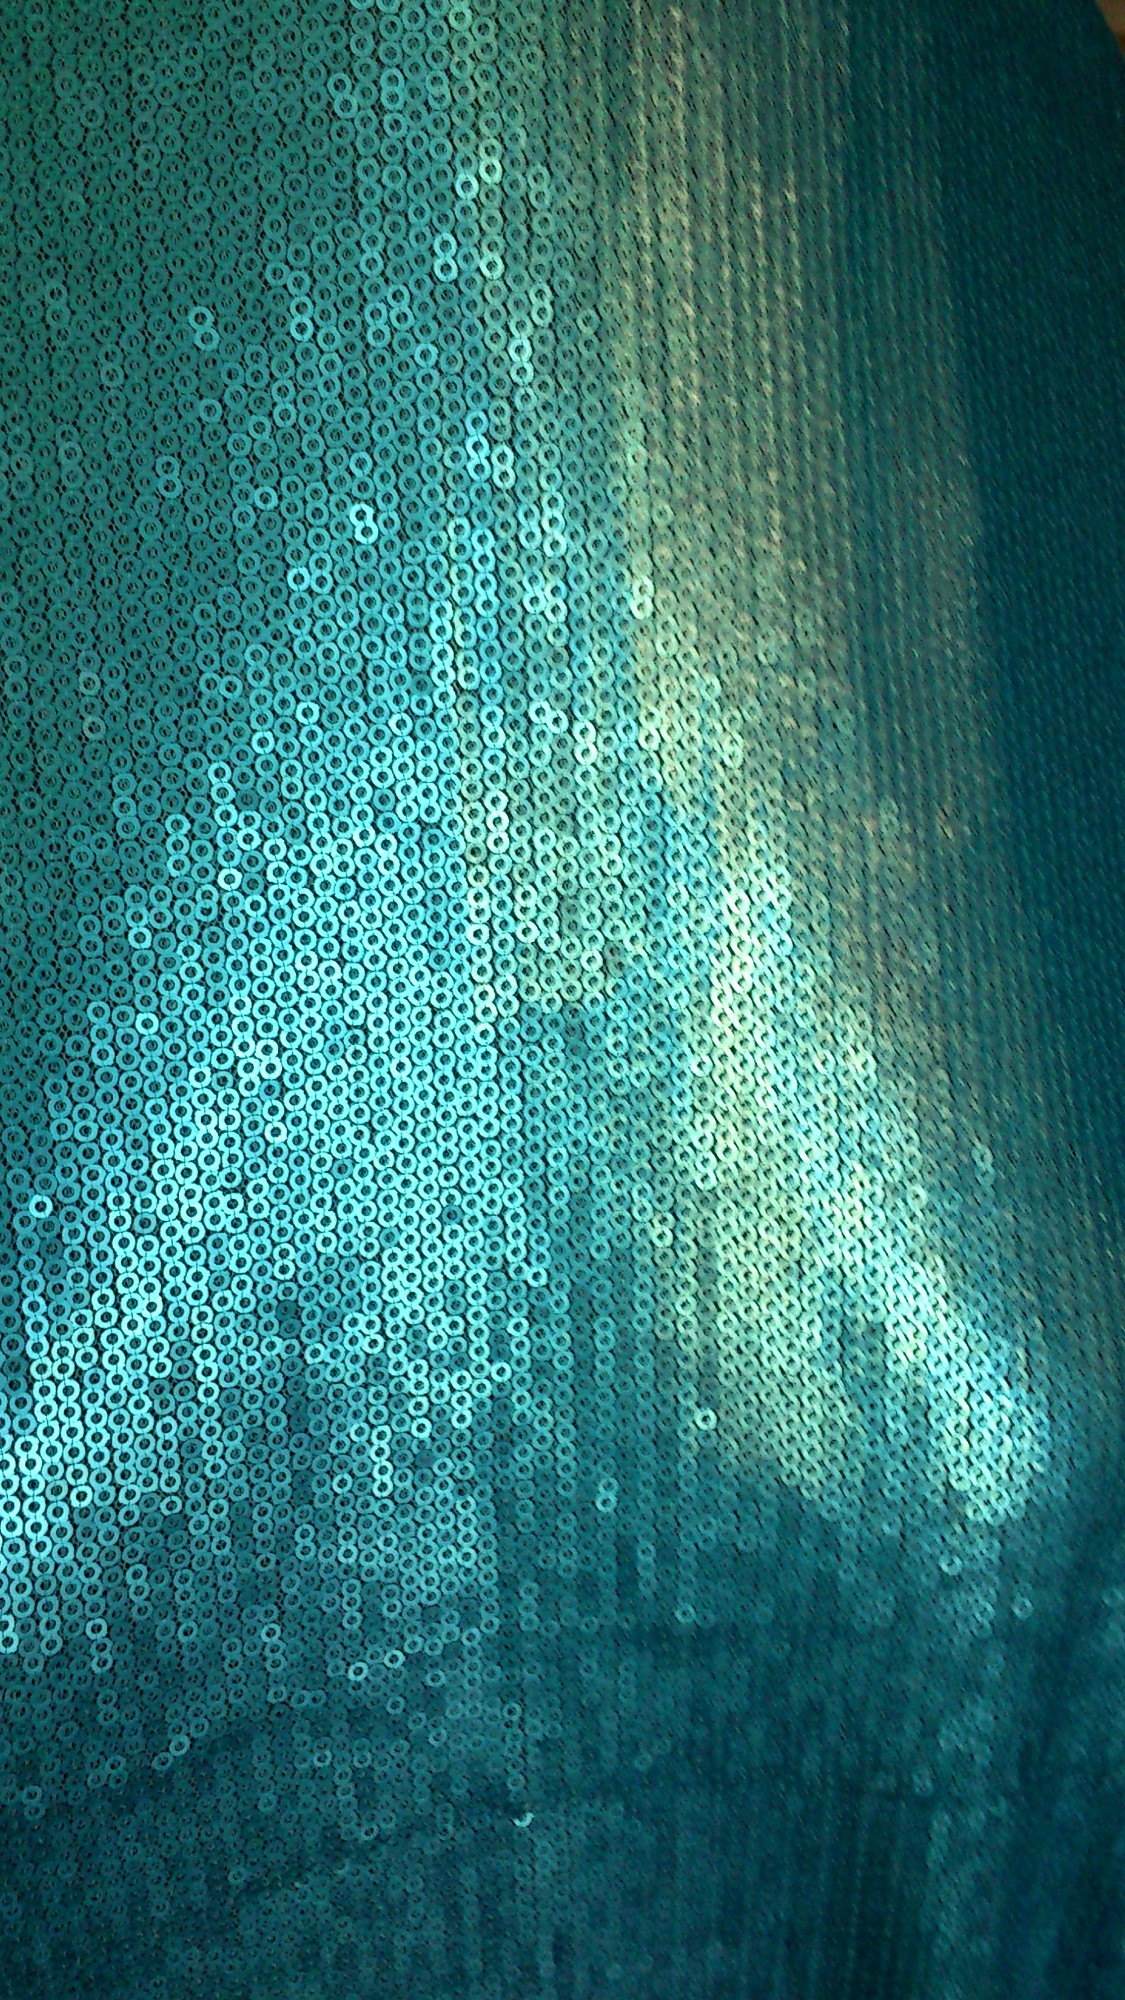
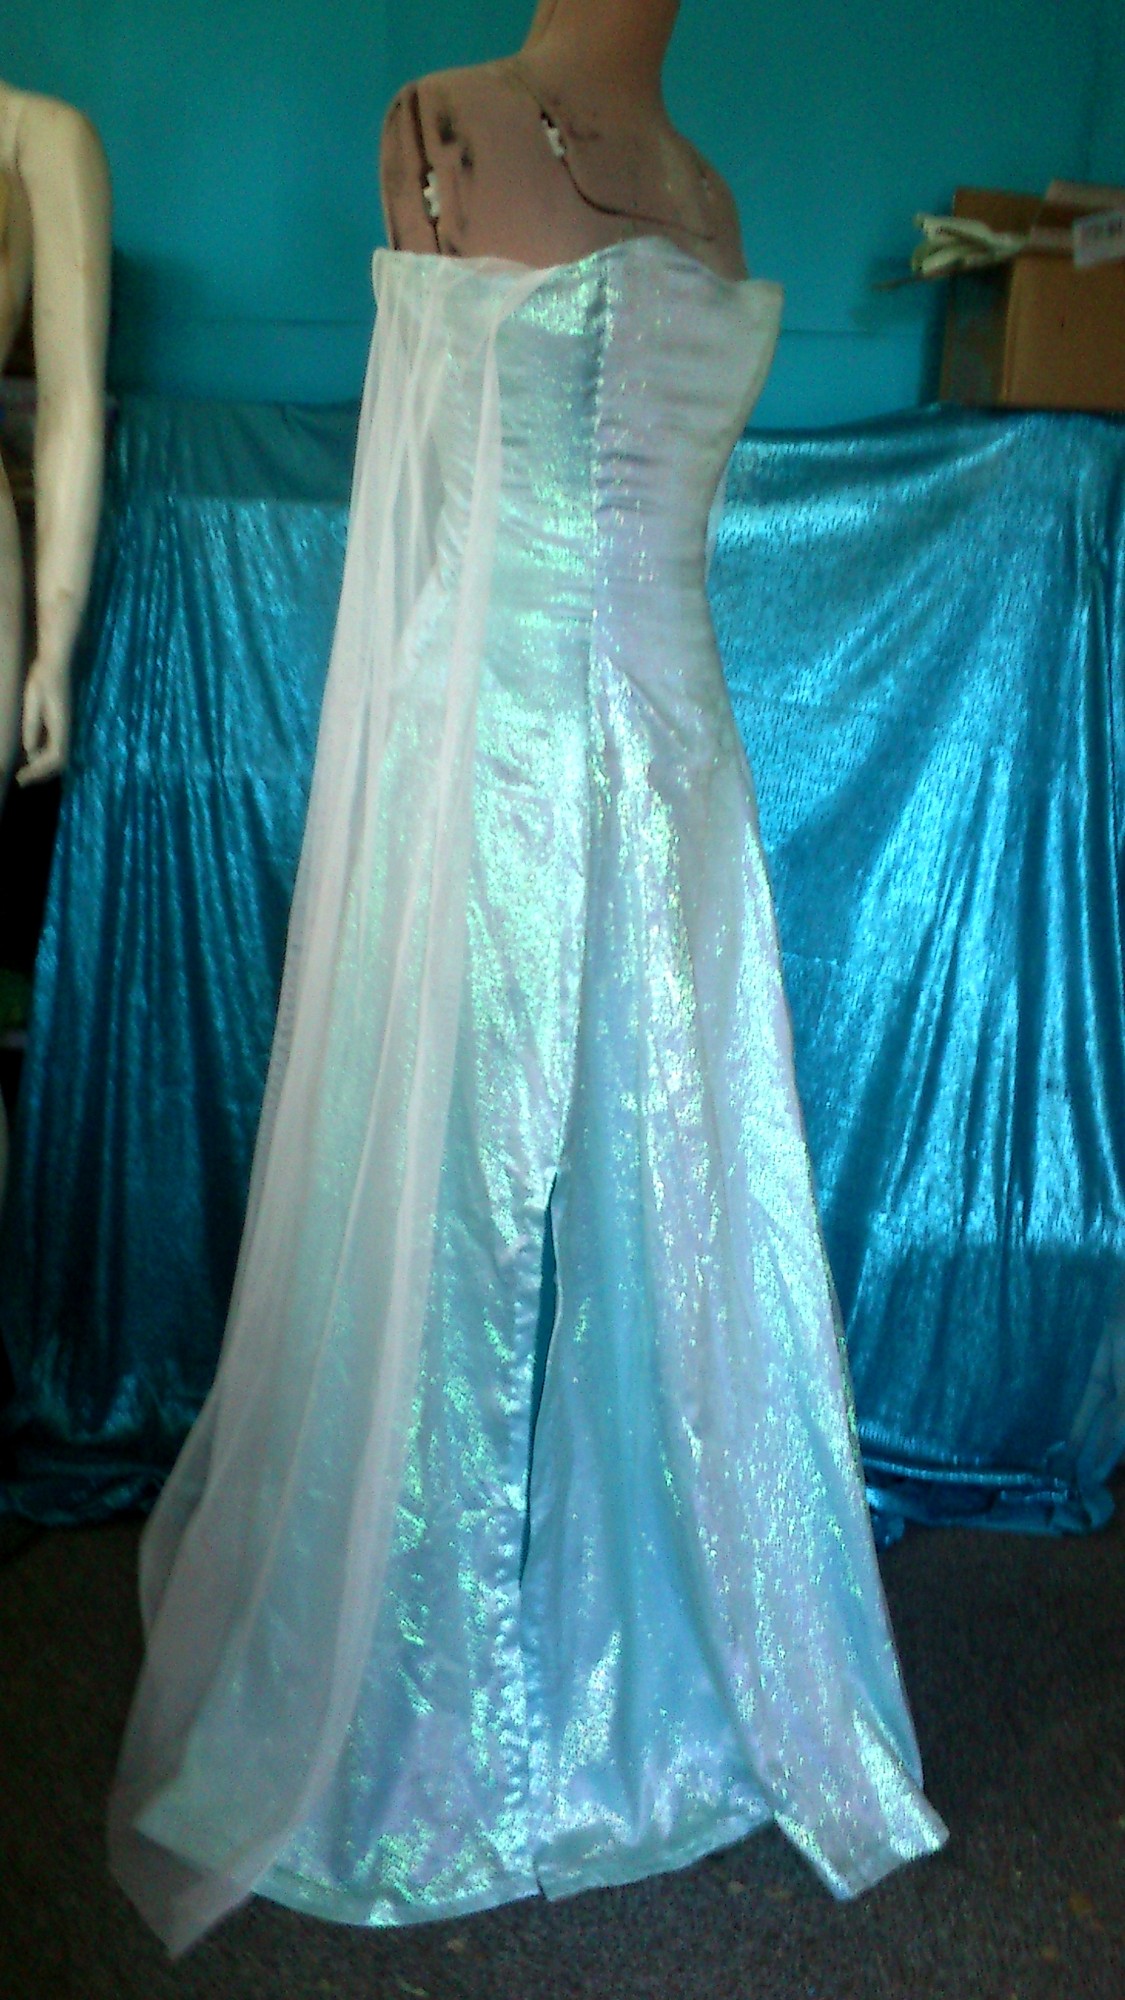
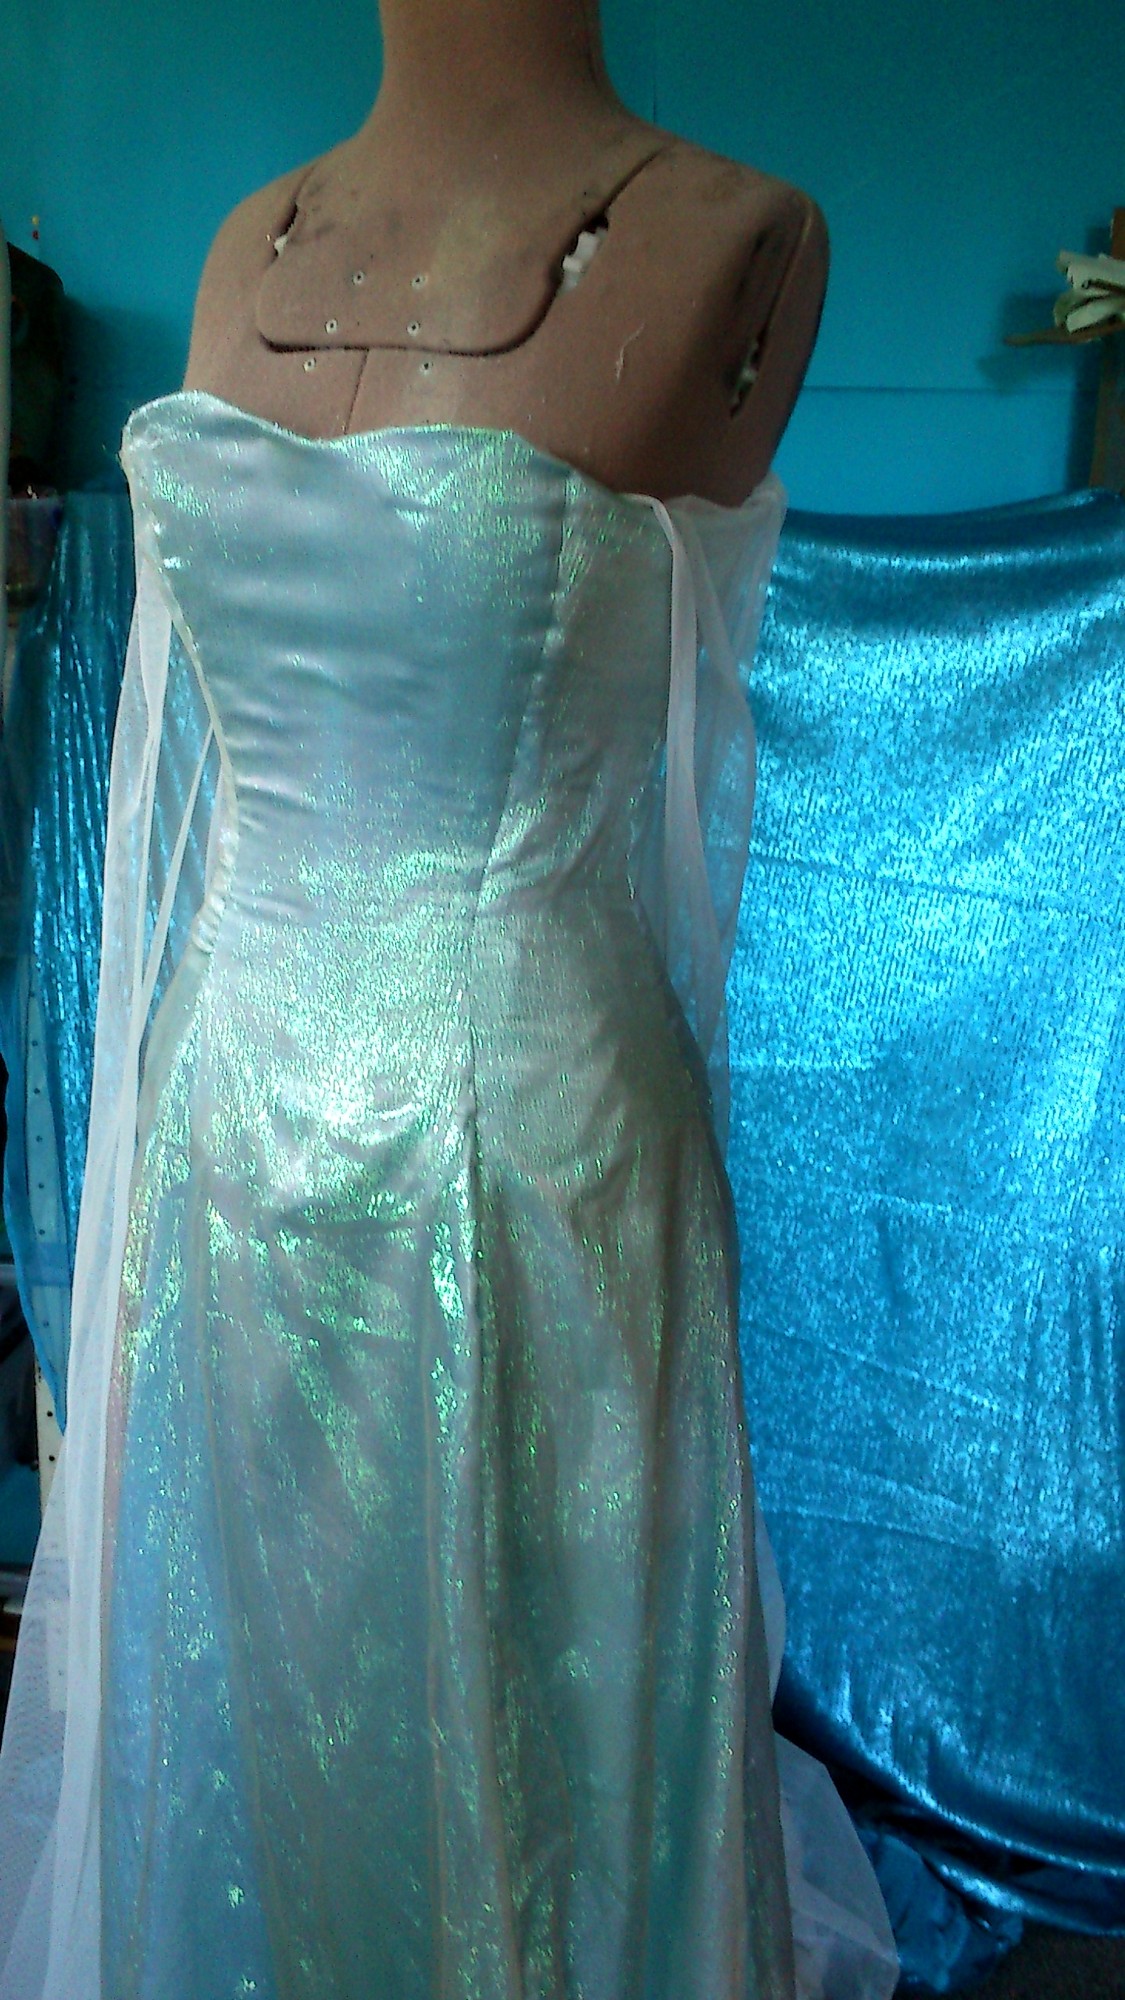
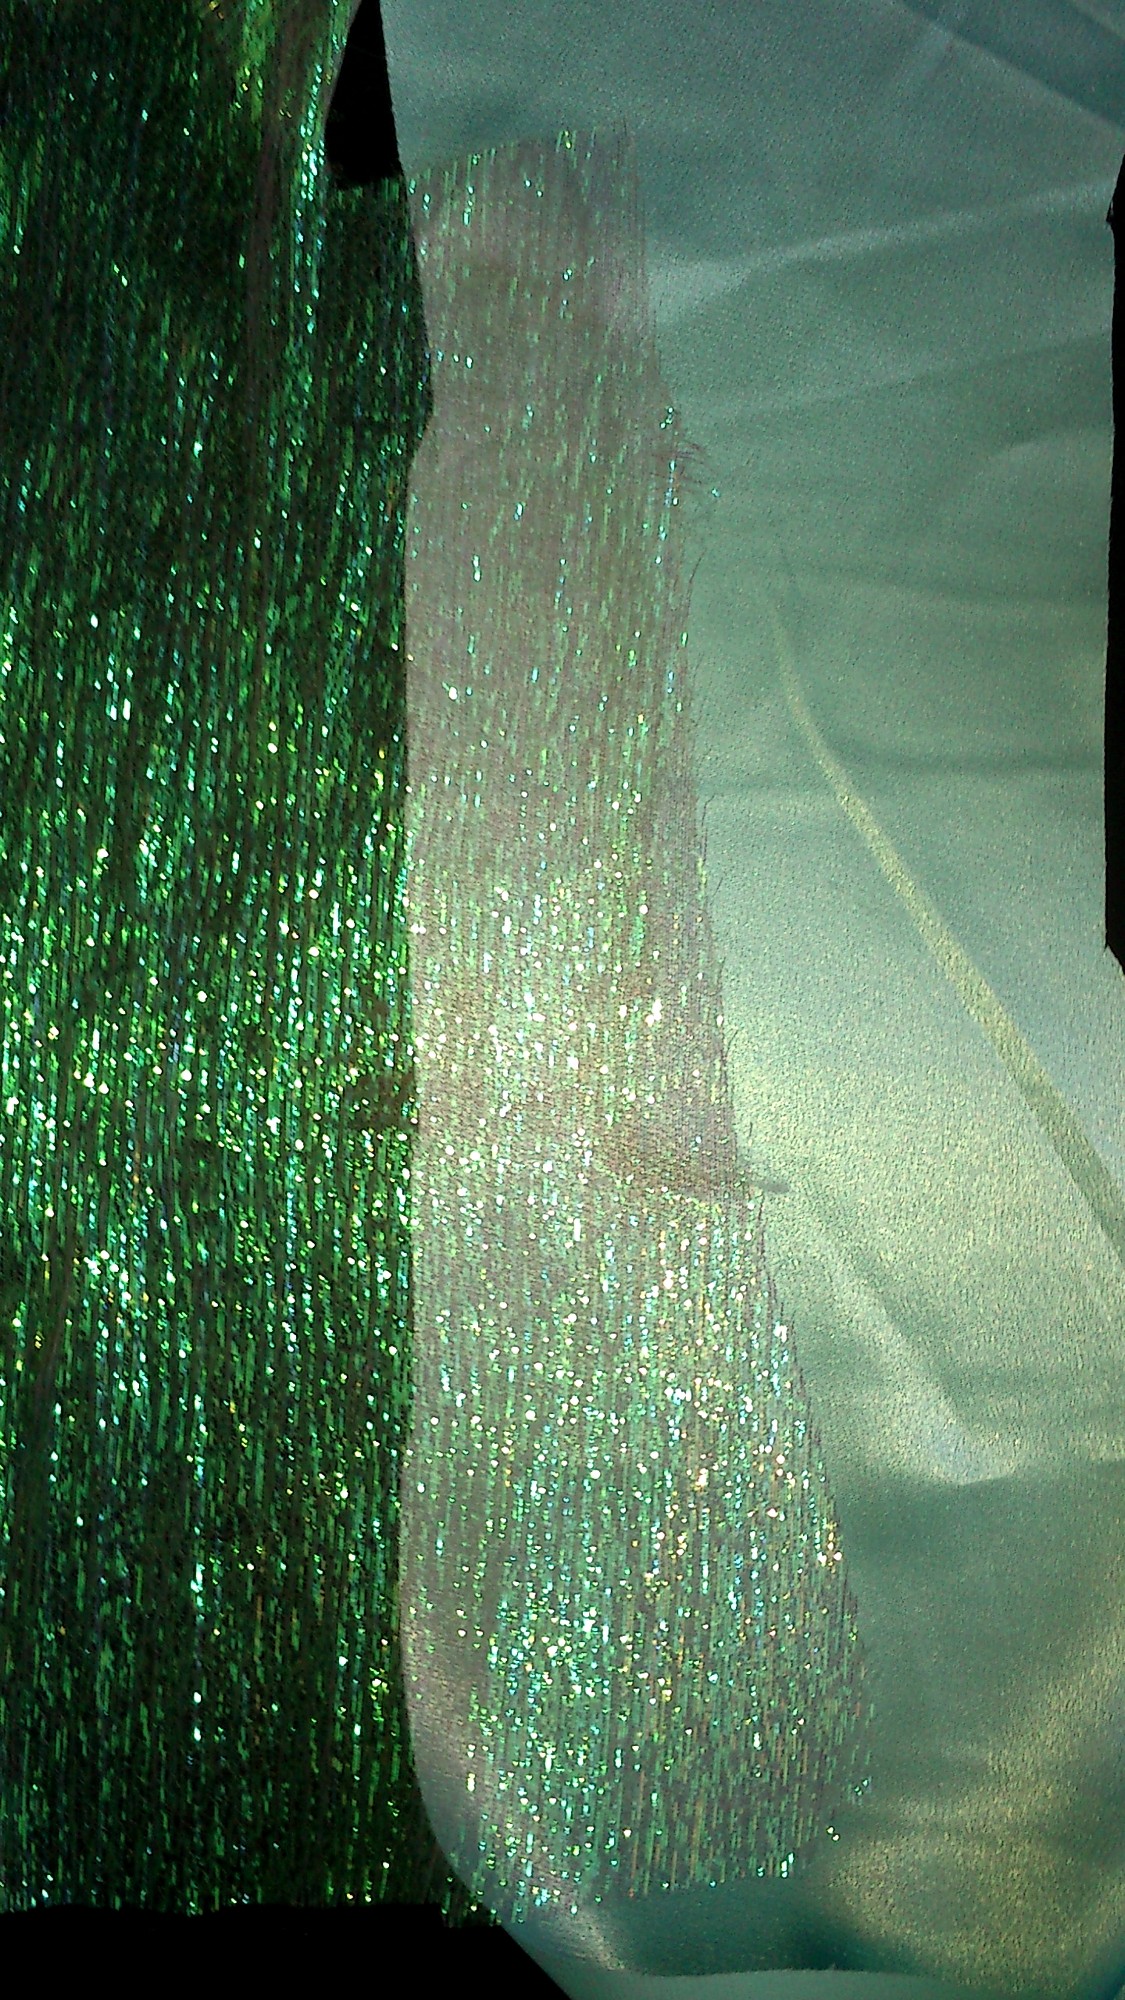
I forgot that I also have my turquise sequin fabrics for more Elsa costumes- I think I’d like to keep one as an homage to Queen Maude.
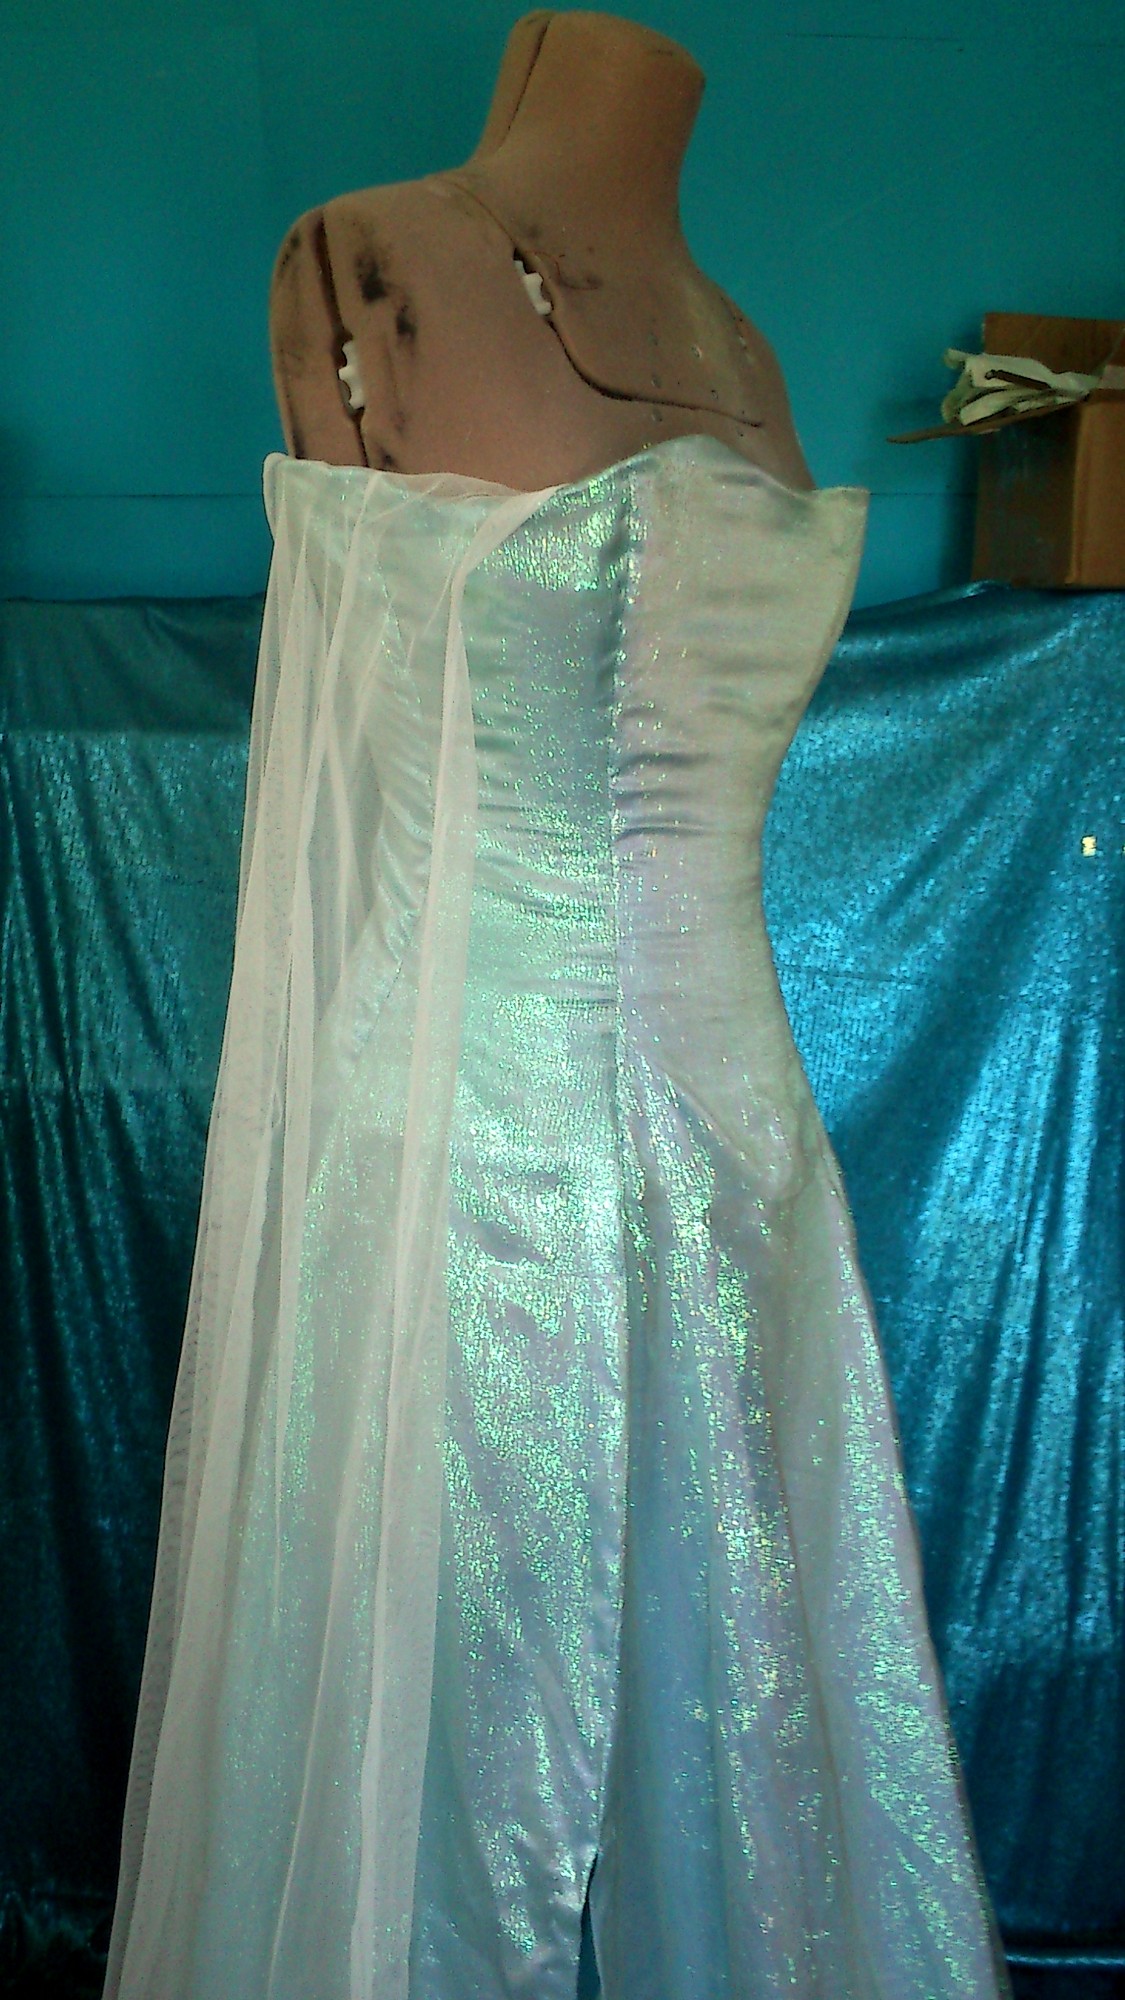
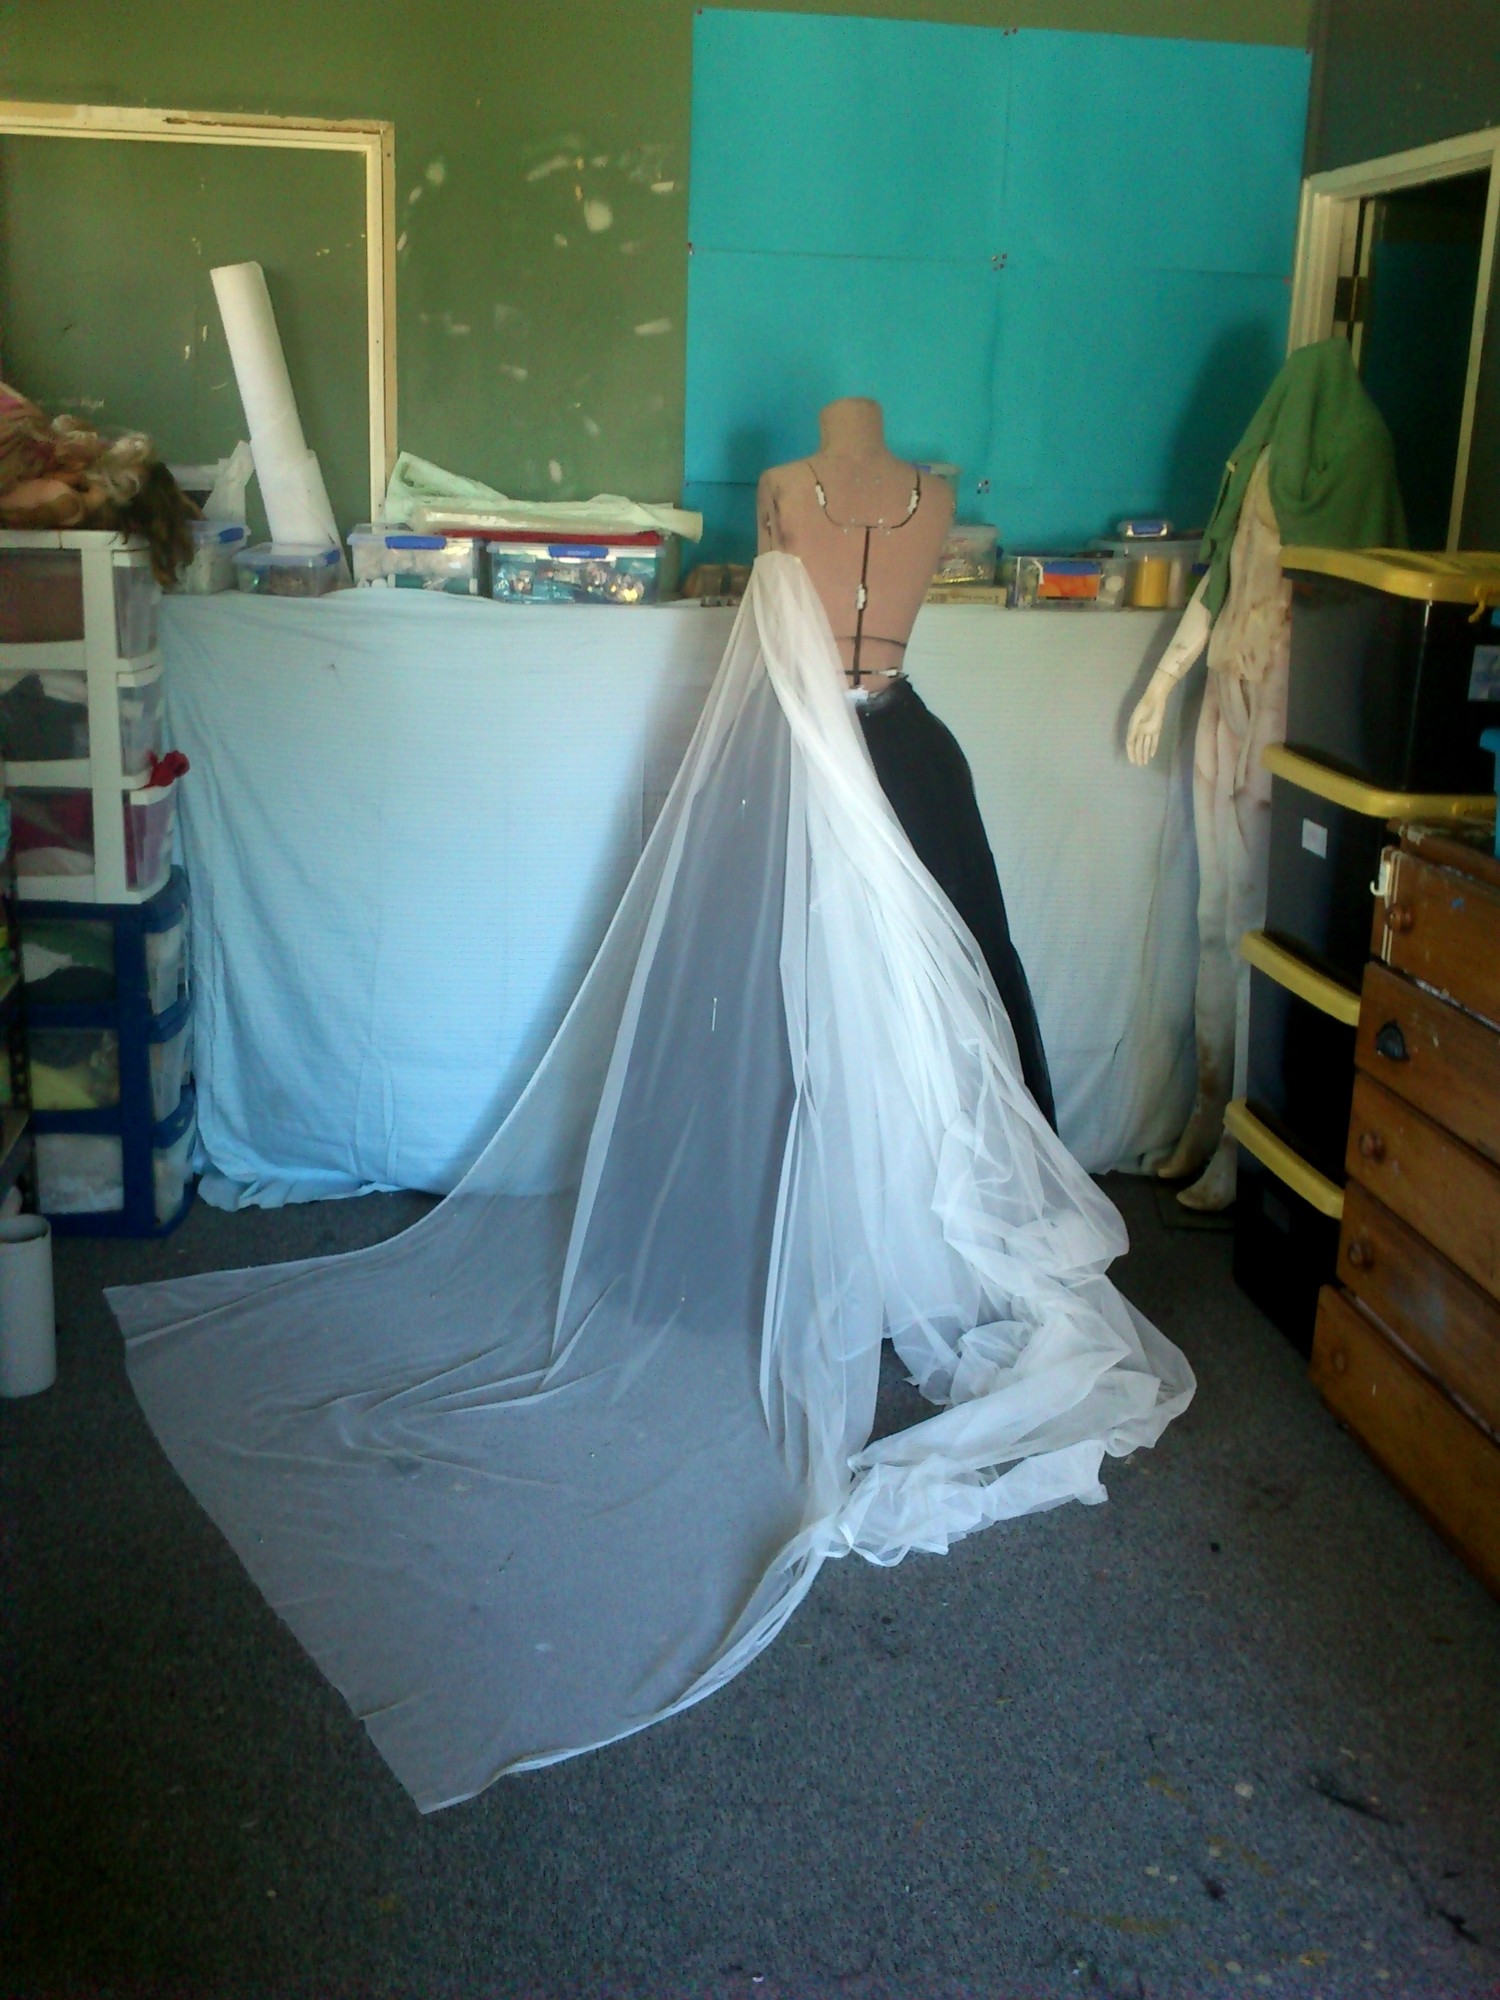
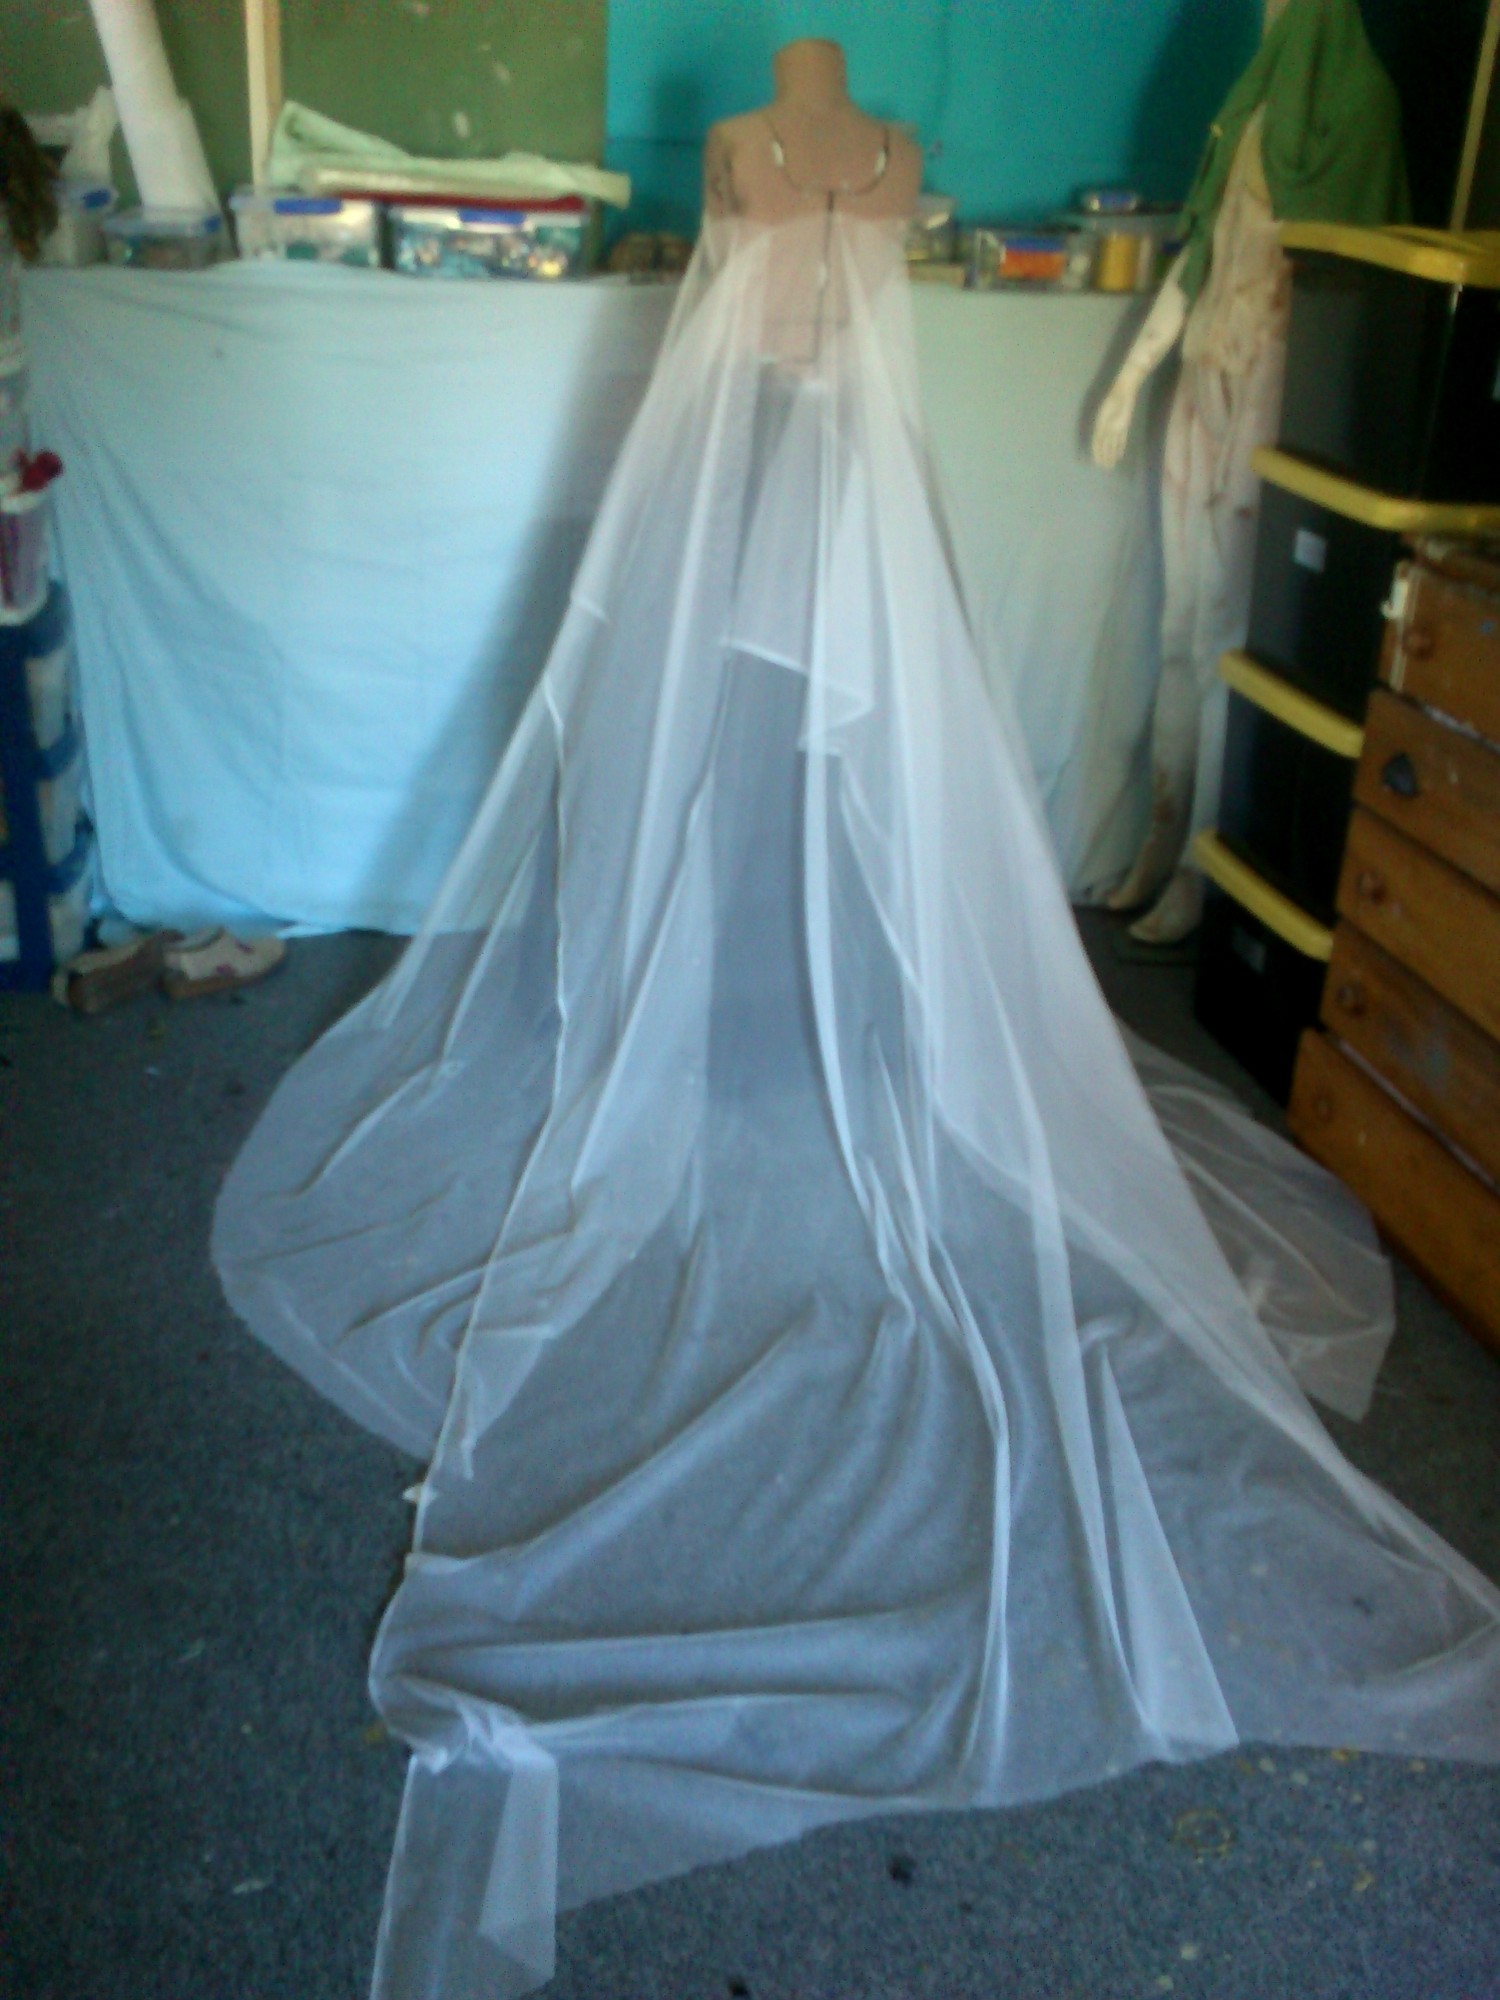
But the second dress and extra length I think could be the basic of the travel coat- layers of net over the top gradient dyed. So suddenly it’s starting to feel like an actual plan and one that won’t dip into my funds.
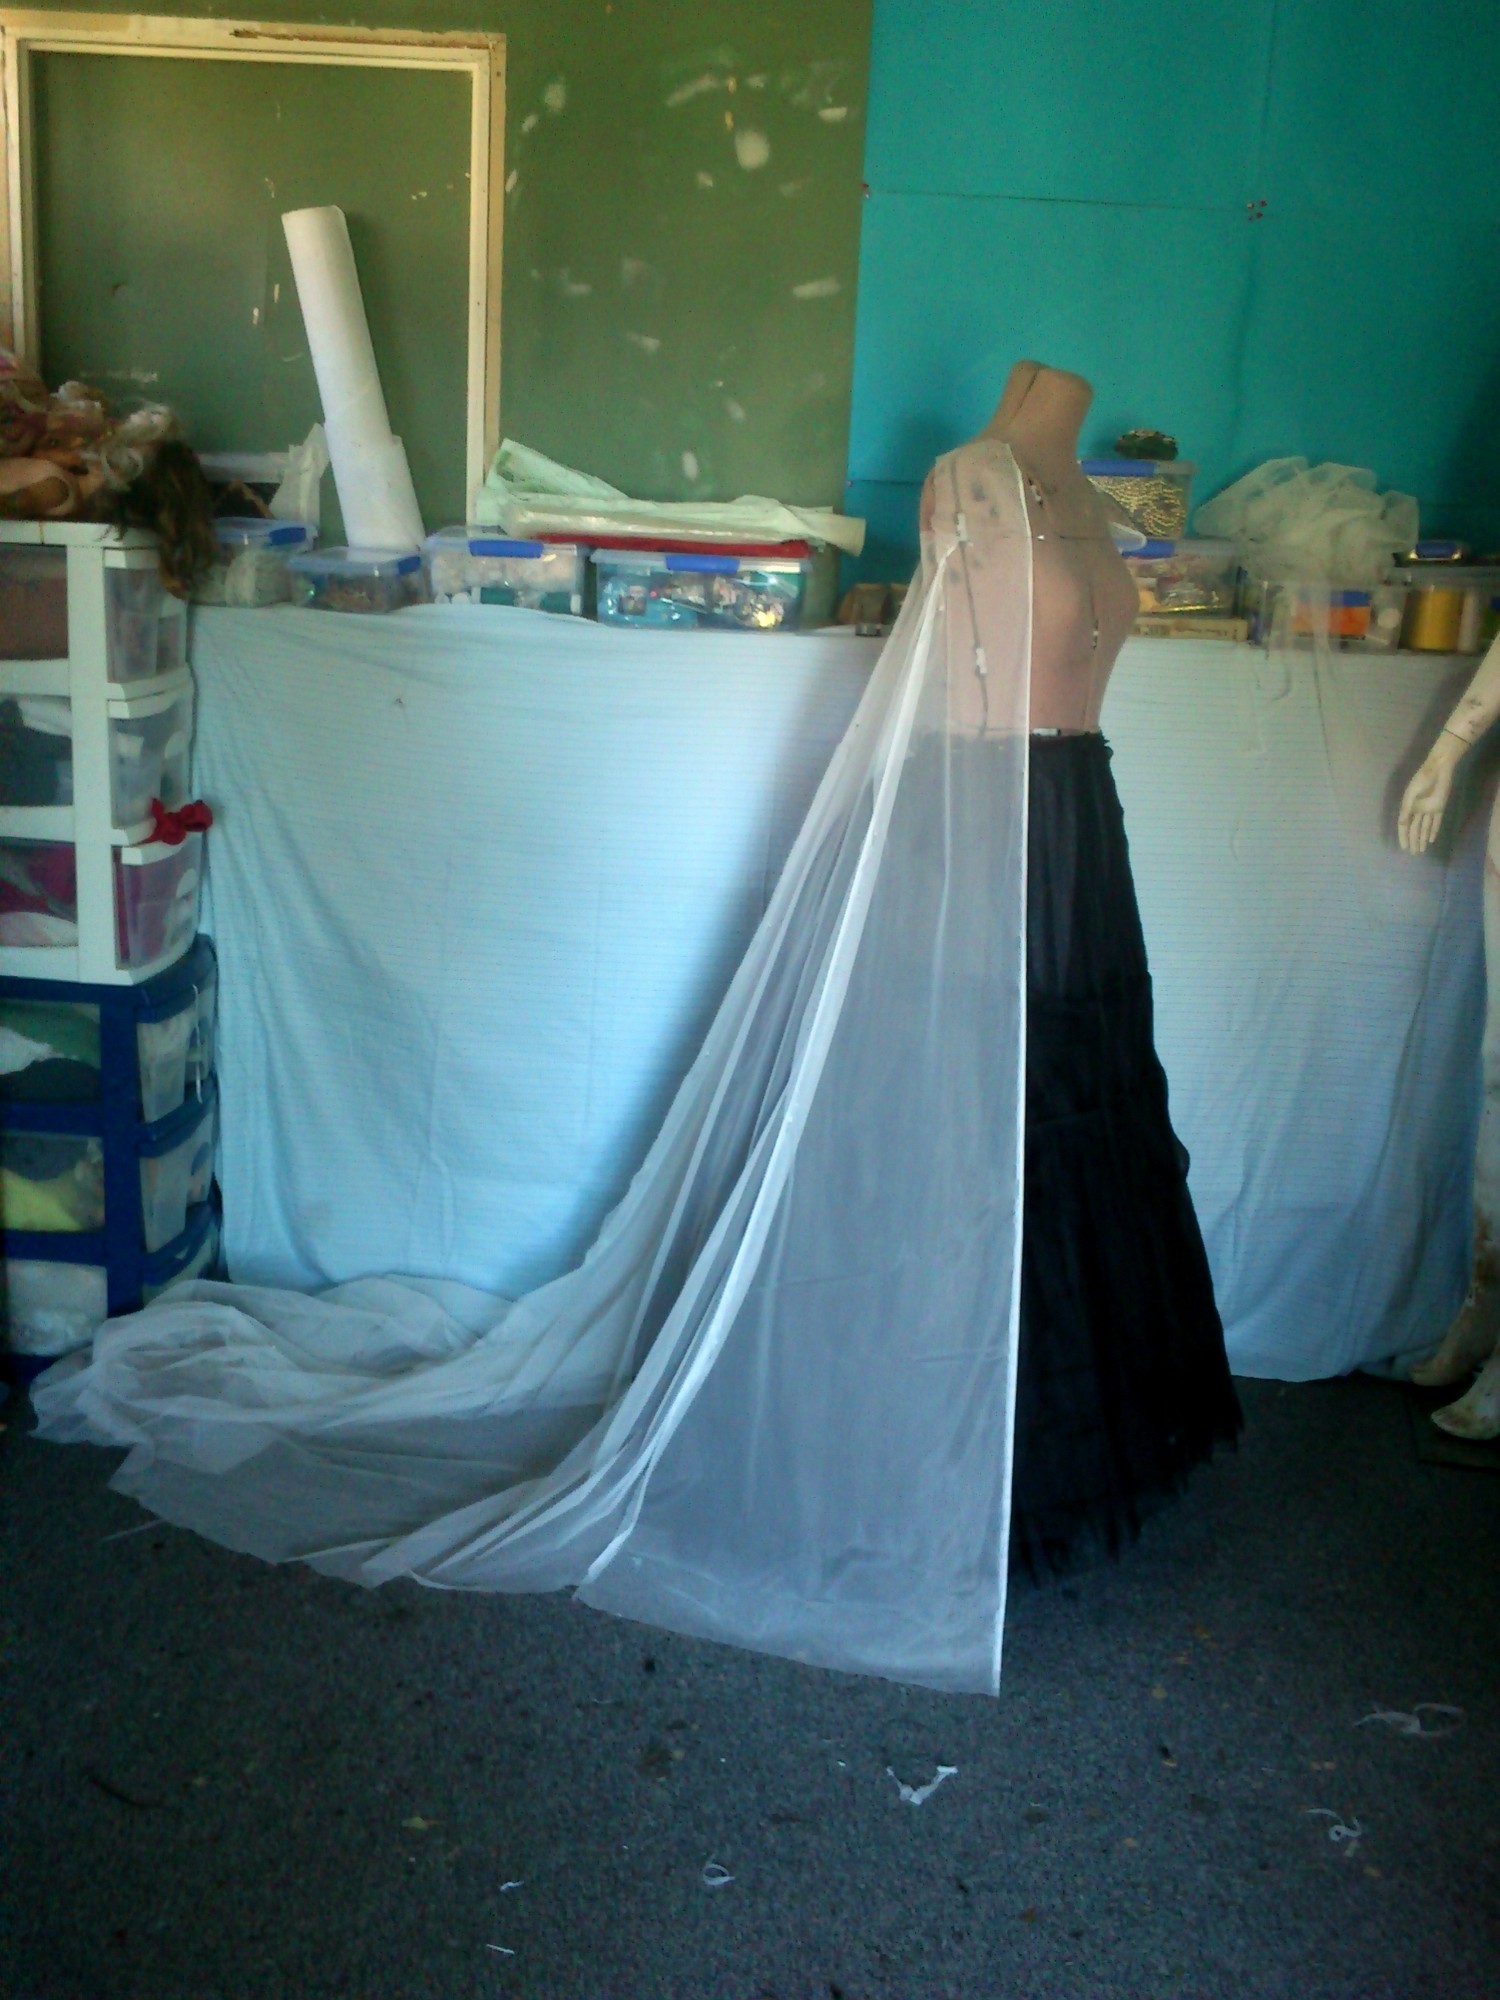
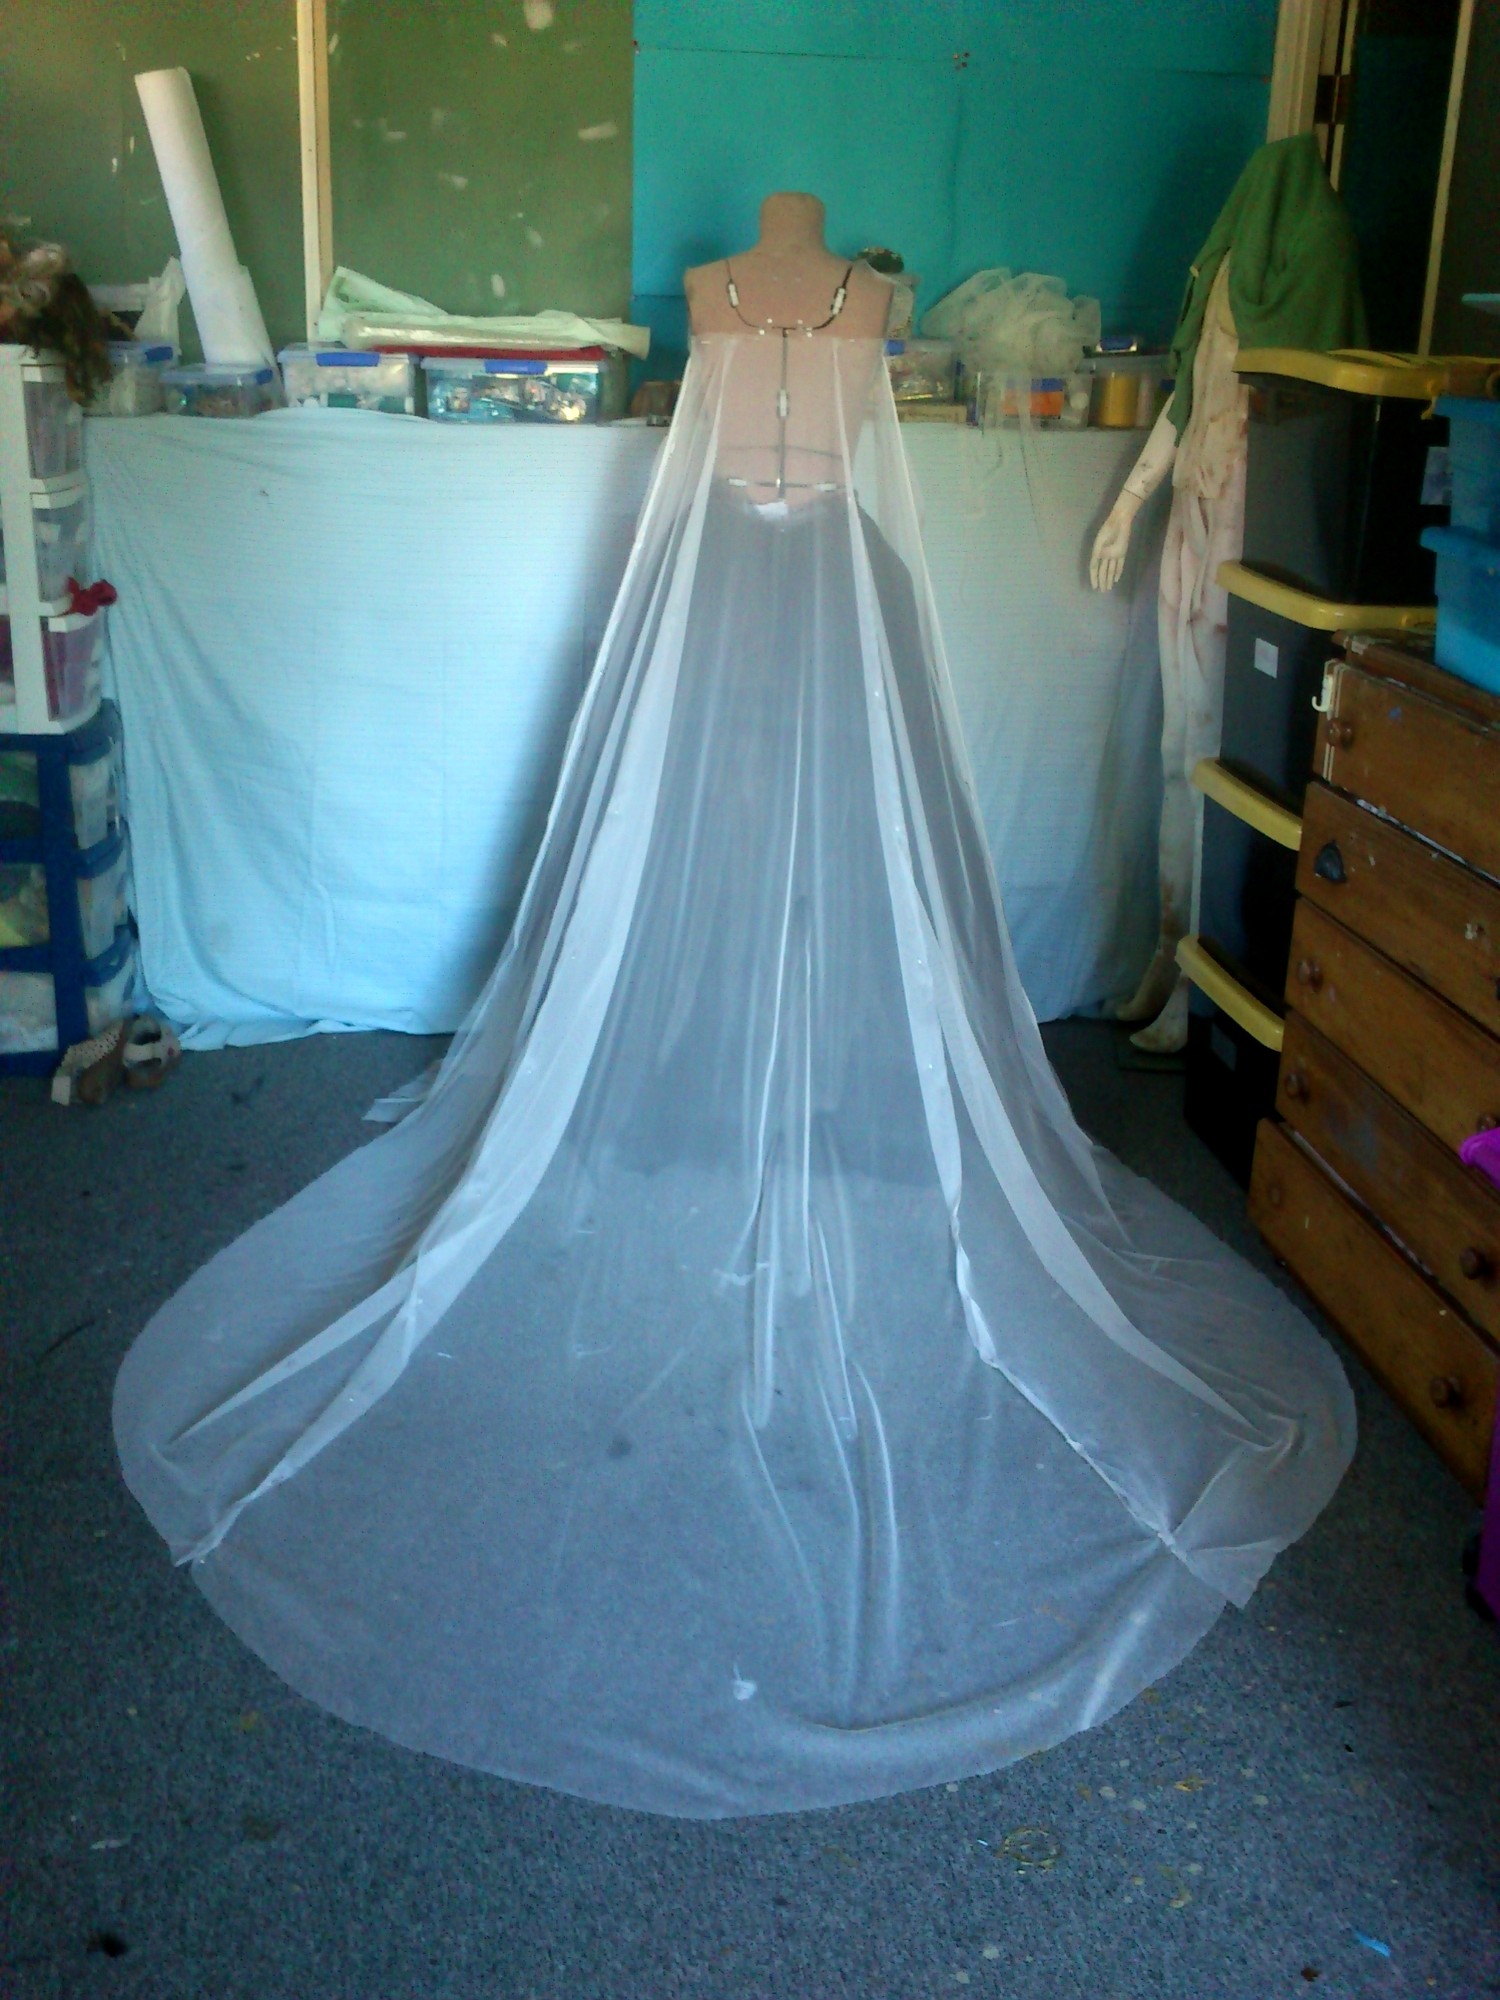
I do still have the super long cape I really should pass on, it’s just a matter of photographing it properly.
I am also struggling a little financially, with a number of costs coming up and some new weekly costs that I haven’t planned for.
So I am very glad that I have enough stash to keep me going, even if I still have to slow down on using it all in one go given my hands.
But that financial restriction might just mean I stay close to home for at least the first half of the year which actually helps a lot in making the decision to make All The Elsa Stuff.
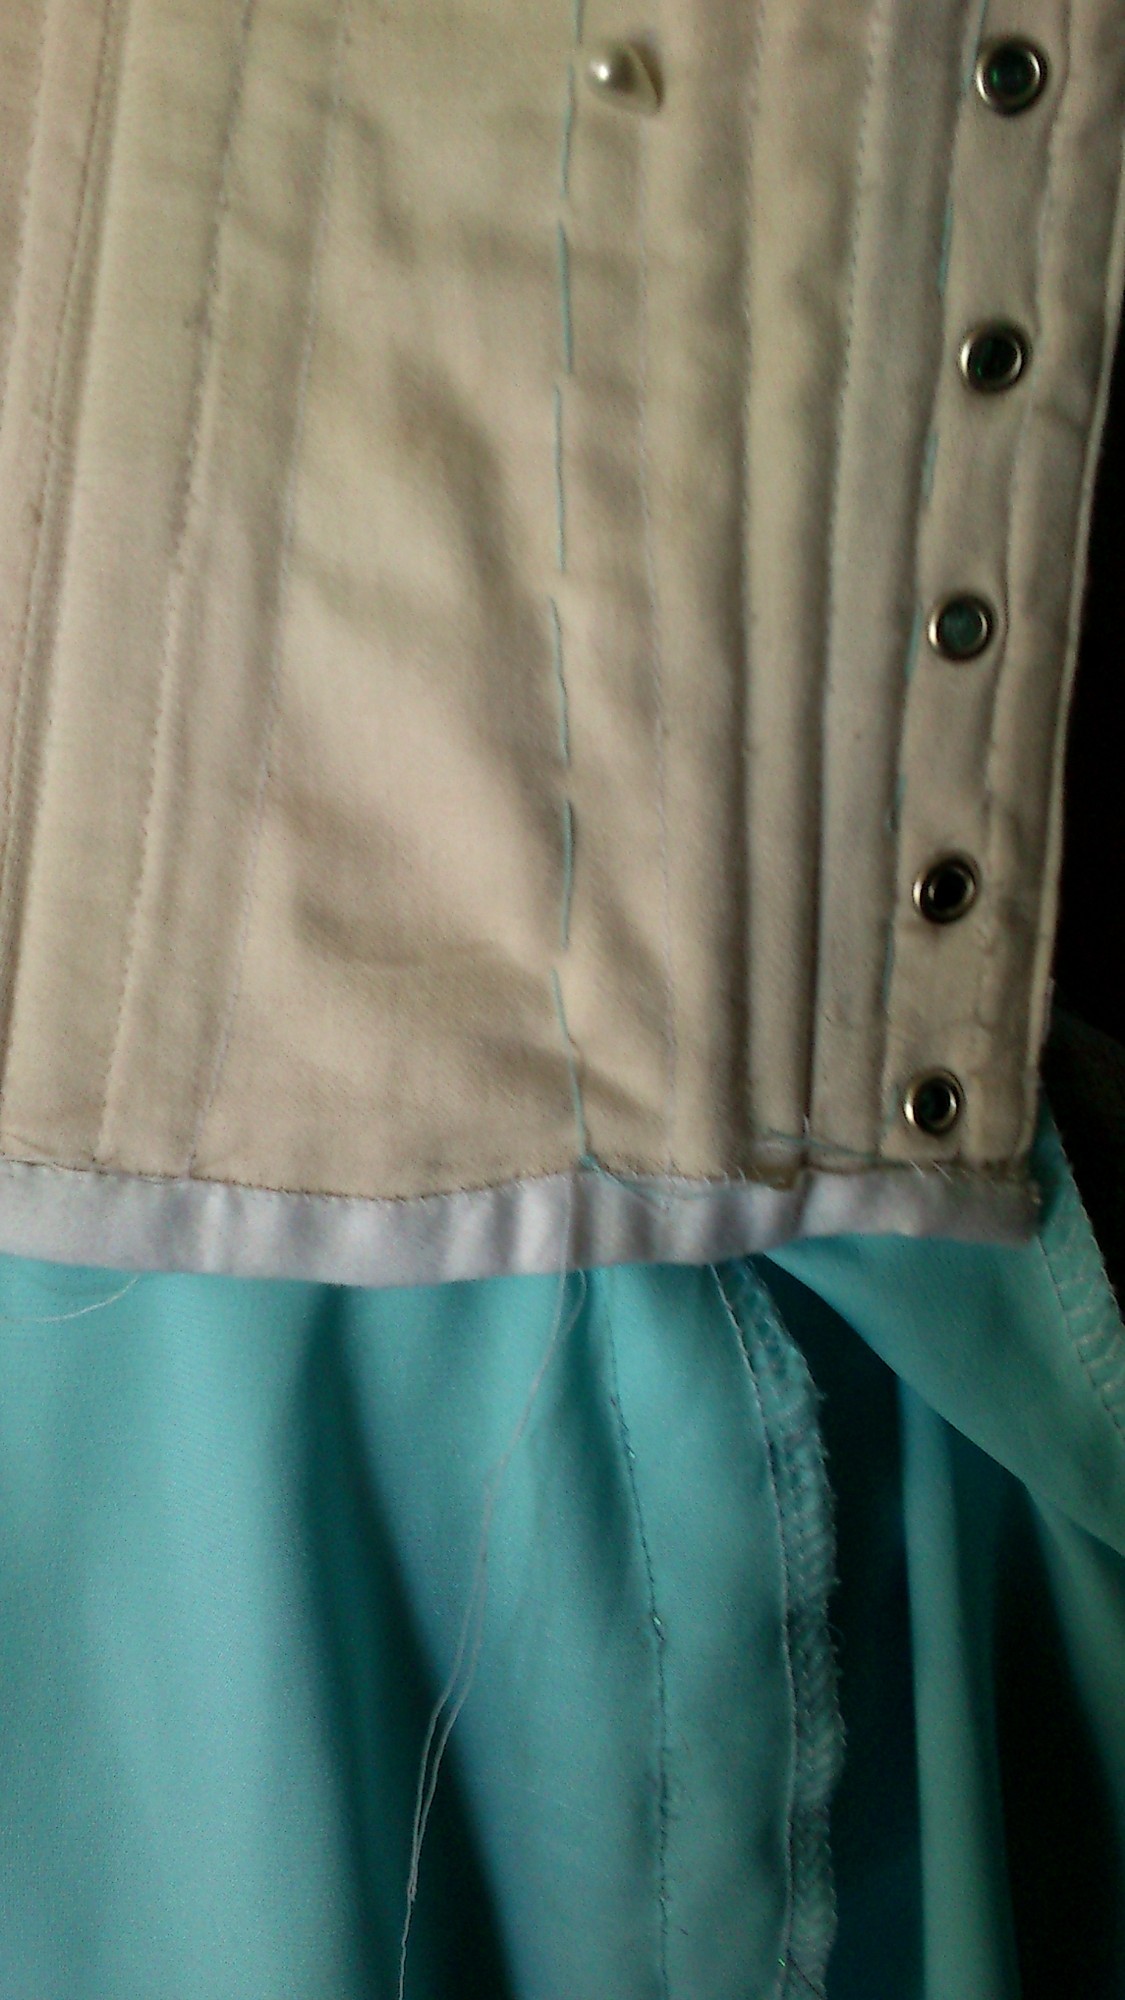
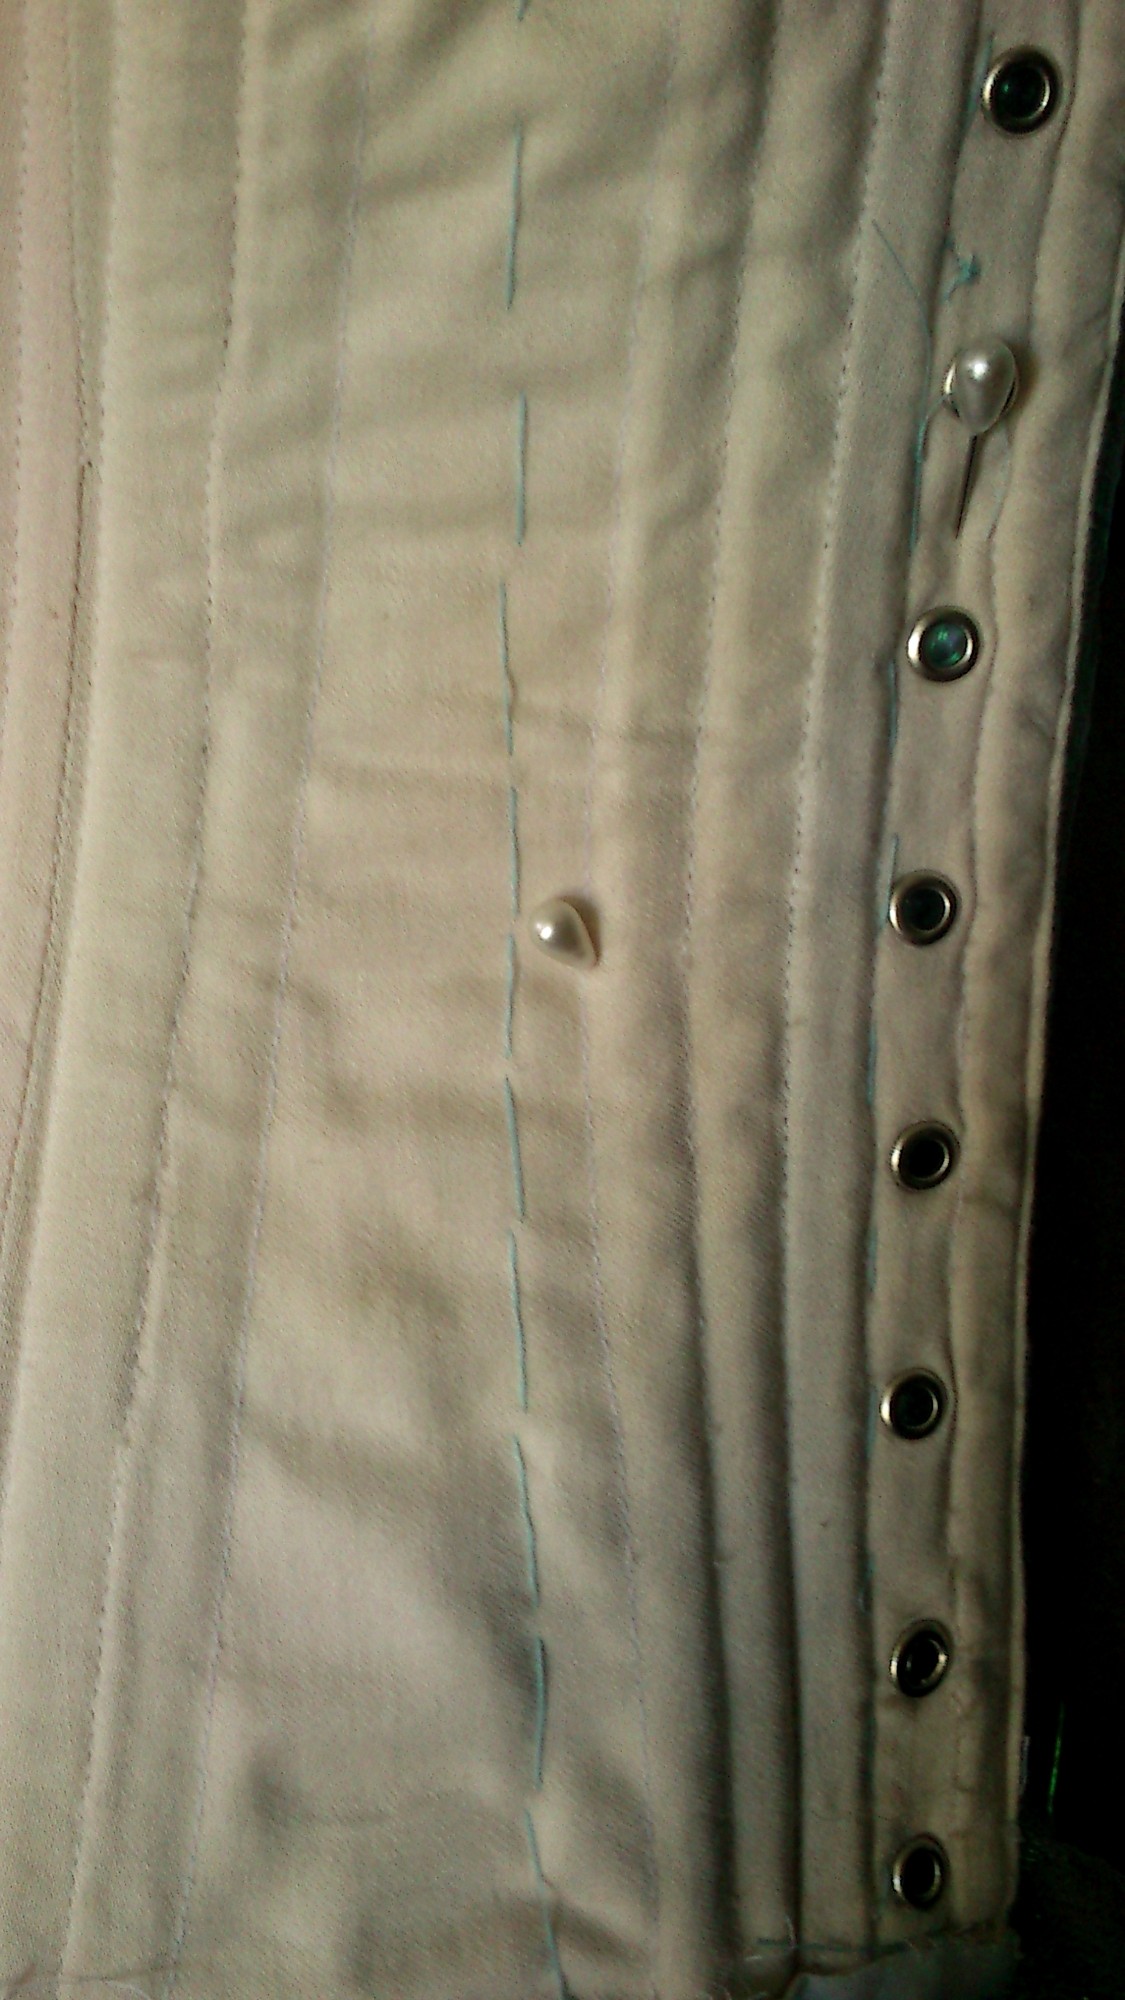
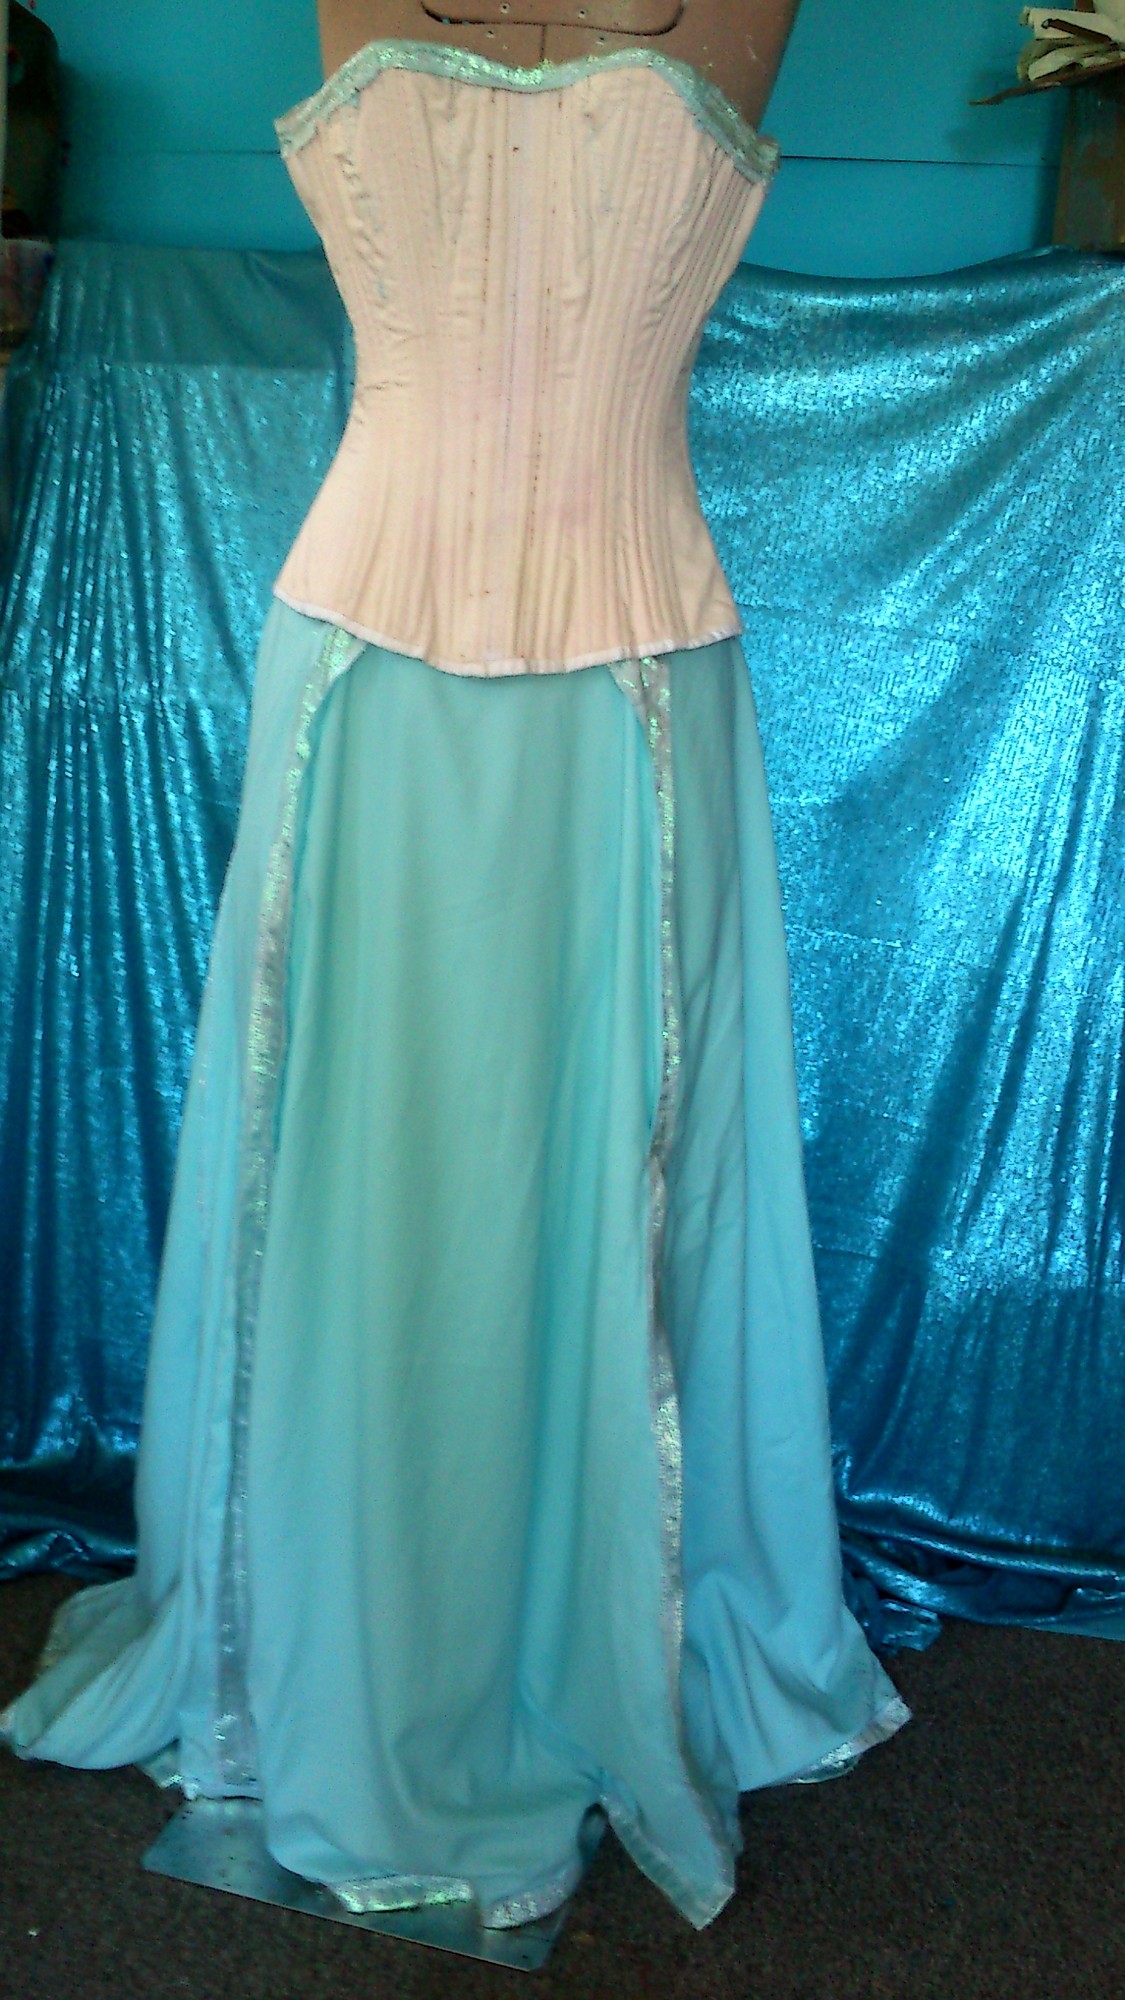
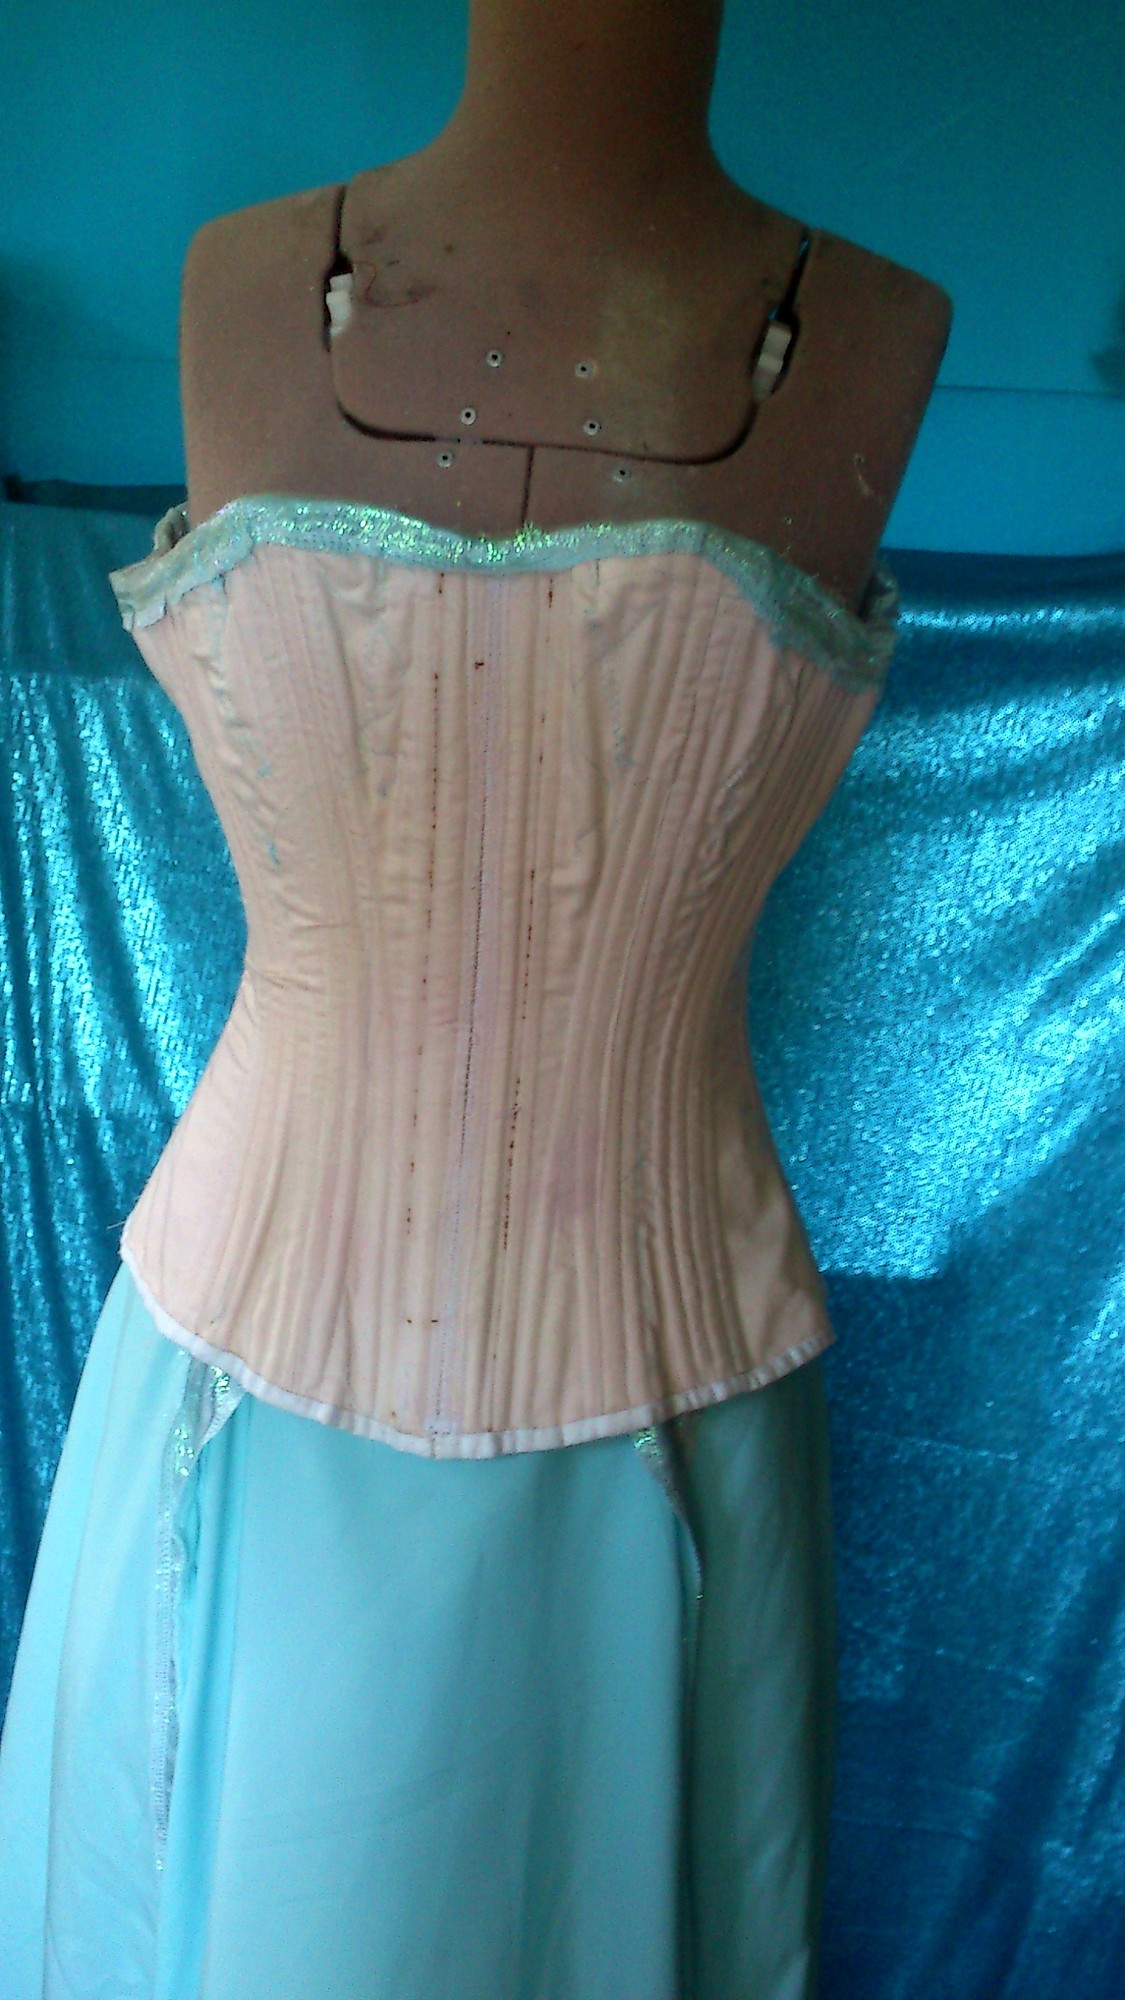
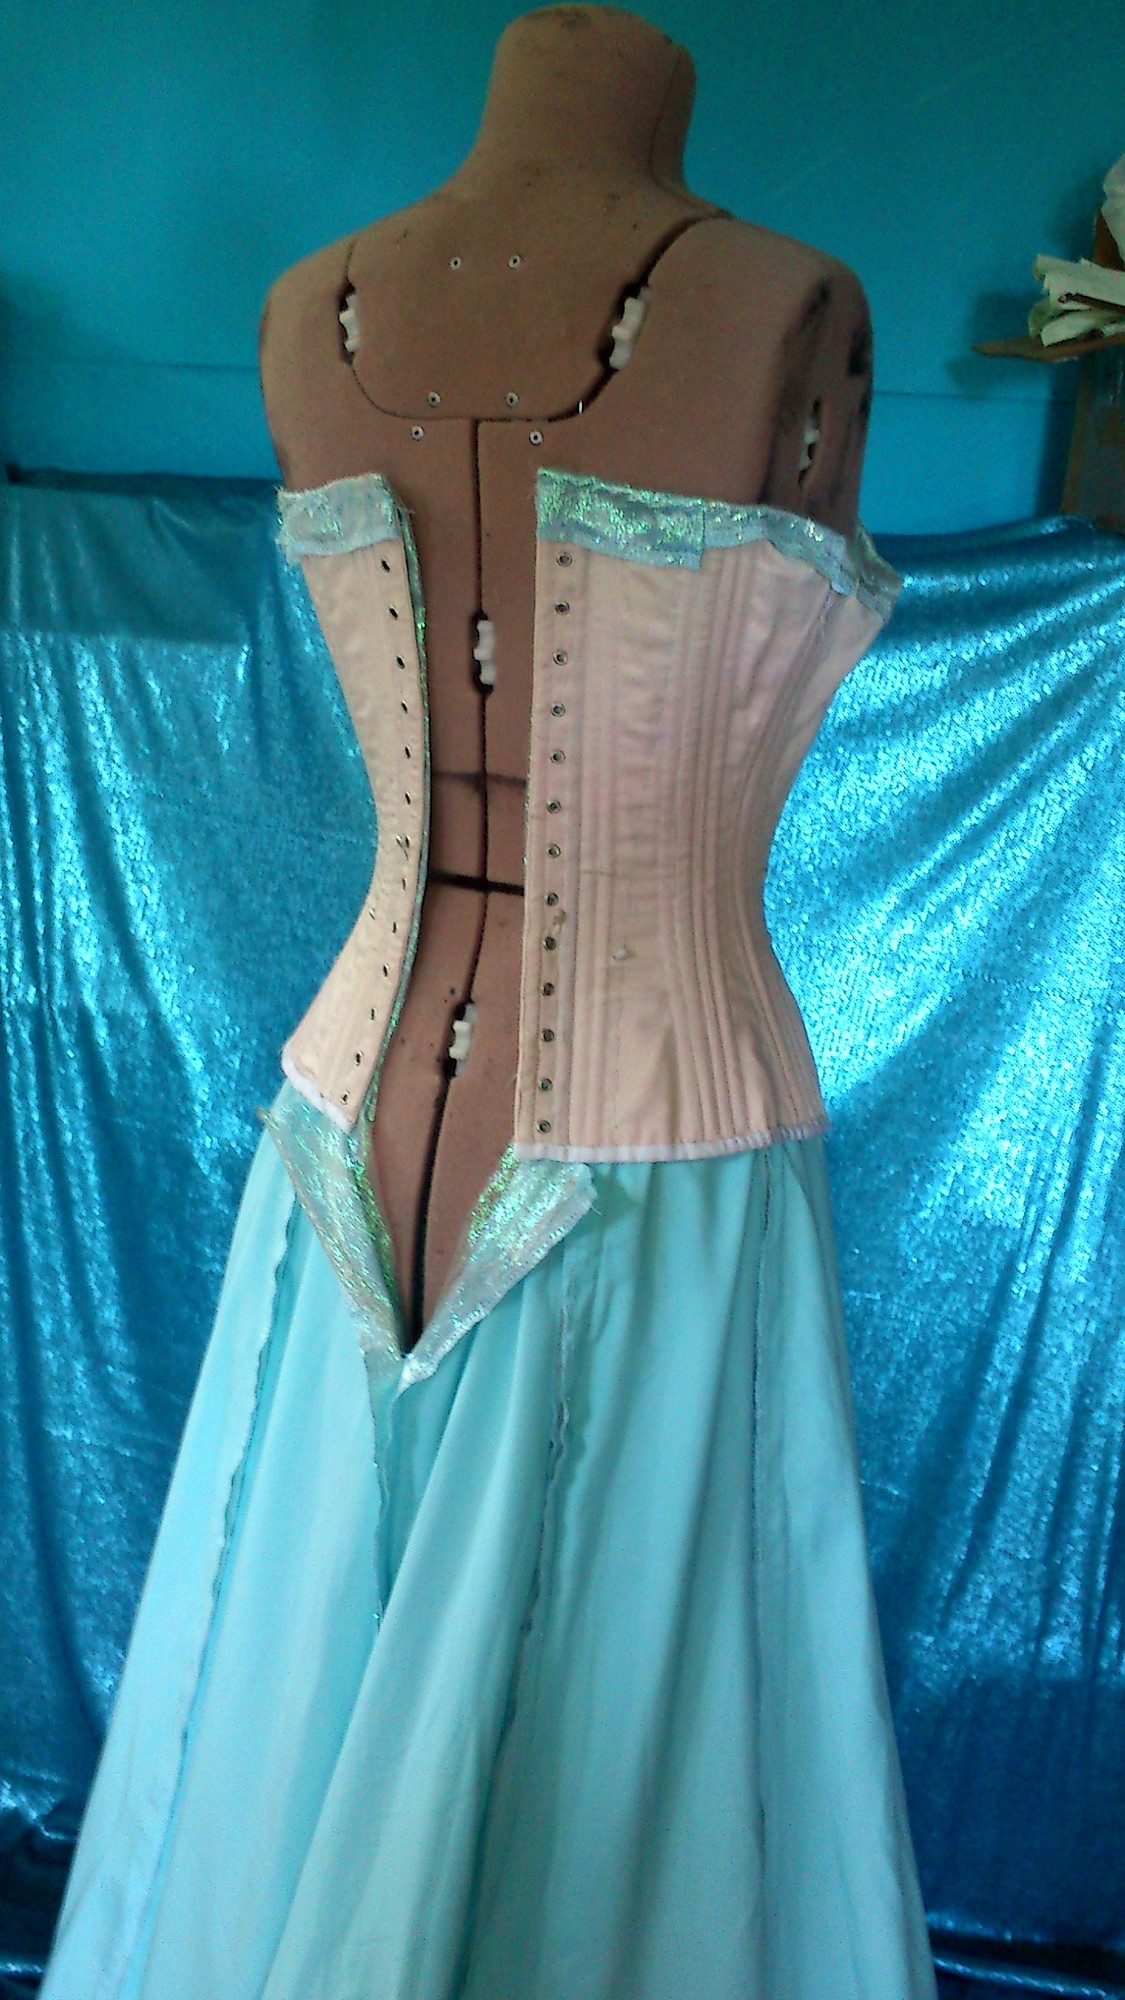
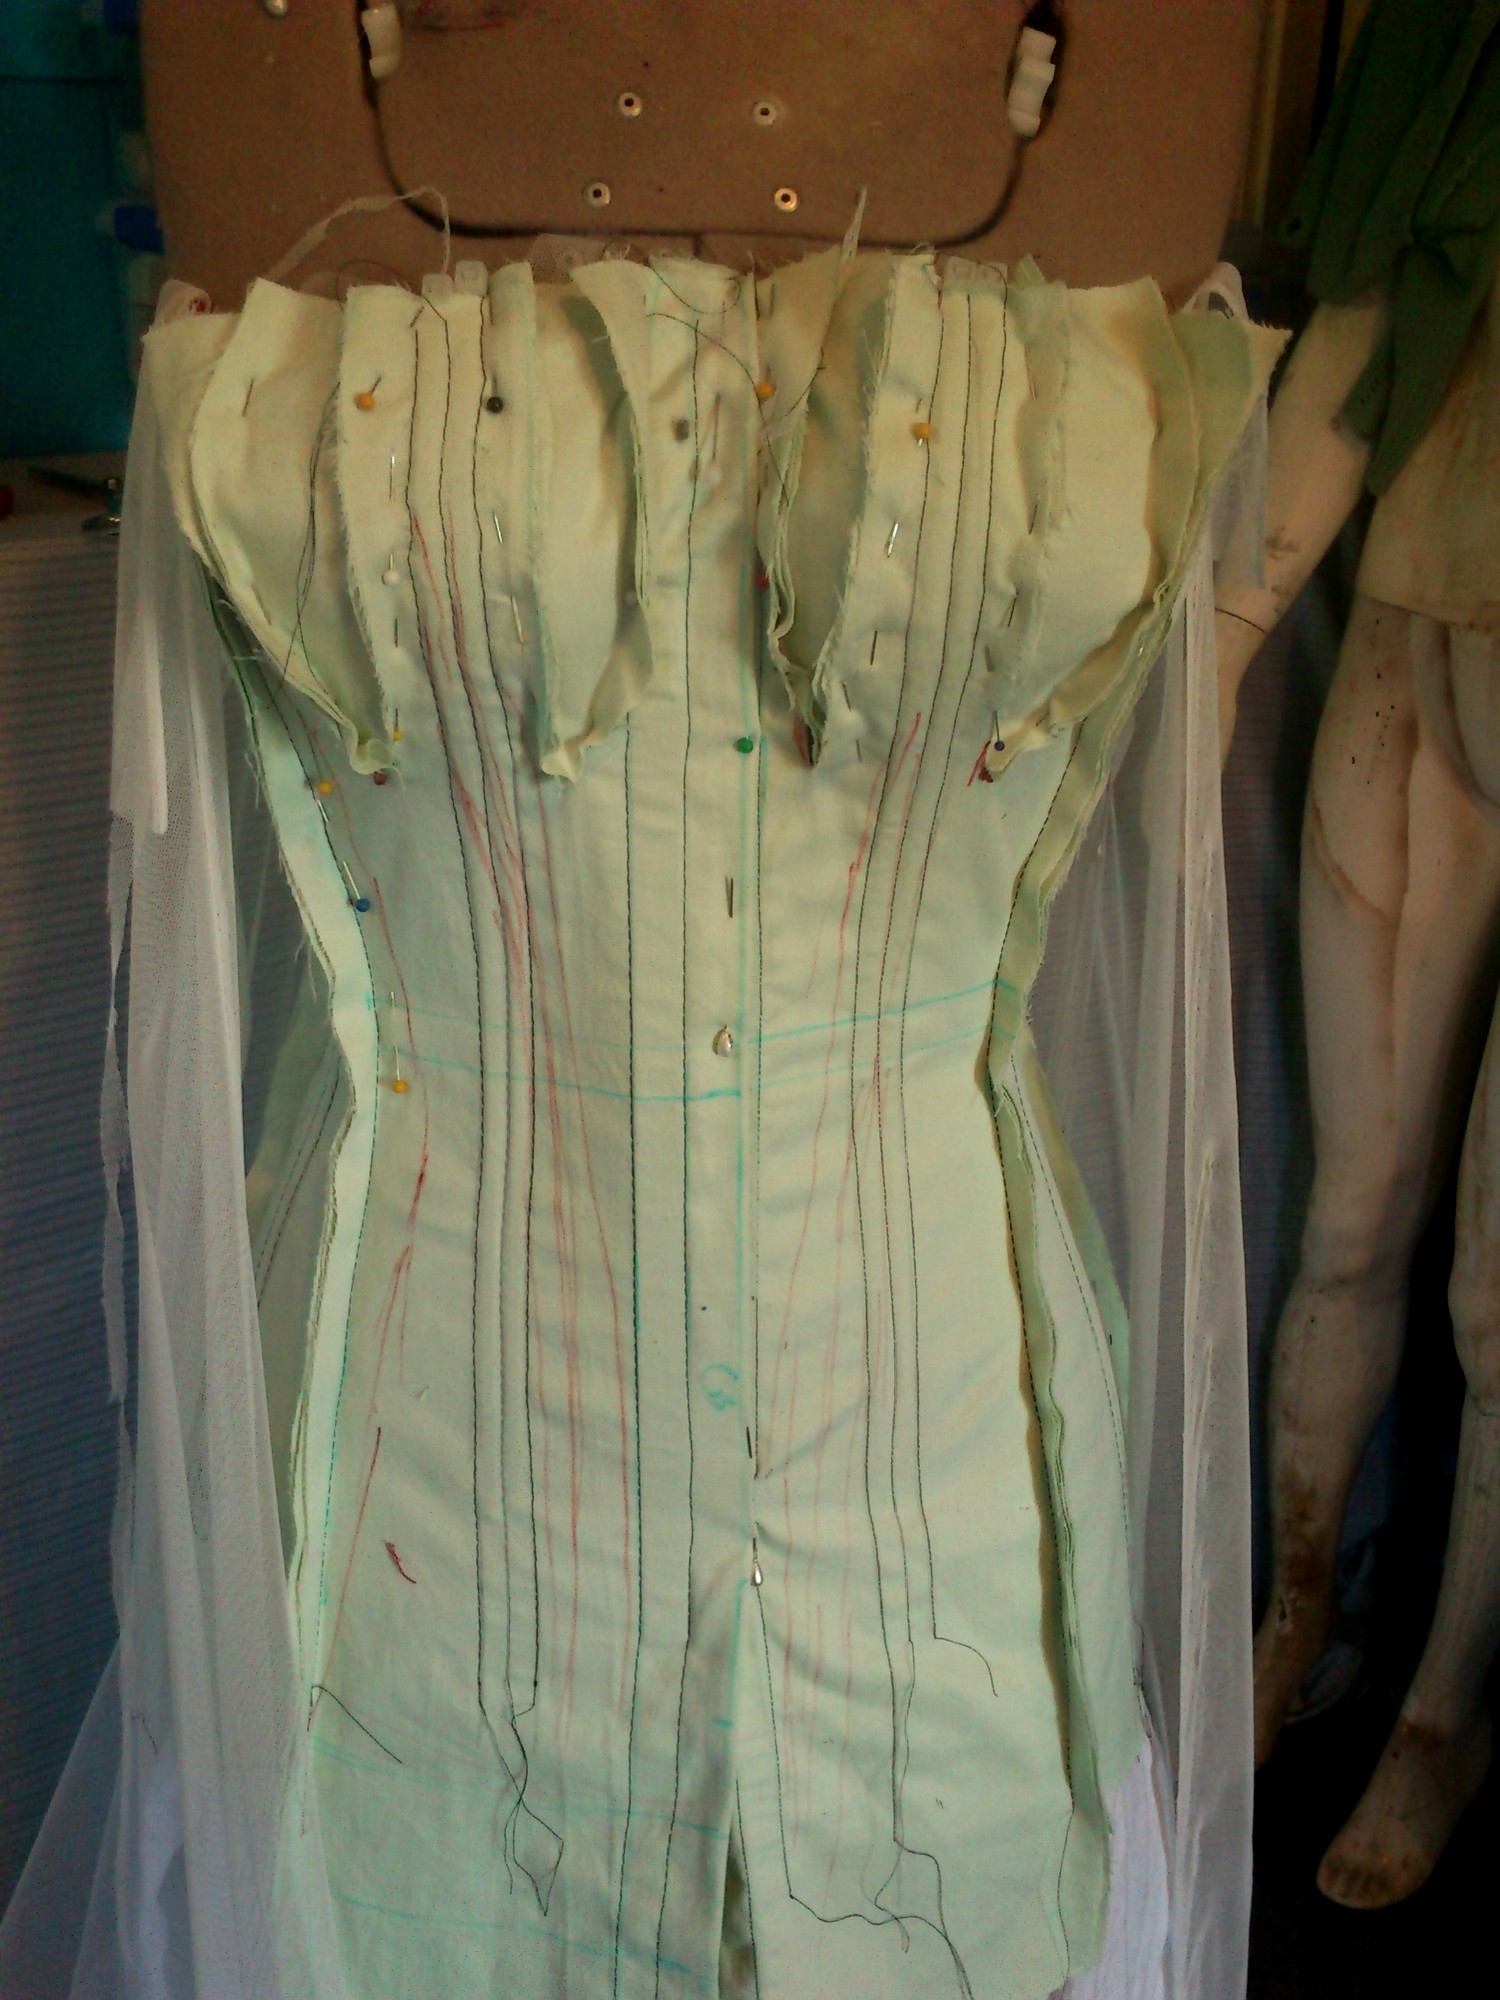
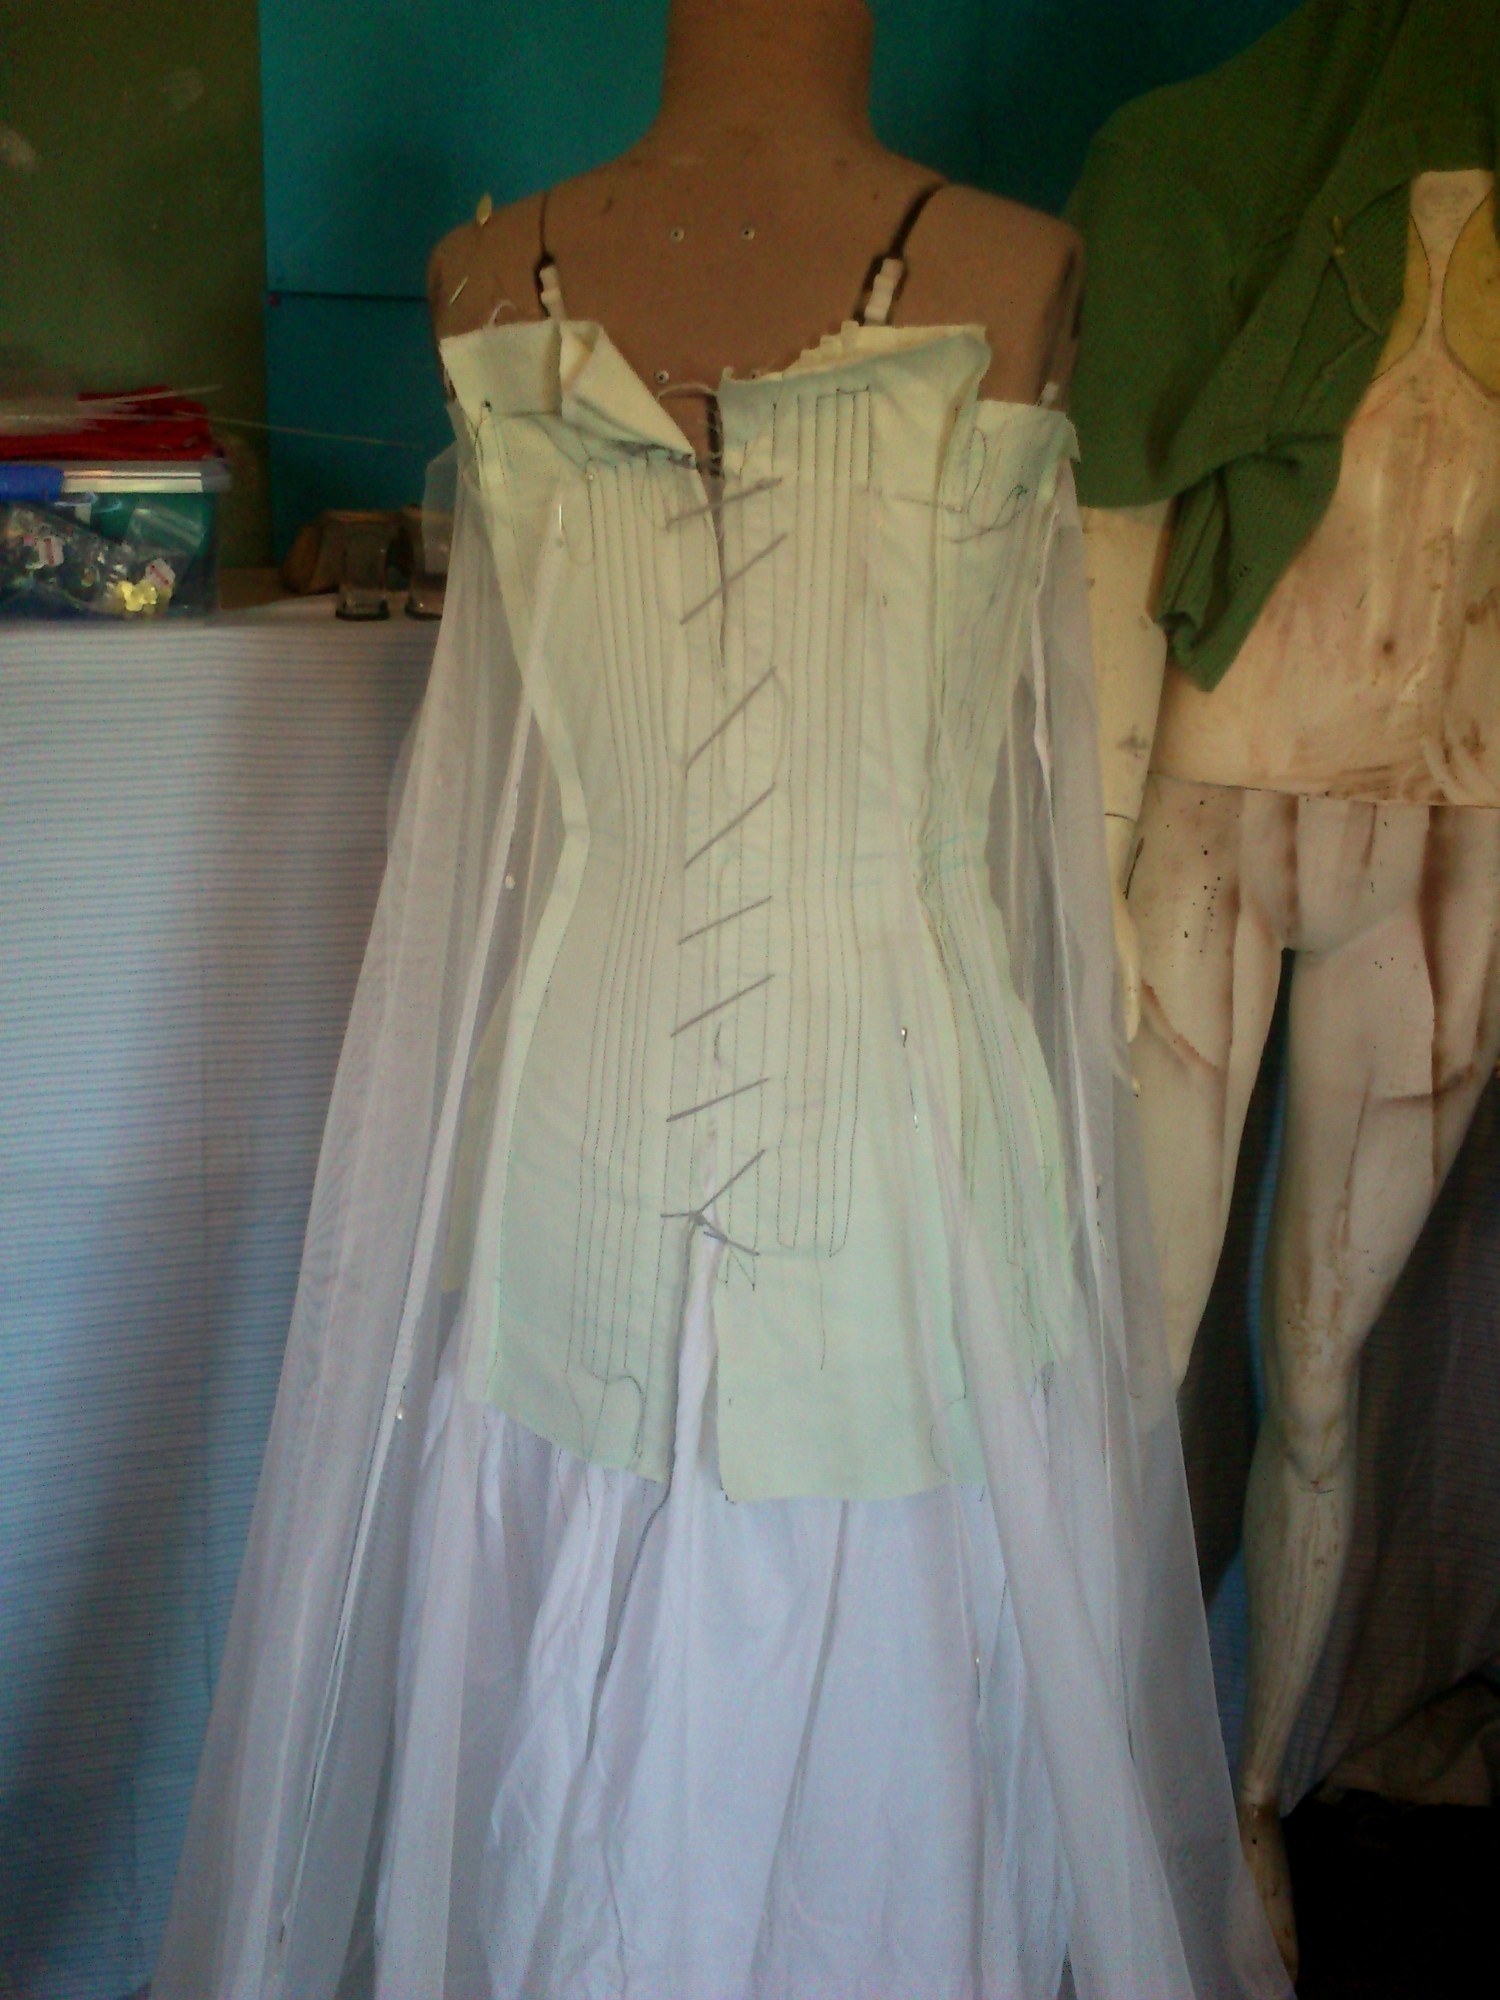
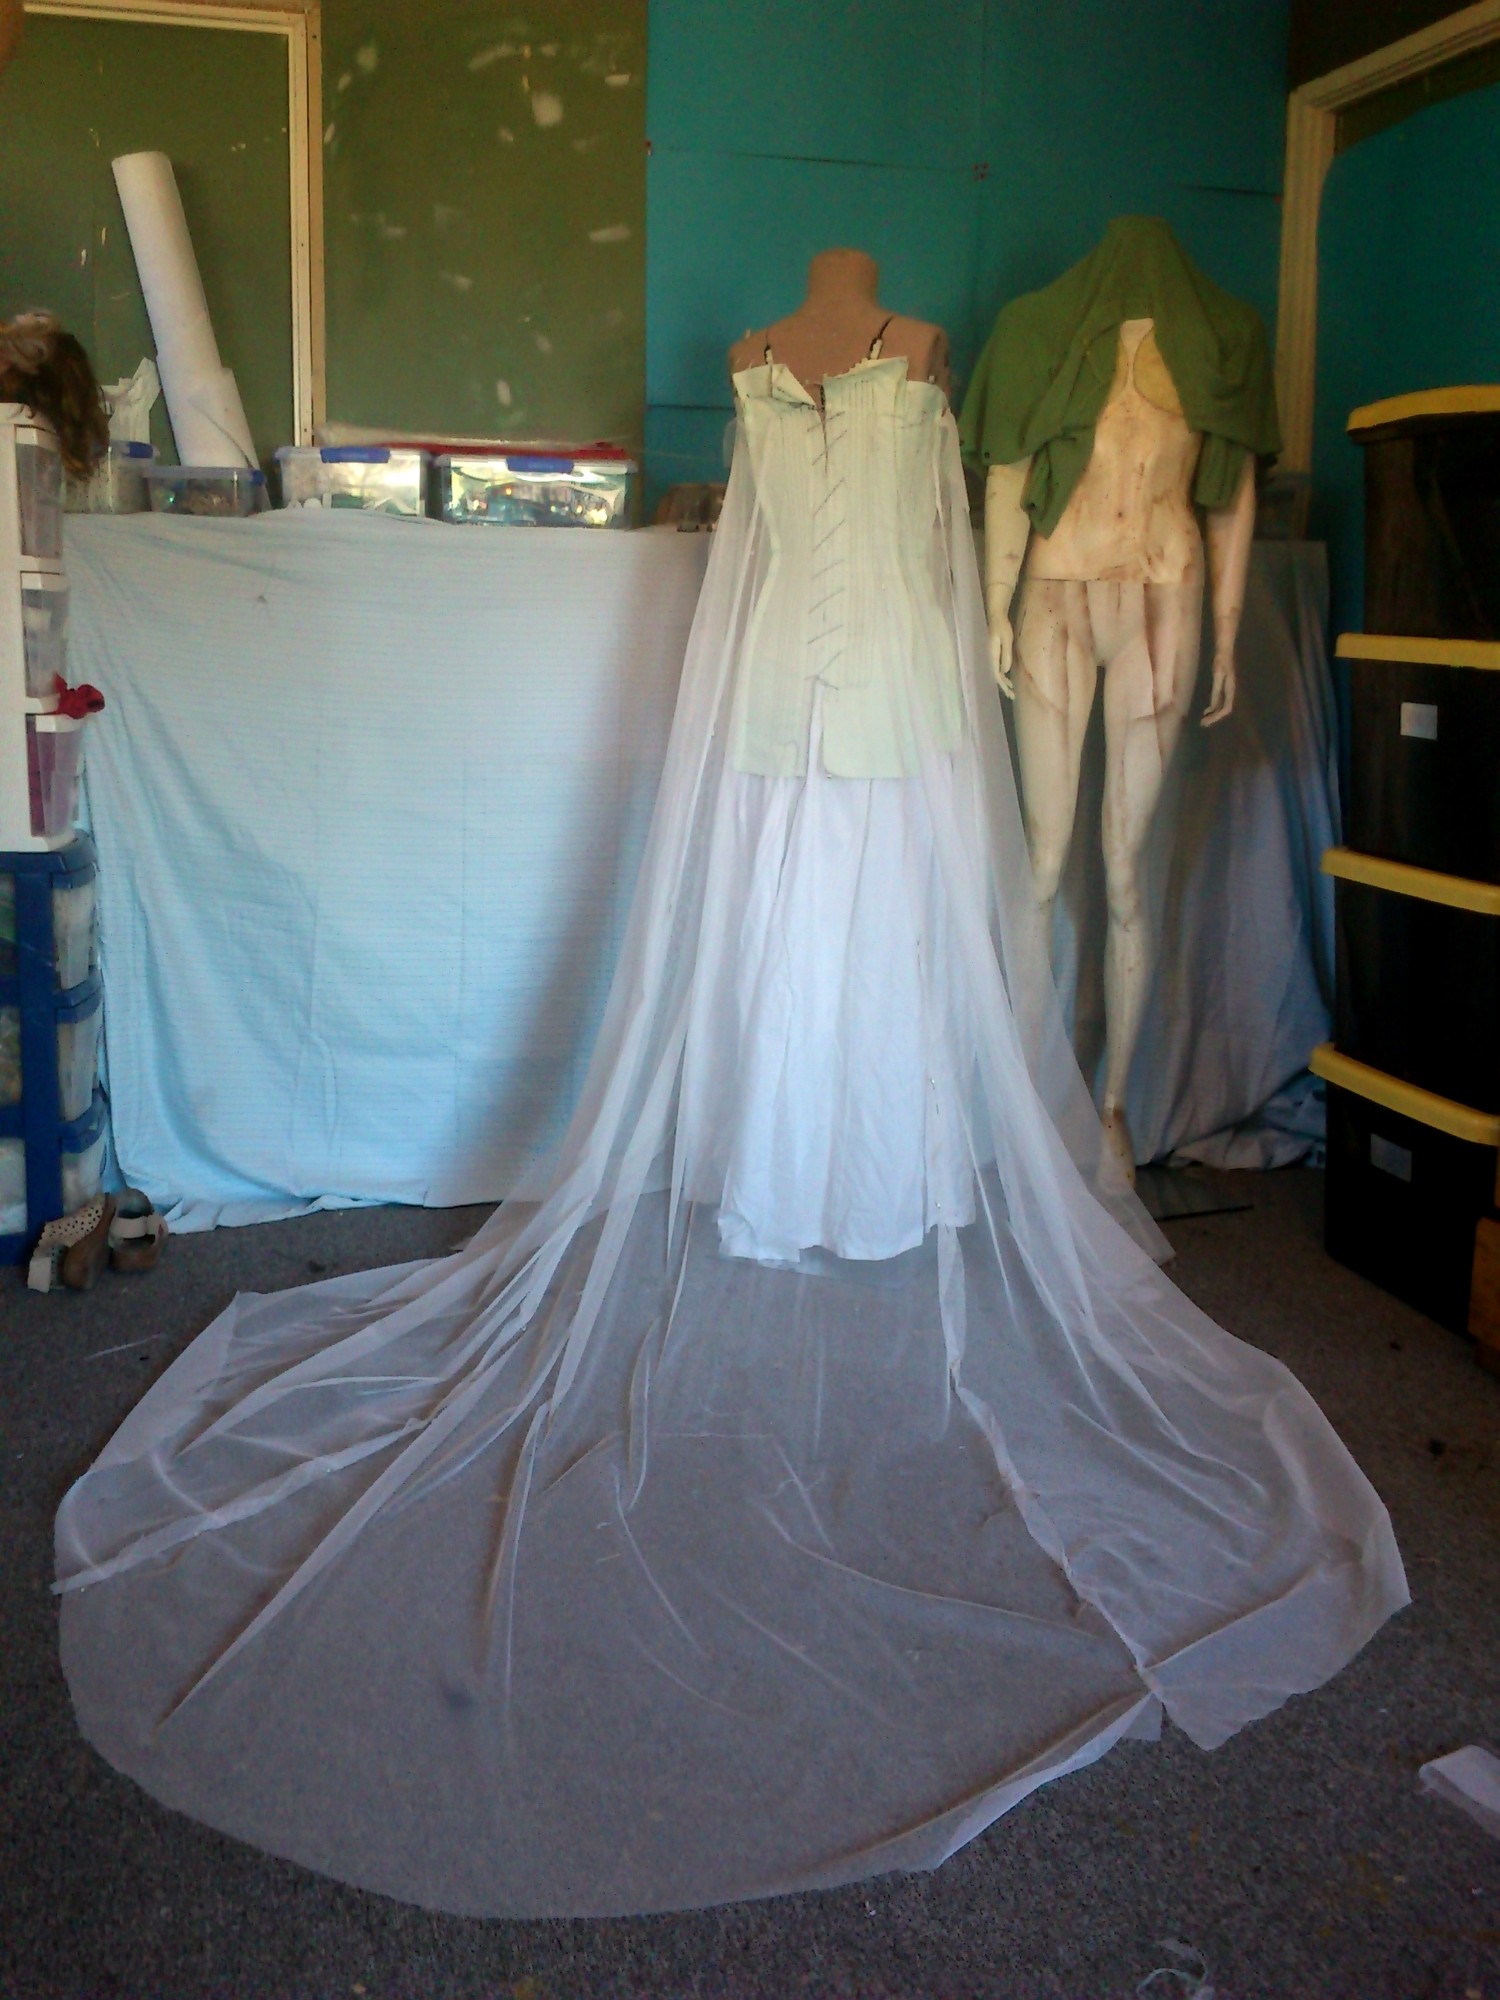
The Mantua: it’s cut, the stays are cut and have boning already. The skirt seams are all done. And it’s a single layer (aside from body) so it’s really light.
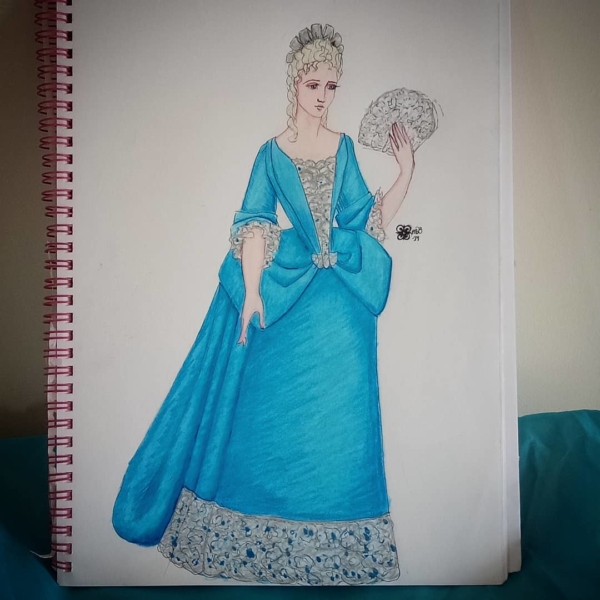
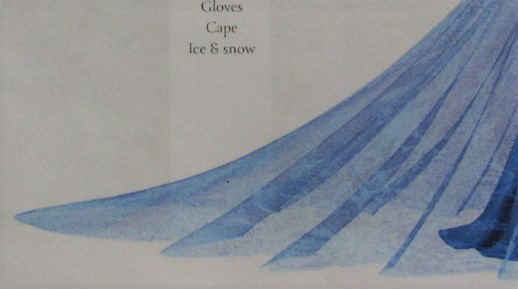
This Queen Maude (of Norway…) gown. I would love to know what colour it is originally, but she had a golden sequin gown and a pale blue gown


Pale blue gown. 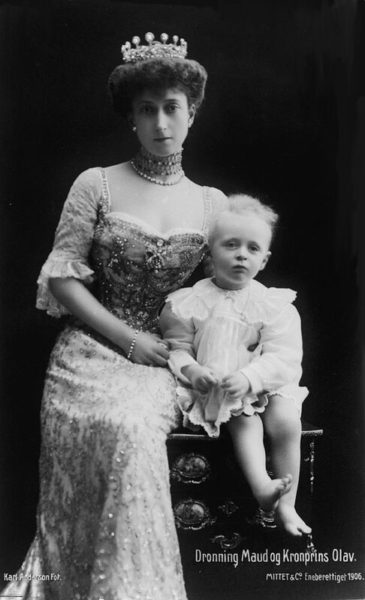
Gold sequin gown.
The Mando might take a while. I’m not sure I want to have two sets of armour but I also don’t want to convert my Shae Vizla over. I worked very hard on that.
For the rest I have the opalescent sequined fabric, the turqouise, the silk chiffon with 2mm sequins… so a fair bit to play with 🙂