swtor-knights of the eternal throne, 3
Chapter 3, Dark Reunions
Chapter 3, Dark Reunions
Invested in the story we continue to find people willing to help, and of course figure out their intents. But this stage as Commander you find people both wanting to take you down or use you to their ends.
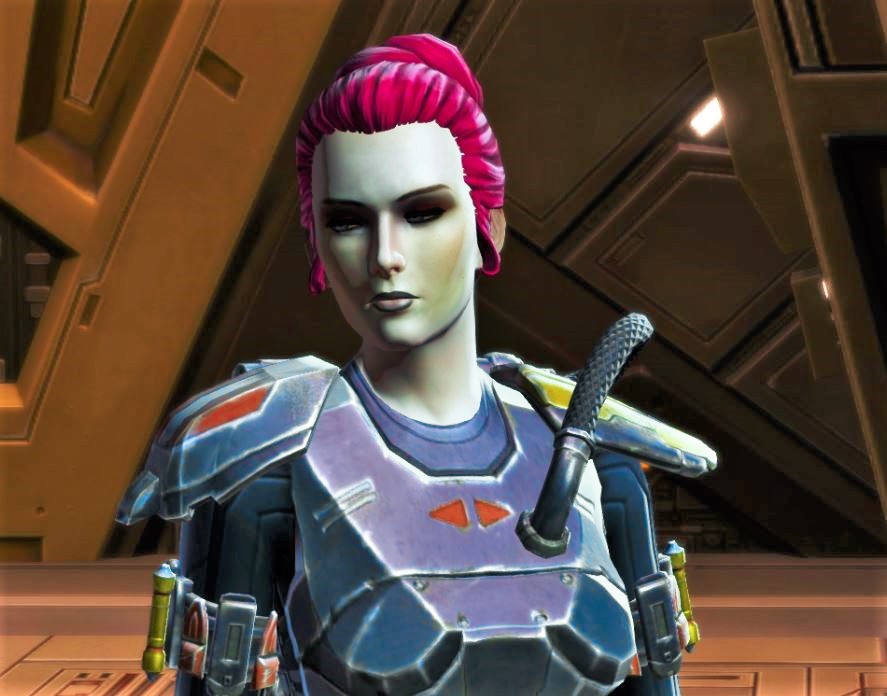
My toon and I share the same side eye look a lot.
Chapter 2: Run For The Shadows
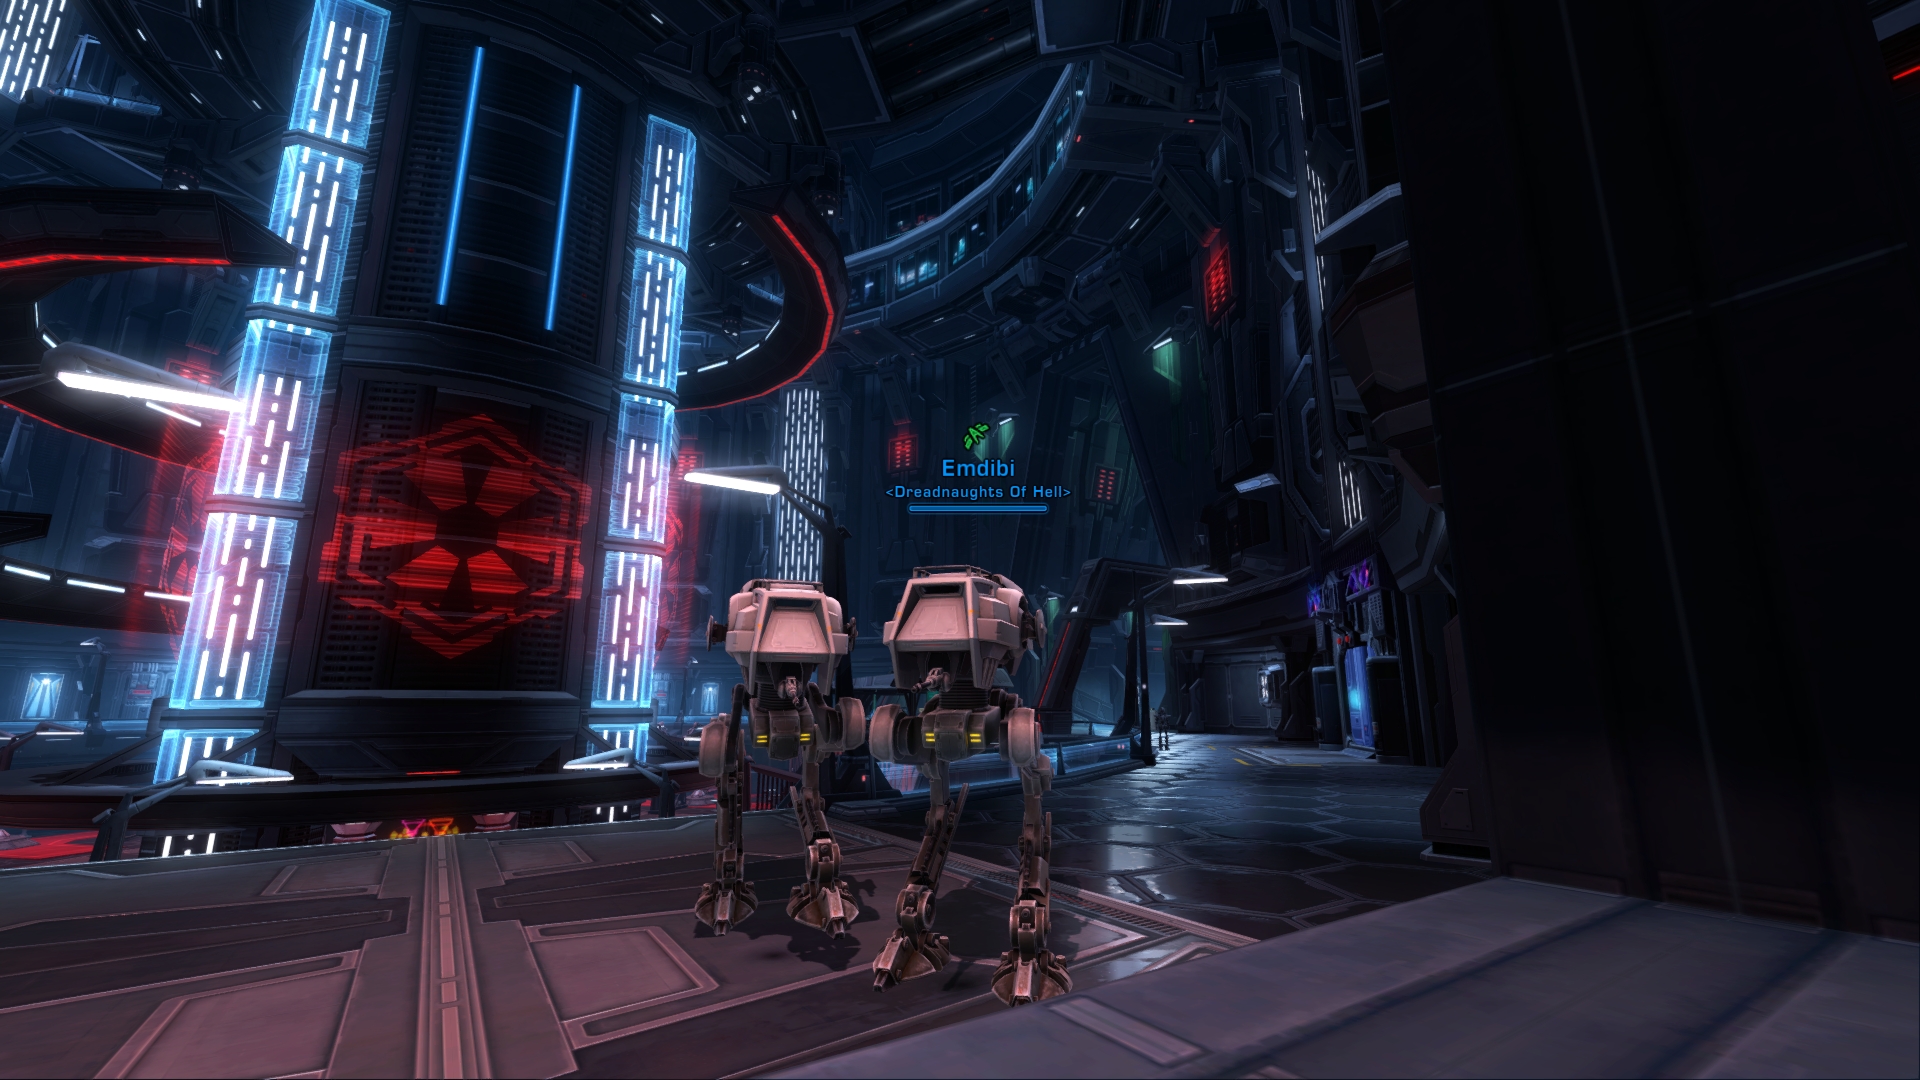
Chicken walker funtimes.
I will be spoilering, but also talking about the new game play and how it affects my ability to play. I love challenges. But there are some things that are very much can in effect be locked out or create a different kind of tension than the rush of tackling a challenge 🙂
I have tenosynovitis right across both hands, a result of Rheumatoid Disease. My ulnar has shifted to sit on top of my carpal bones as well. This is obviously fairly catastrophic over time but with splinting and therapy I should be able to get more use before limiting surgery. I need to take care of my fingers too as the smaller bones in my hands and fingers are eroding and recycled to be used in the disease process.
I use a regular keyboard and type sideways. I have tried other keyboards but the learning curve is very steep. In this way I balance speed of typing, lightness of pressure and can prevent my very fragile little and ring fingers from hitting keys they shouldn’t!
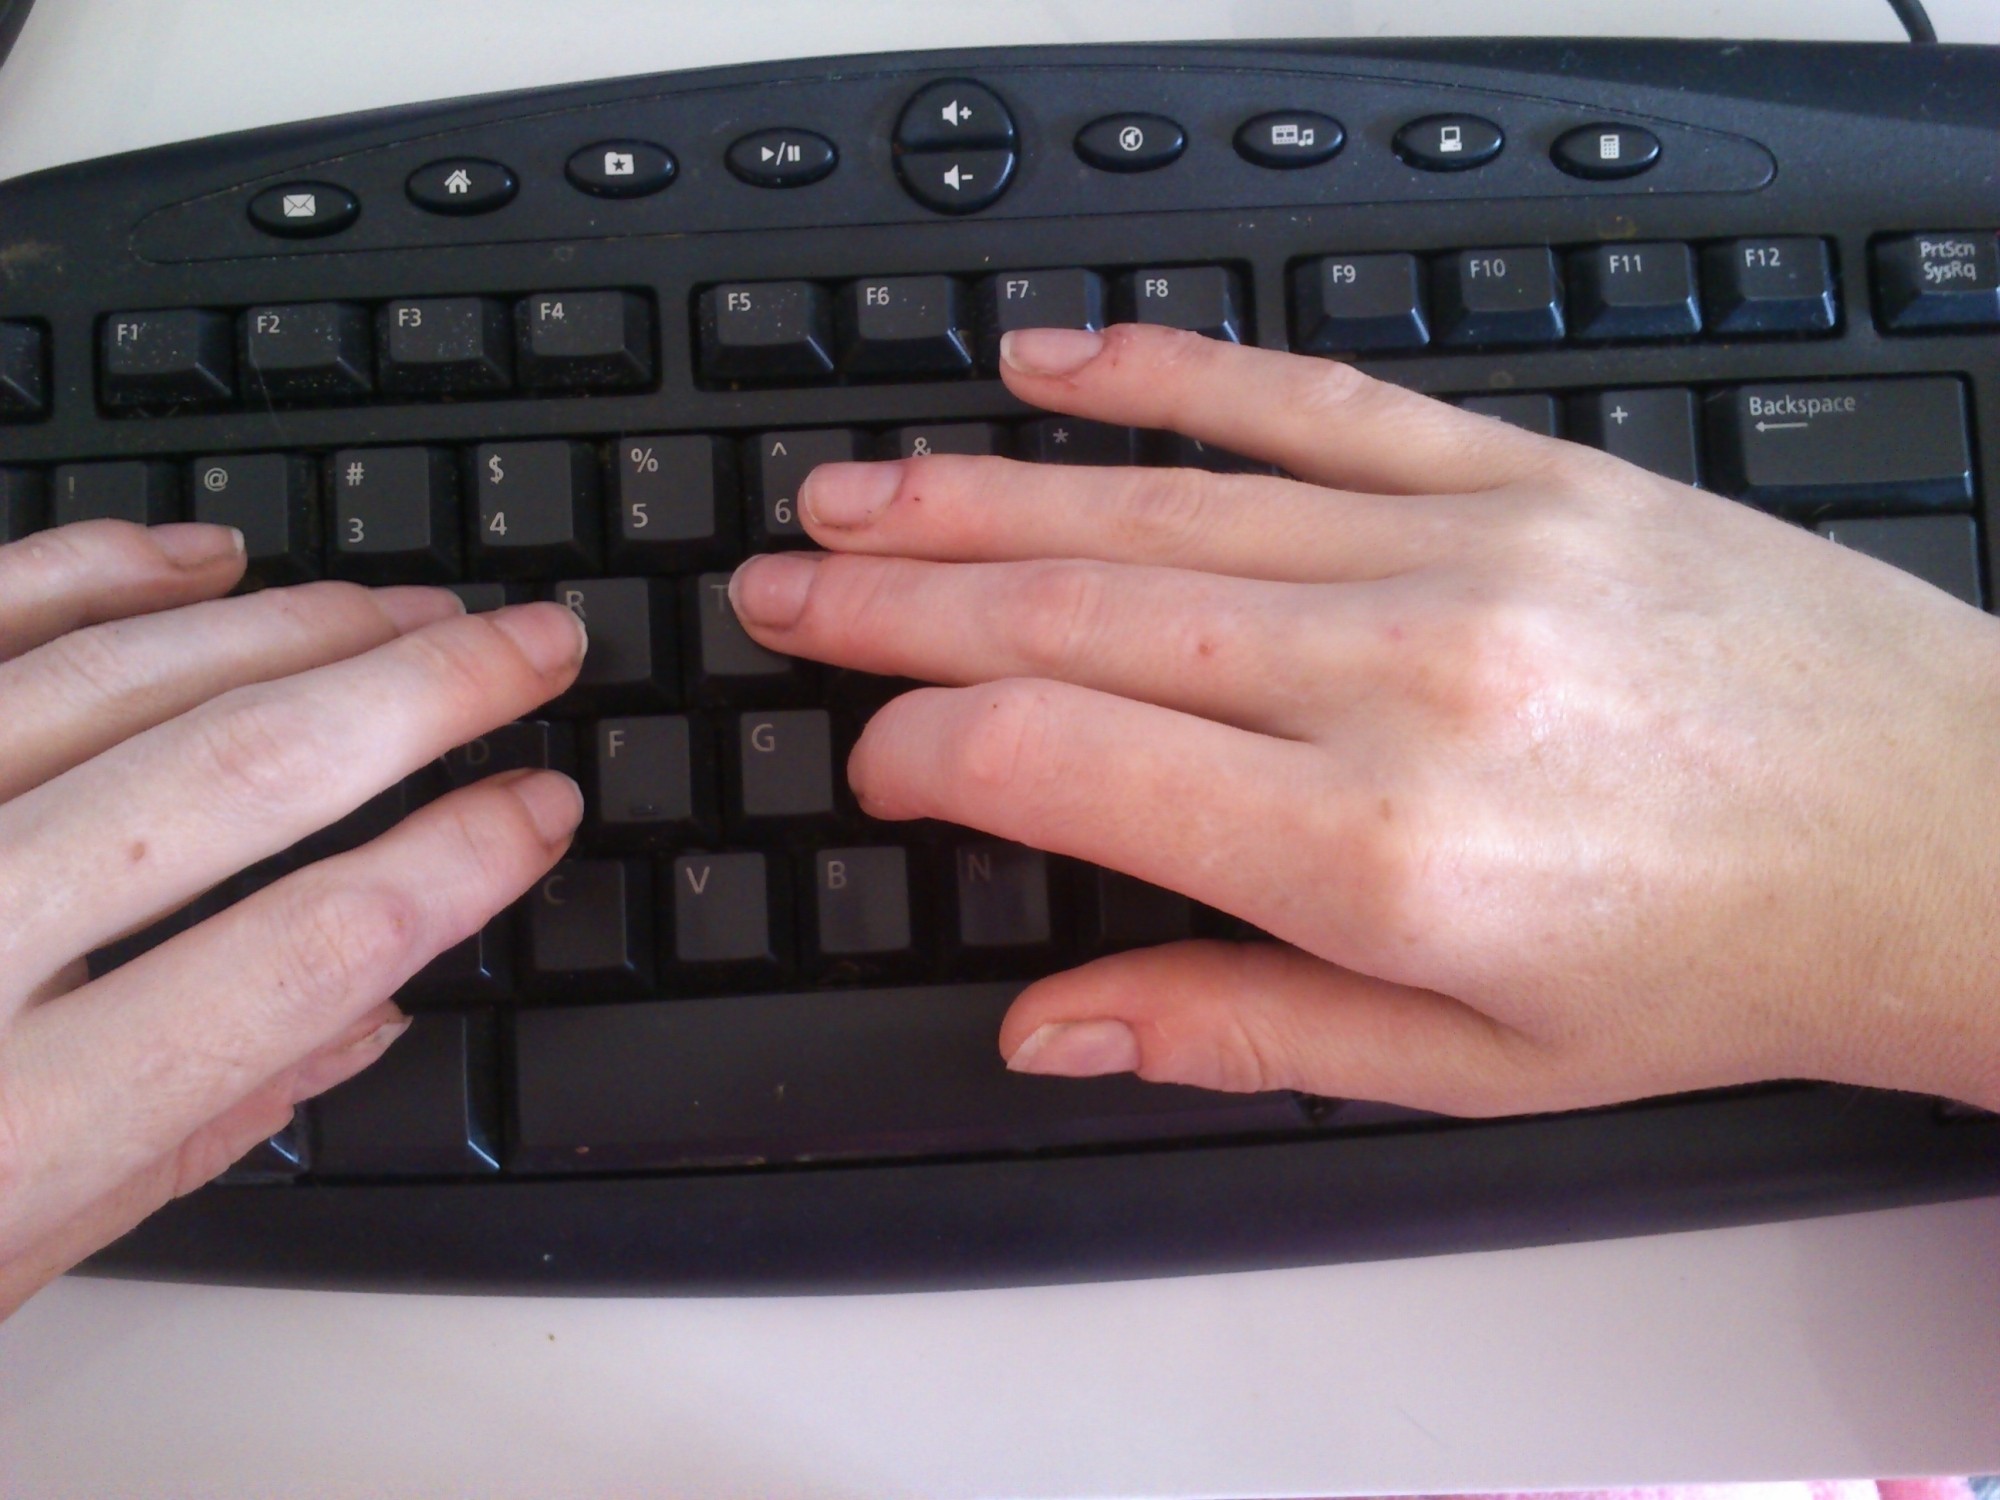
Here my ideal key press approach is on the left, on the right shows a key press that I need to avoid. But this is quite often what is needed in my ring finger of my left hand if I use WASD to move. I rotate the keyboard further when I am able to totally separate keyboard use from my mousing hand.
An ideal setup would be to have an angled desk and keyboard set in. So I am looking into keyboards with some slope and rest areas. But typing sideways means I am using my shoulders to move my hands over the keys as much as the distal parts of my hands.
I use a very light weight traditional mouse (usb) as I can rest my entire fingers over the clicking area and avoid direct pressure on the tips of my fingers.
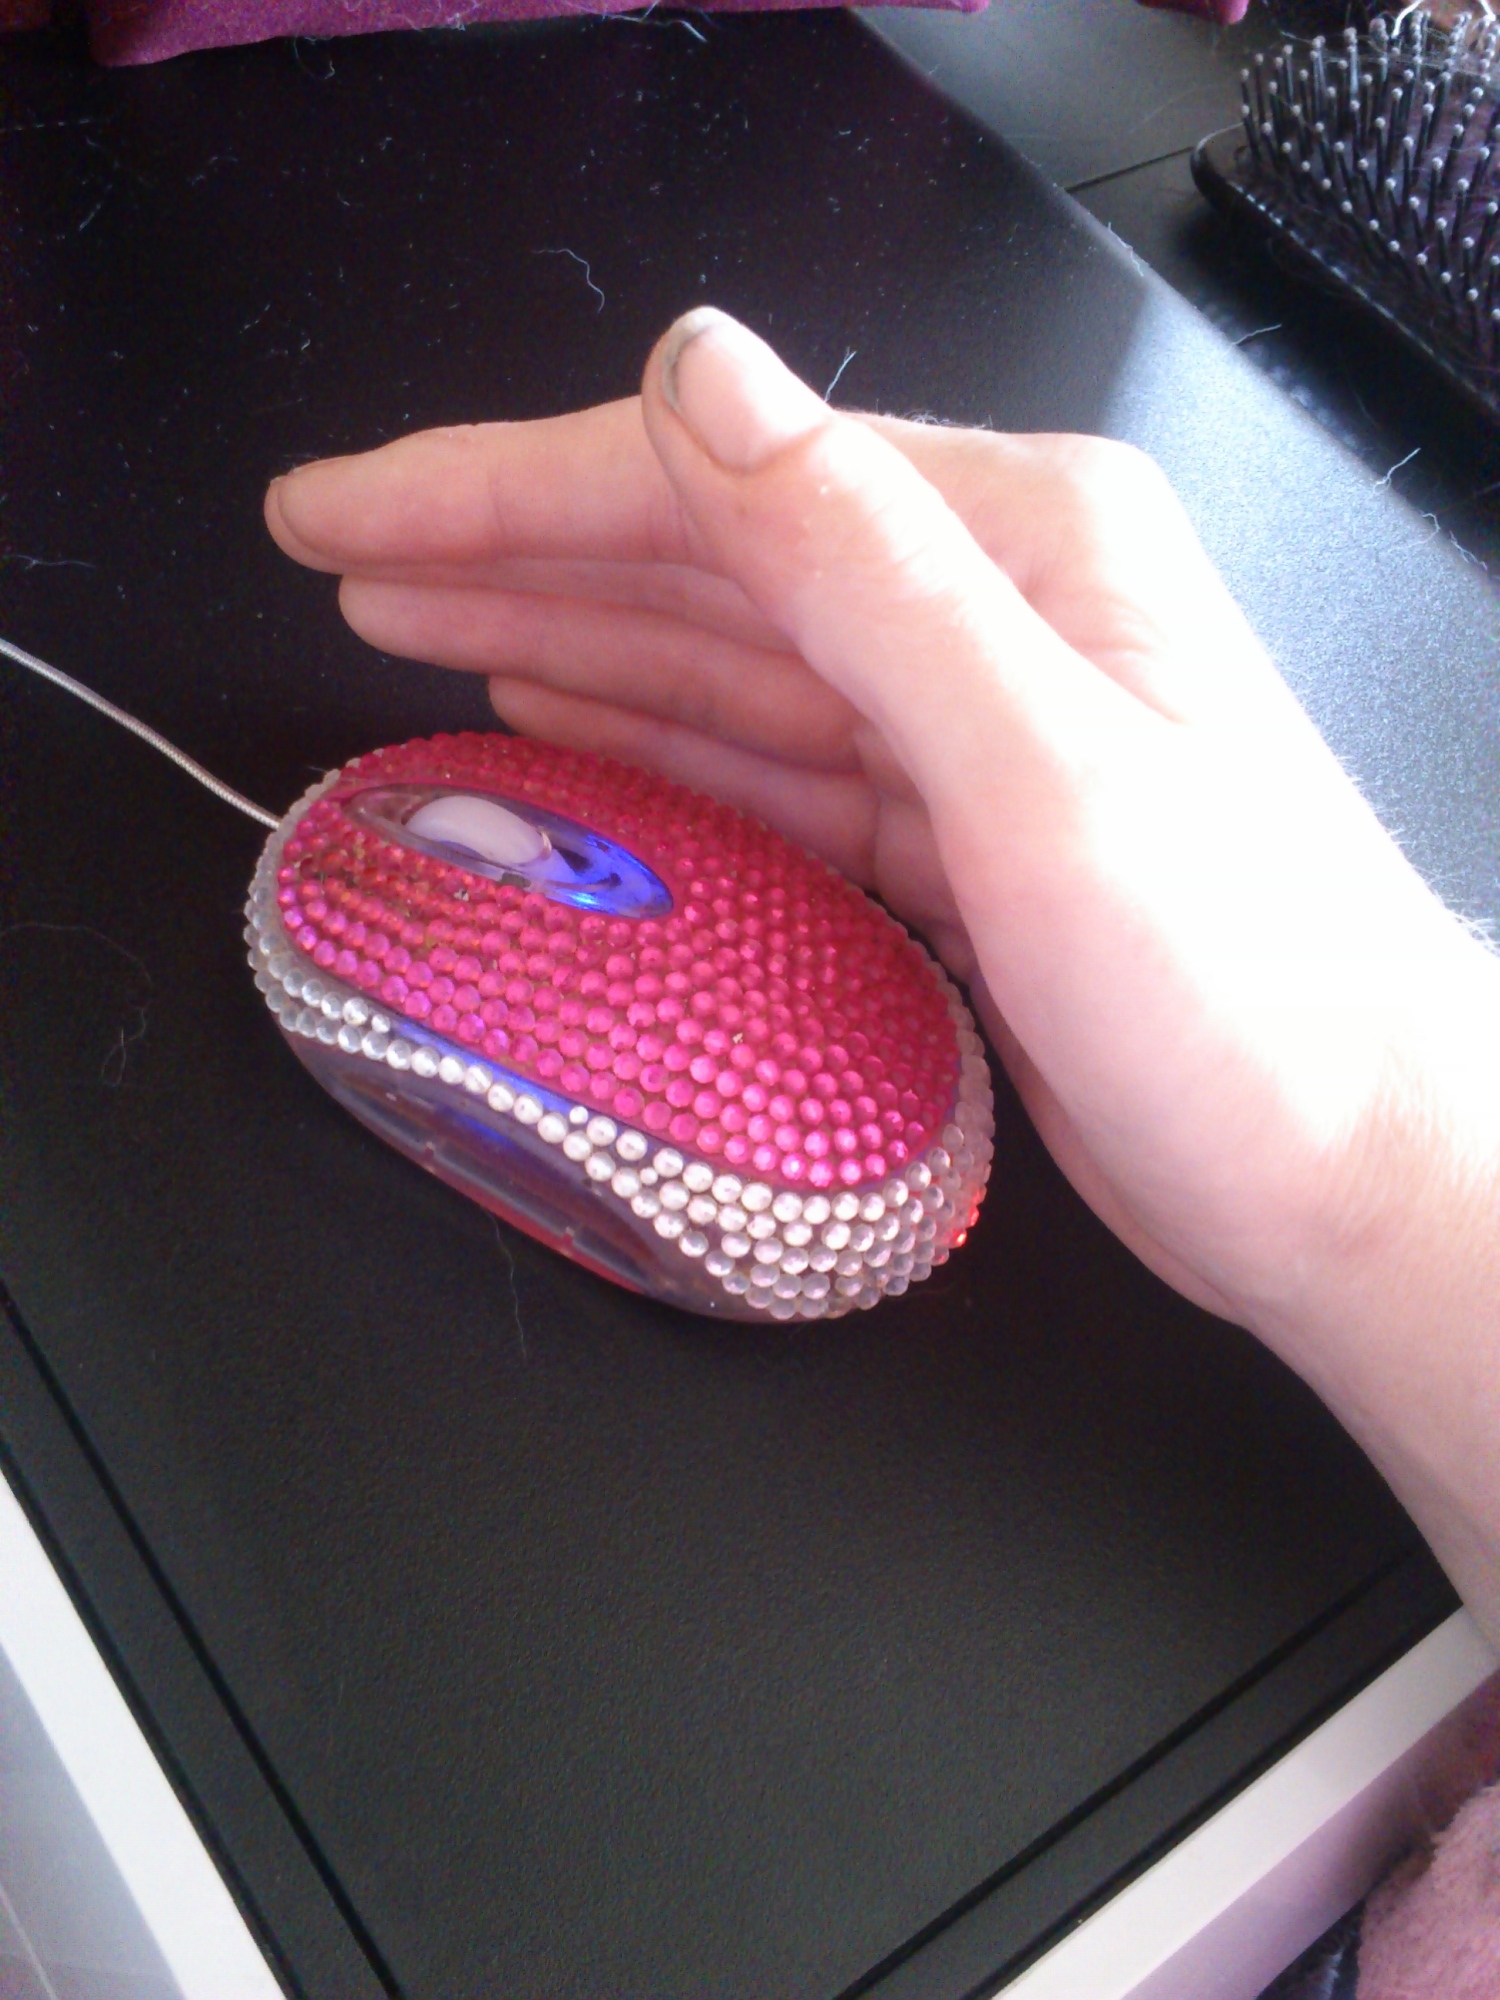
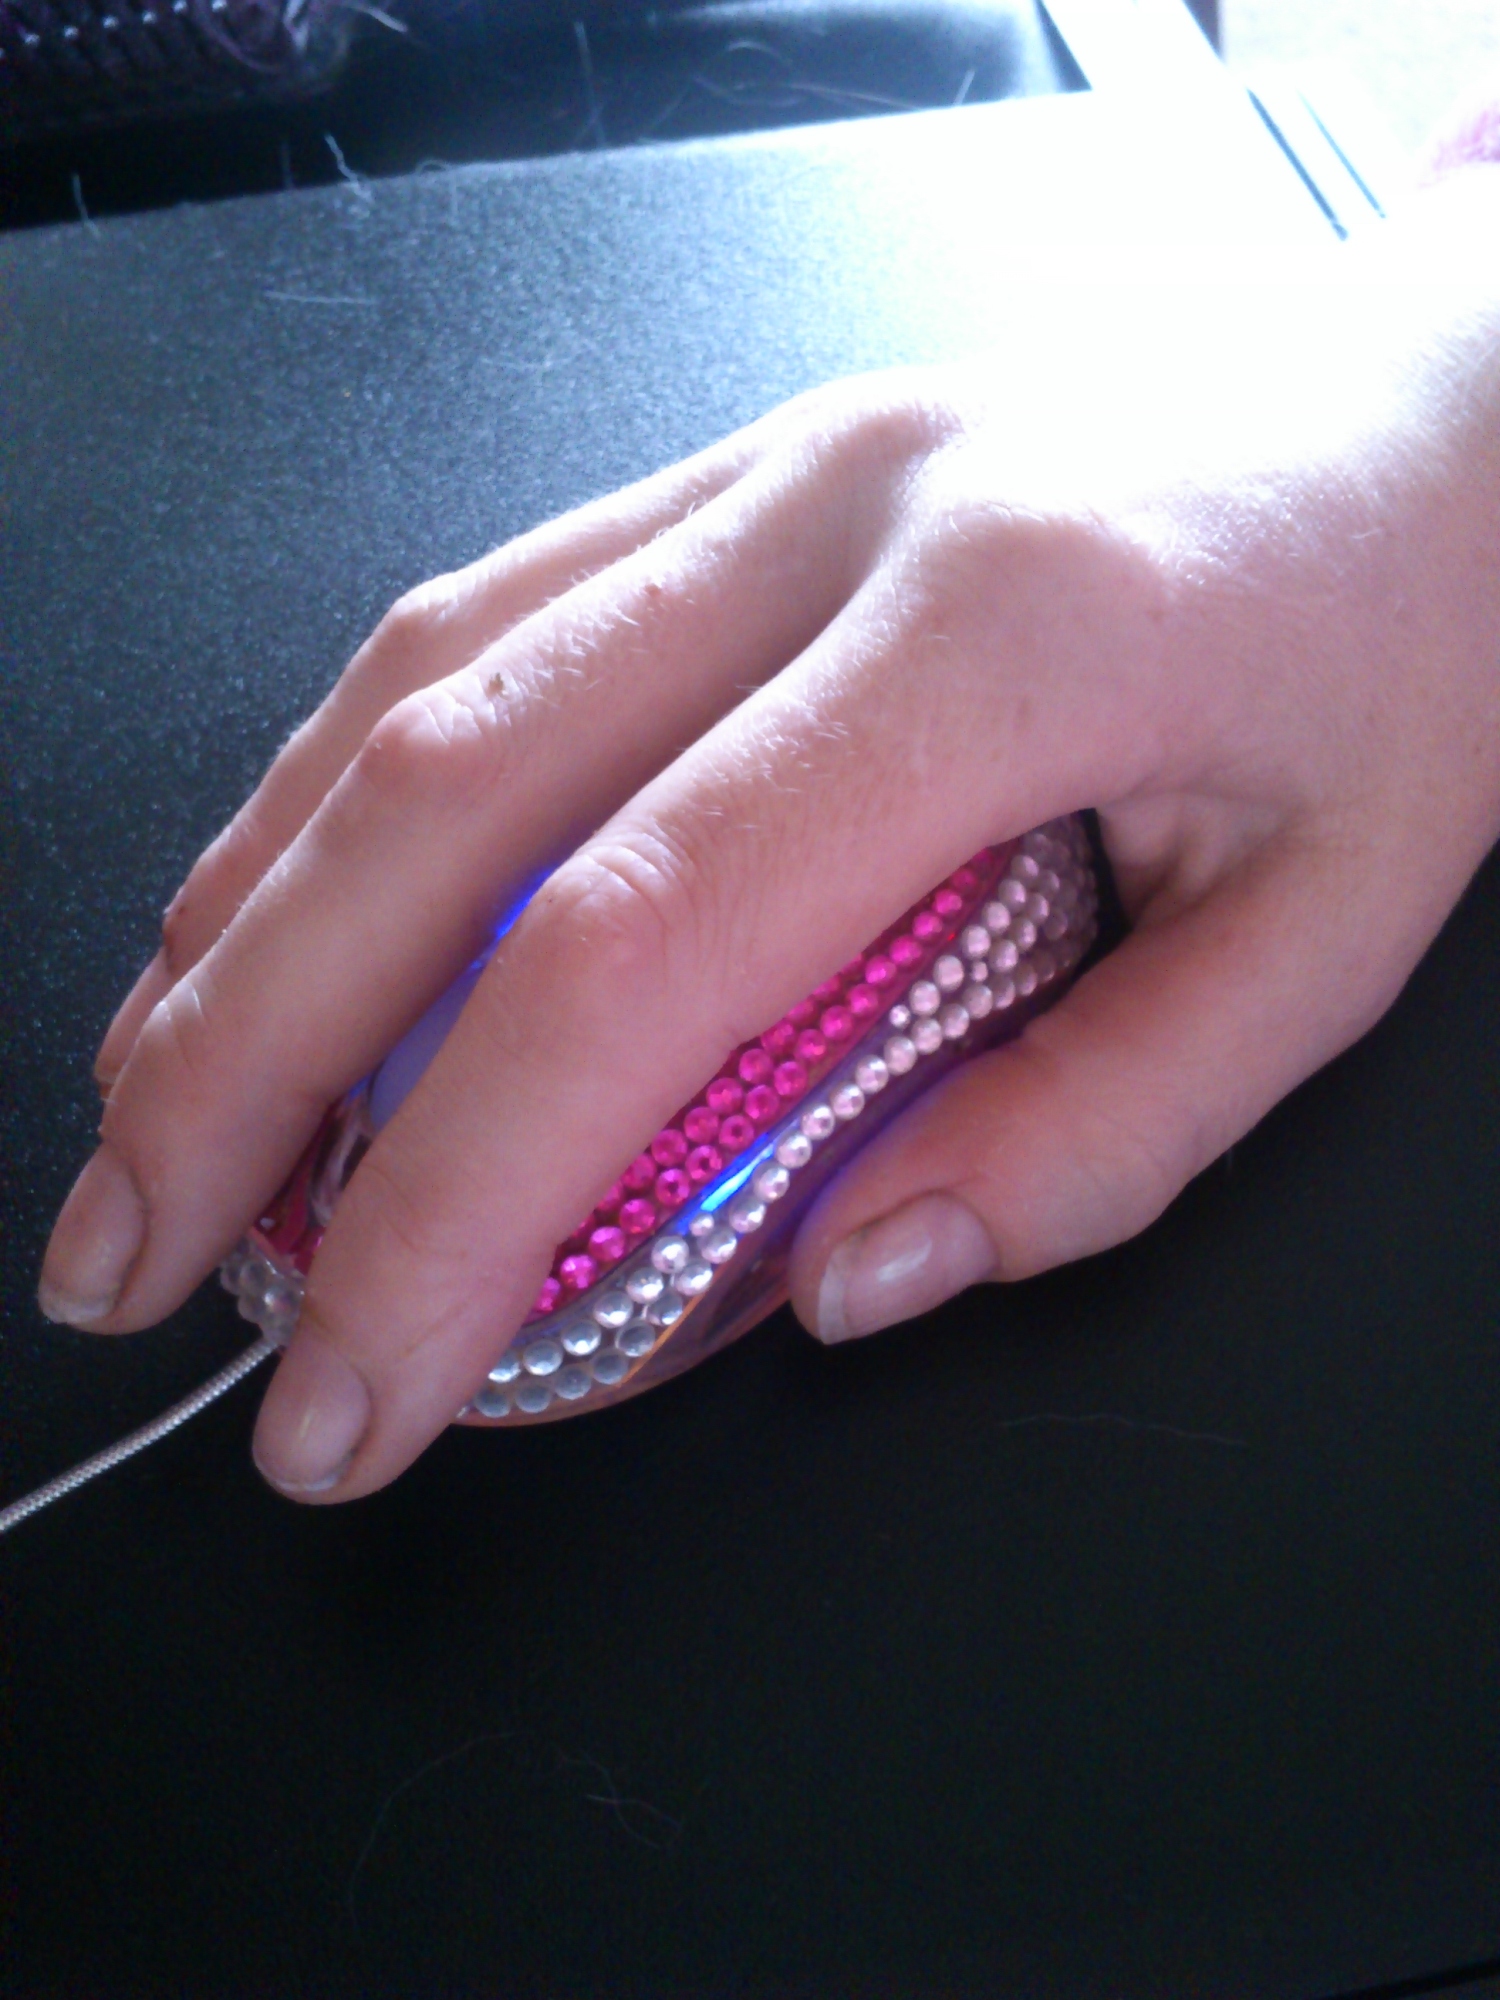
This is how I try to use the mouse, so I depress the full finger. It can be a bit slow. But the mouse is more responsive than my keyboard.

Here you can see how my palm is fairly well supported.
My hope with my Xbox controller is to be able to get my hands off the desktop entirely and be able to avoid the rotation of my hands and wrists that happen with a mouse and keyboard.
But I am also going to invest in a vertical mouse have now tried one. I’m concerned about the weight and surface requirements for it to work.
These help, a lot. But they aren’t total solutions as there are no total solutions to my disease. It changes the bones and tendons in my hand but also those muscles and tendons that control the hand to originate in the forearm.
So I have to be selective in non vital activities. I also rely a heck of a lot on spellcheck to do posts like these due to difficulty depressing some keys.
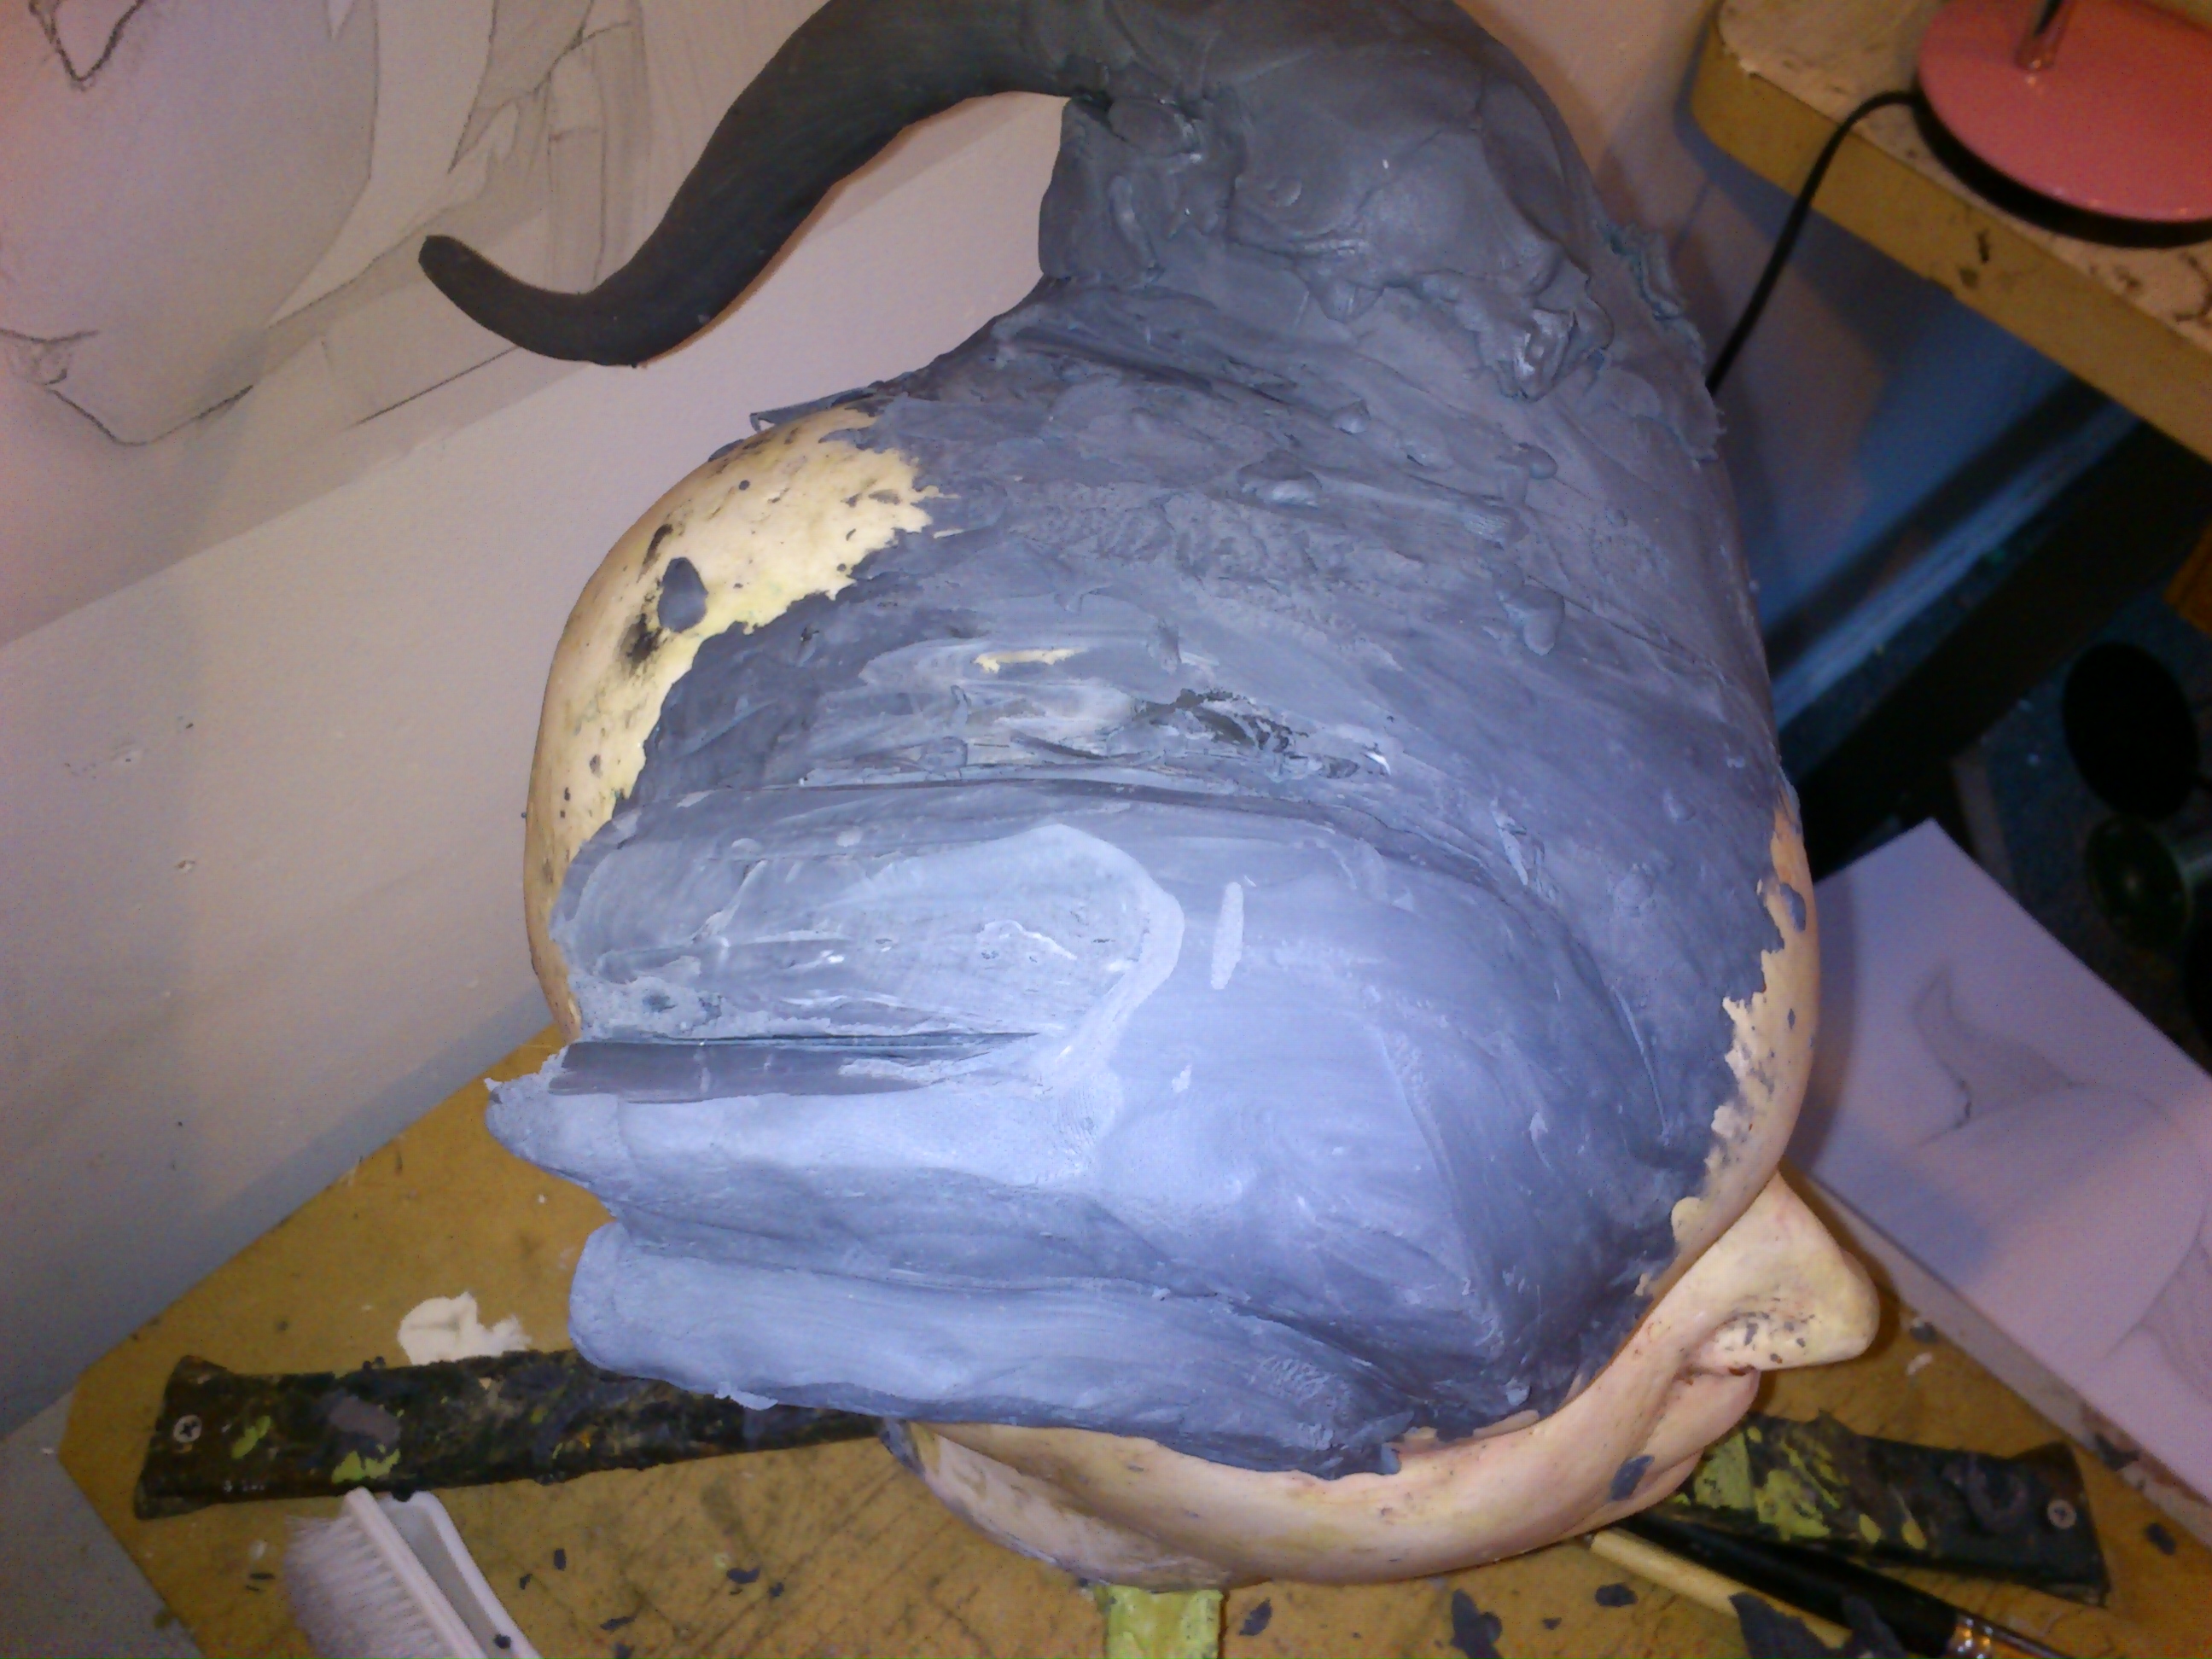
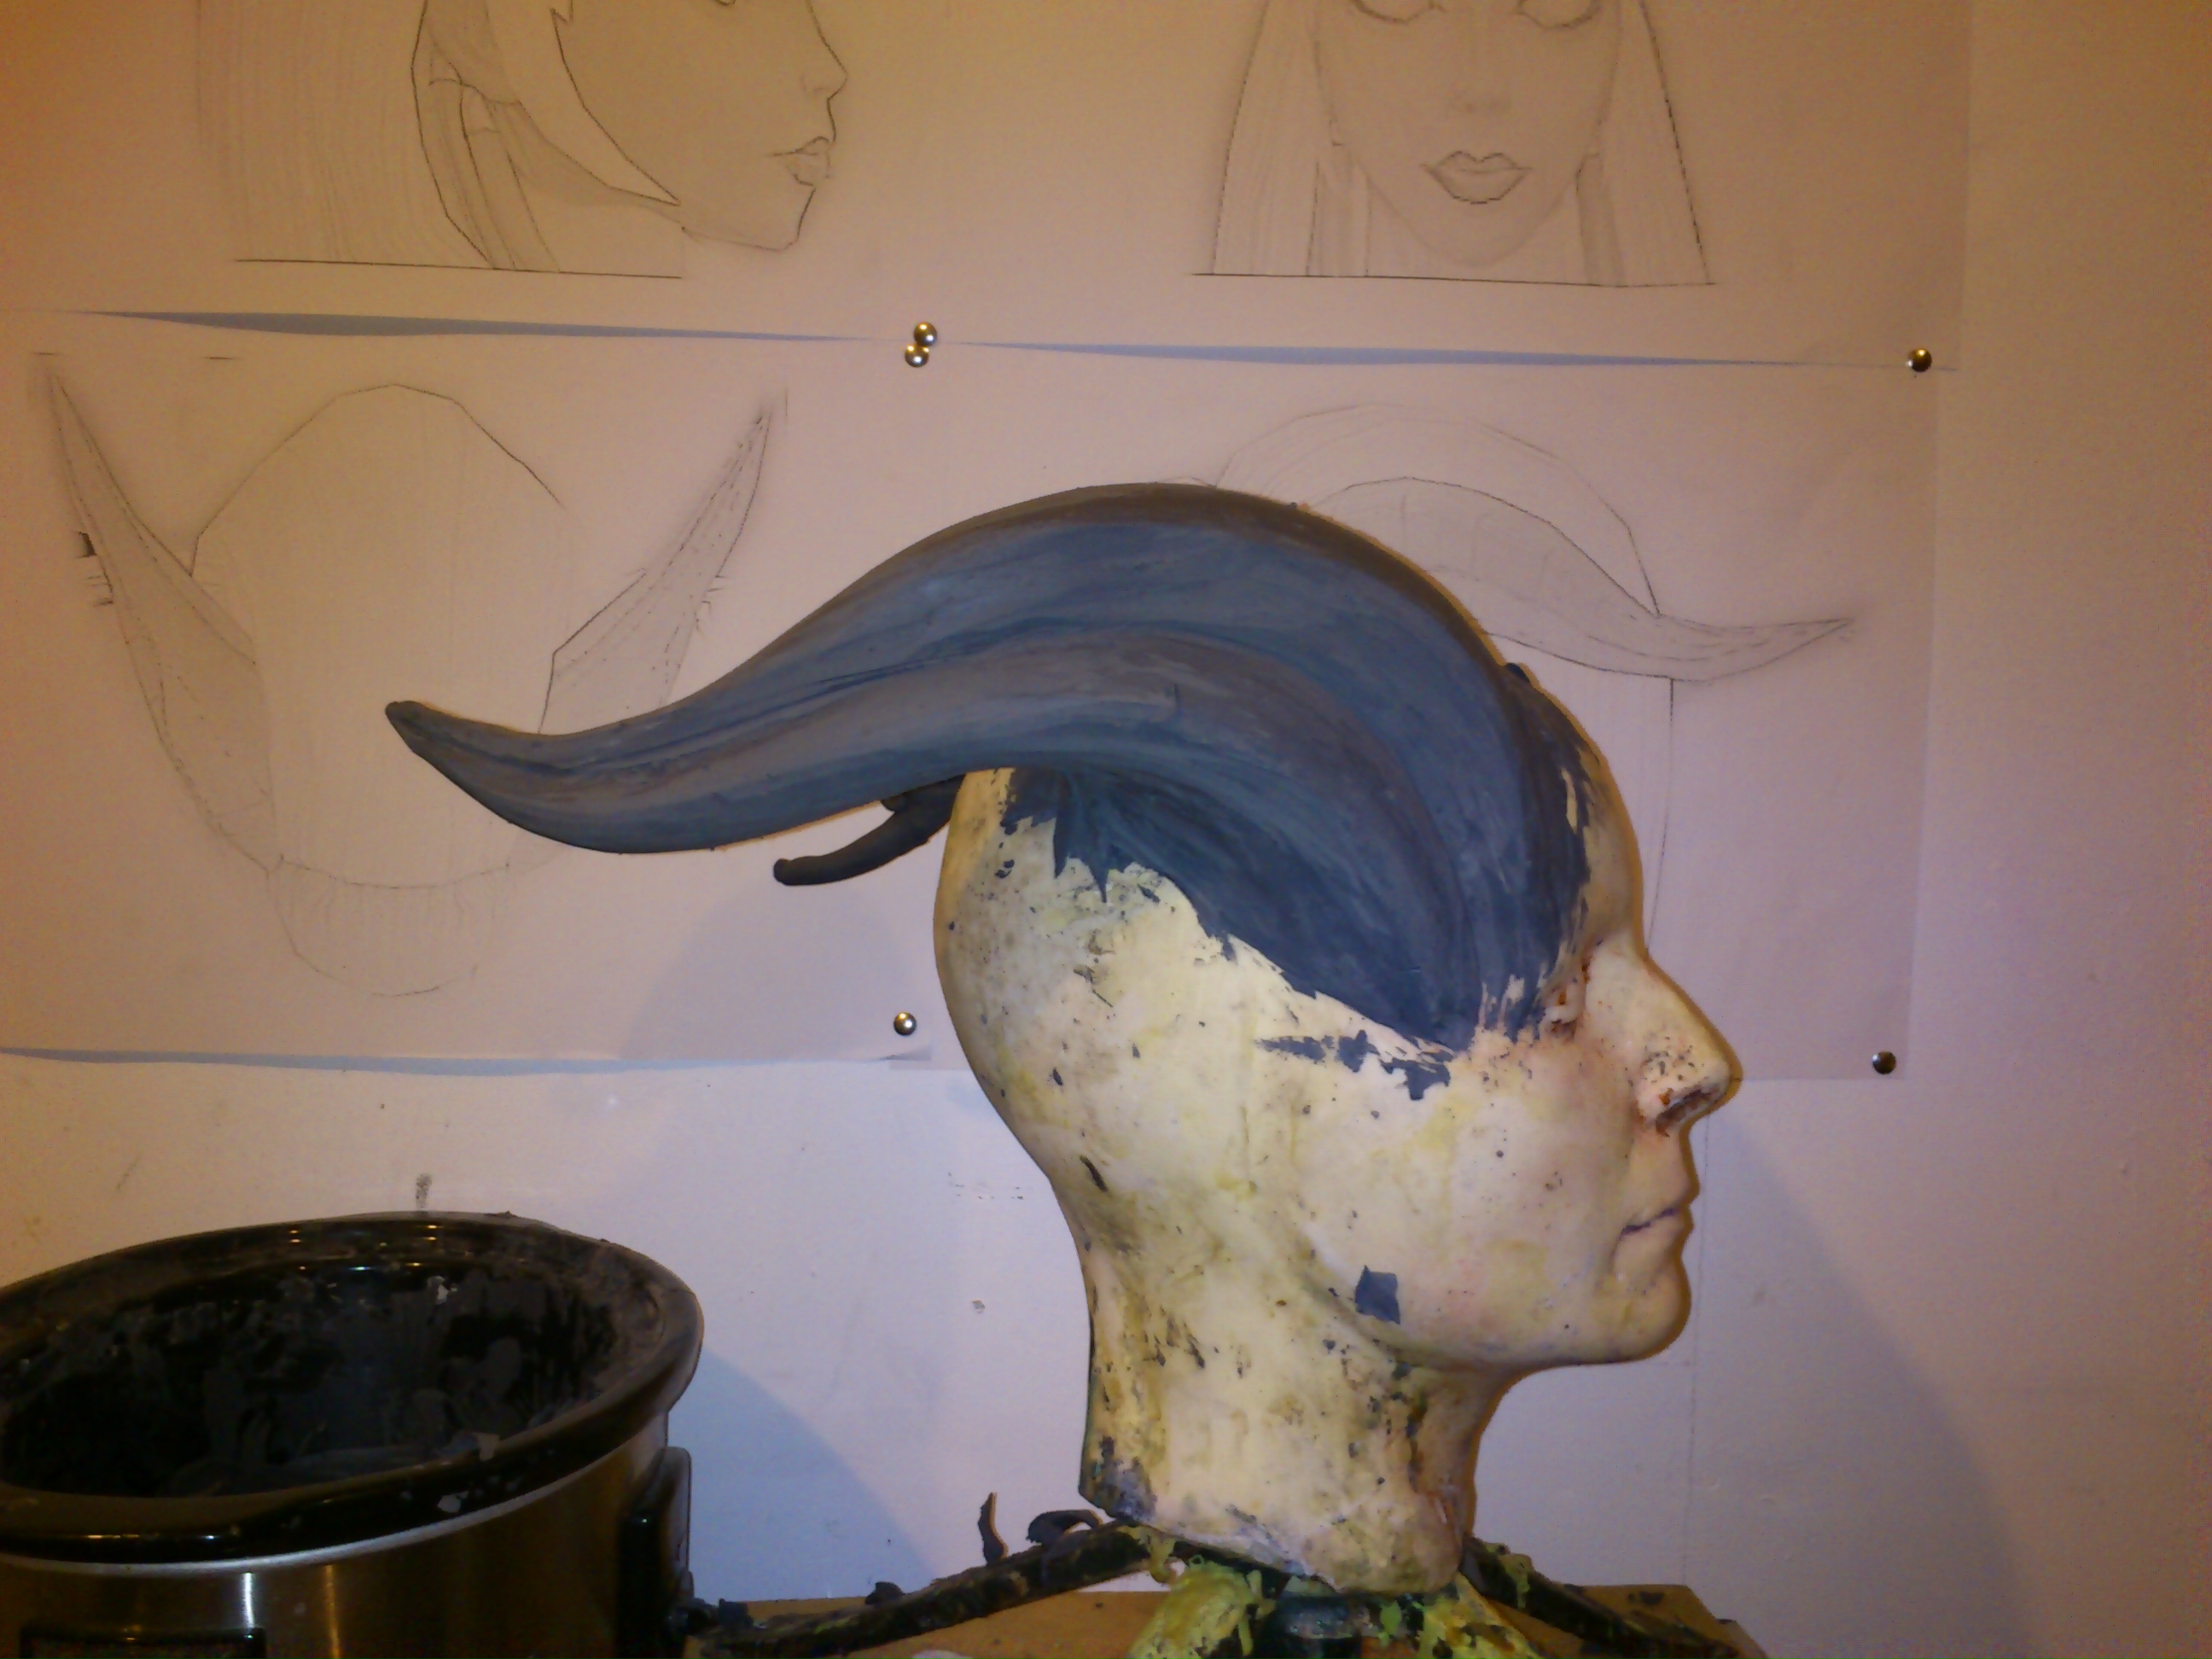
Left hand side rescaled and tidied, the right about to begin!

The right started, I wound up adding a little to the inside of the horn edge and then continued shaving off the top.
I had to leave the sculpt here, it will cool further overnight so I can shave and carve the rhs to match. I usually prefer to work equally on each side but as these horns will be cast separately I decided to get one side sized ideally in case I bumped one of the horns off and had to sculpt without support. It means I can also cast one before anything happens to ruin the sculpt 🙂 But I am so far lucky that the clay is cold enough to retain shape.
Those are also my favourite tools for sculpting:
A paring knife- it is dull! But the blade is fine enough to use it for carving and shaving. Also if warmed it will smooth a surface quickly using one or the other face flat to the sculpt.
A loop of plumbers coil- it is able to be held in a tight or loose loop depending on how much pressure I want to put on the sculpt.
One of the blue plastic tools you can buy in a set.
The wedge shaped silicon brush- for corners and to press caly from one pane to the other in a corner.
Wood handled tool that is a flat topped loop- for carving and light shaving.
And a vegetable peeler. This shaves off much more cleanly than anything else but is only a few cm across. But it cuts back a surface super fast! And leaves only shallow teeth marks that are easily buffer out.
I had made all of this before C6 and D*C but lost the confidence to wear it. Sure I wore my Darth Talon but this.. this is a little more… well it only covers half what I’d like it too…
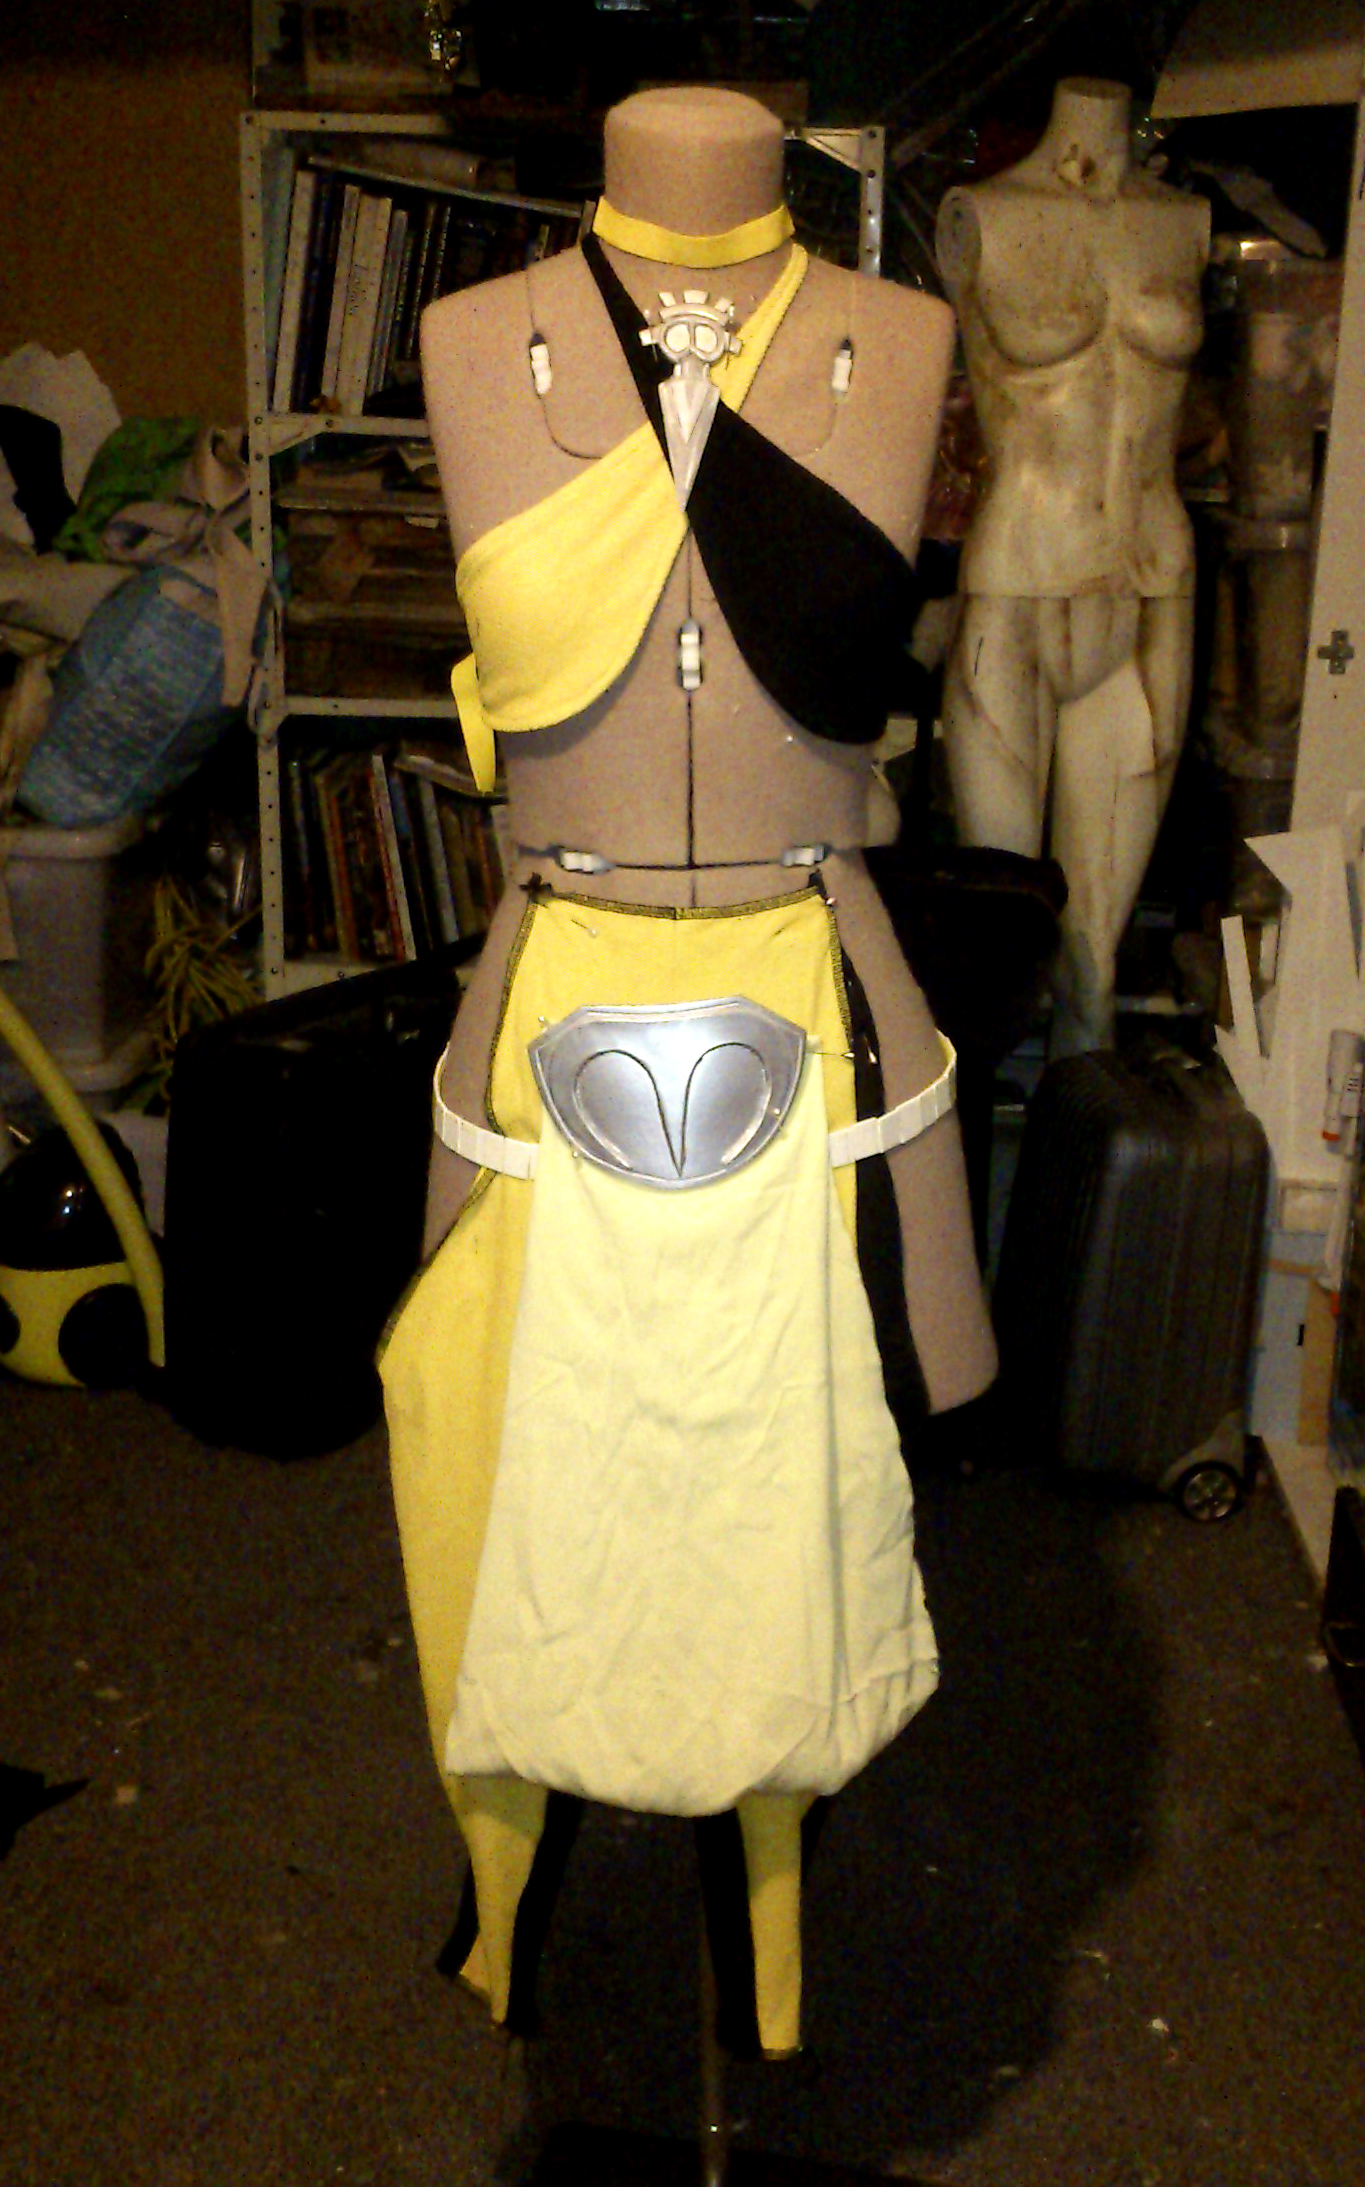
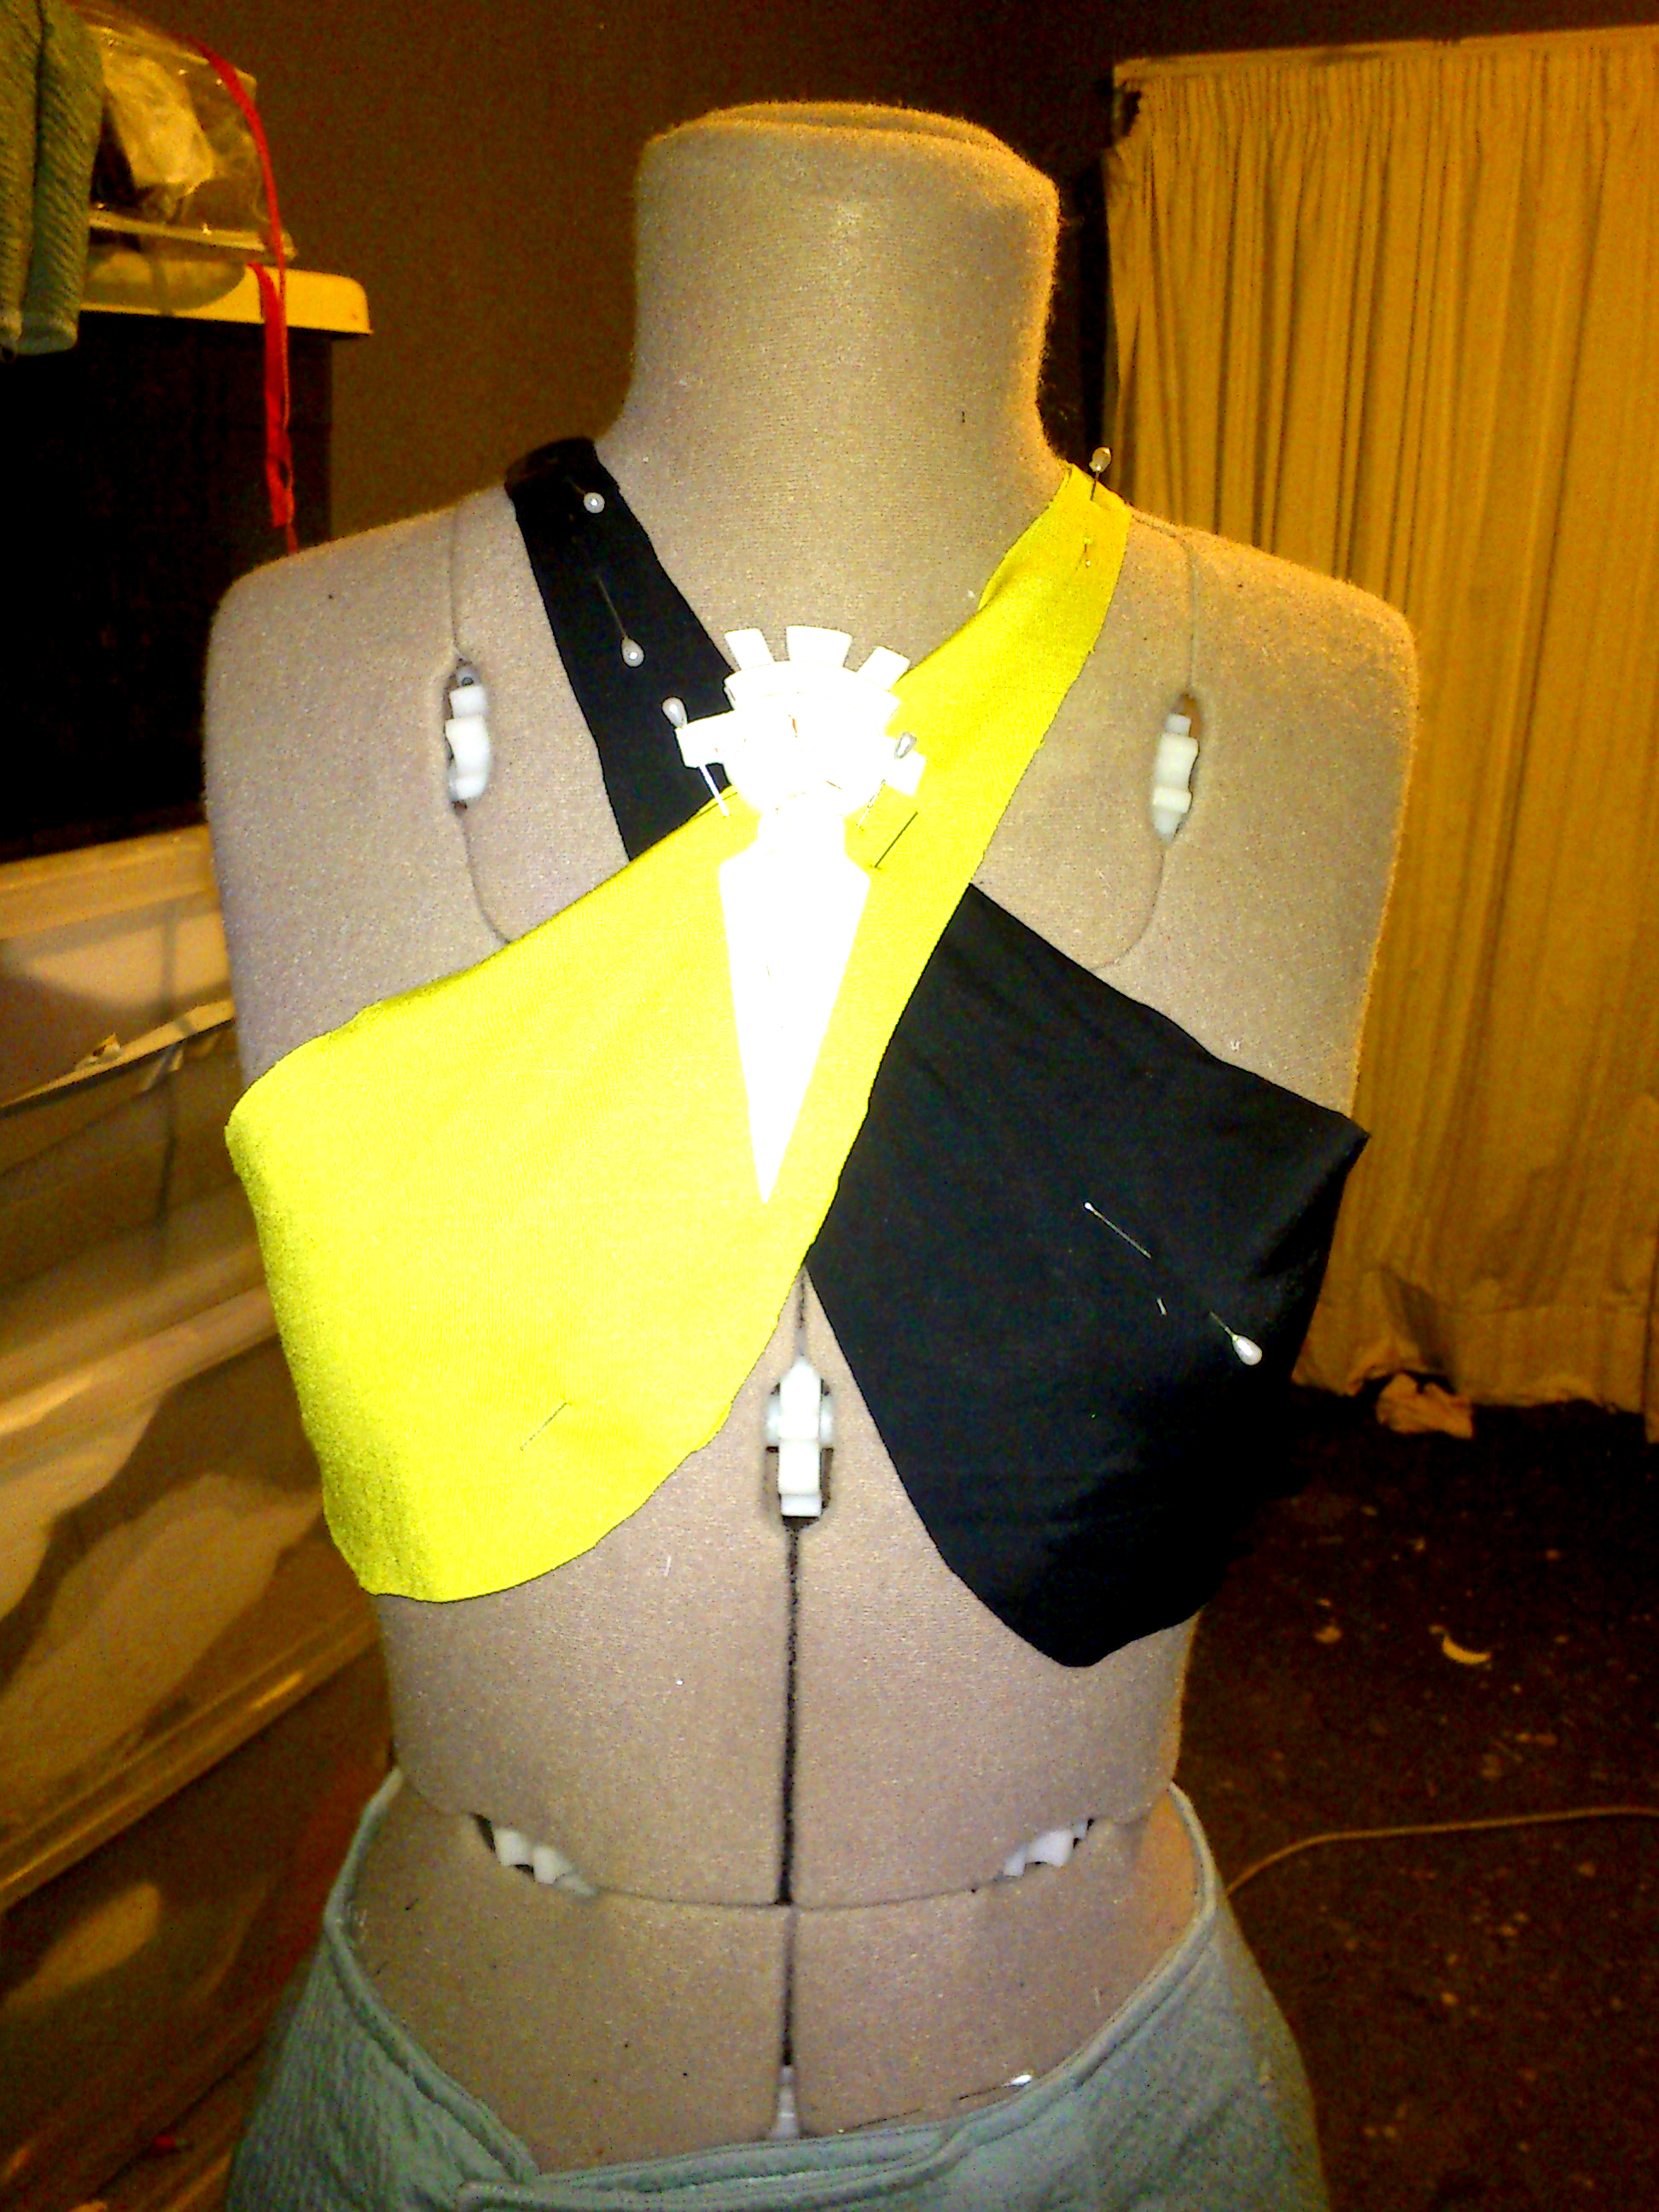
You can’t see but that is fishnet over shiny lycra so is very much like wearing fake ostrich legs- like super large goosebumps..
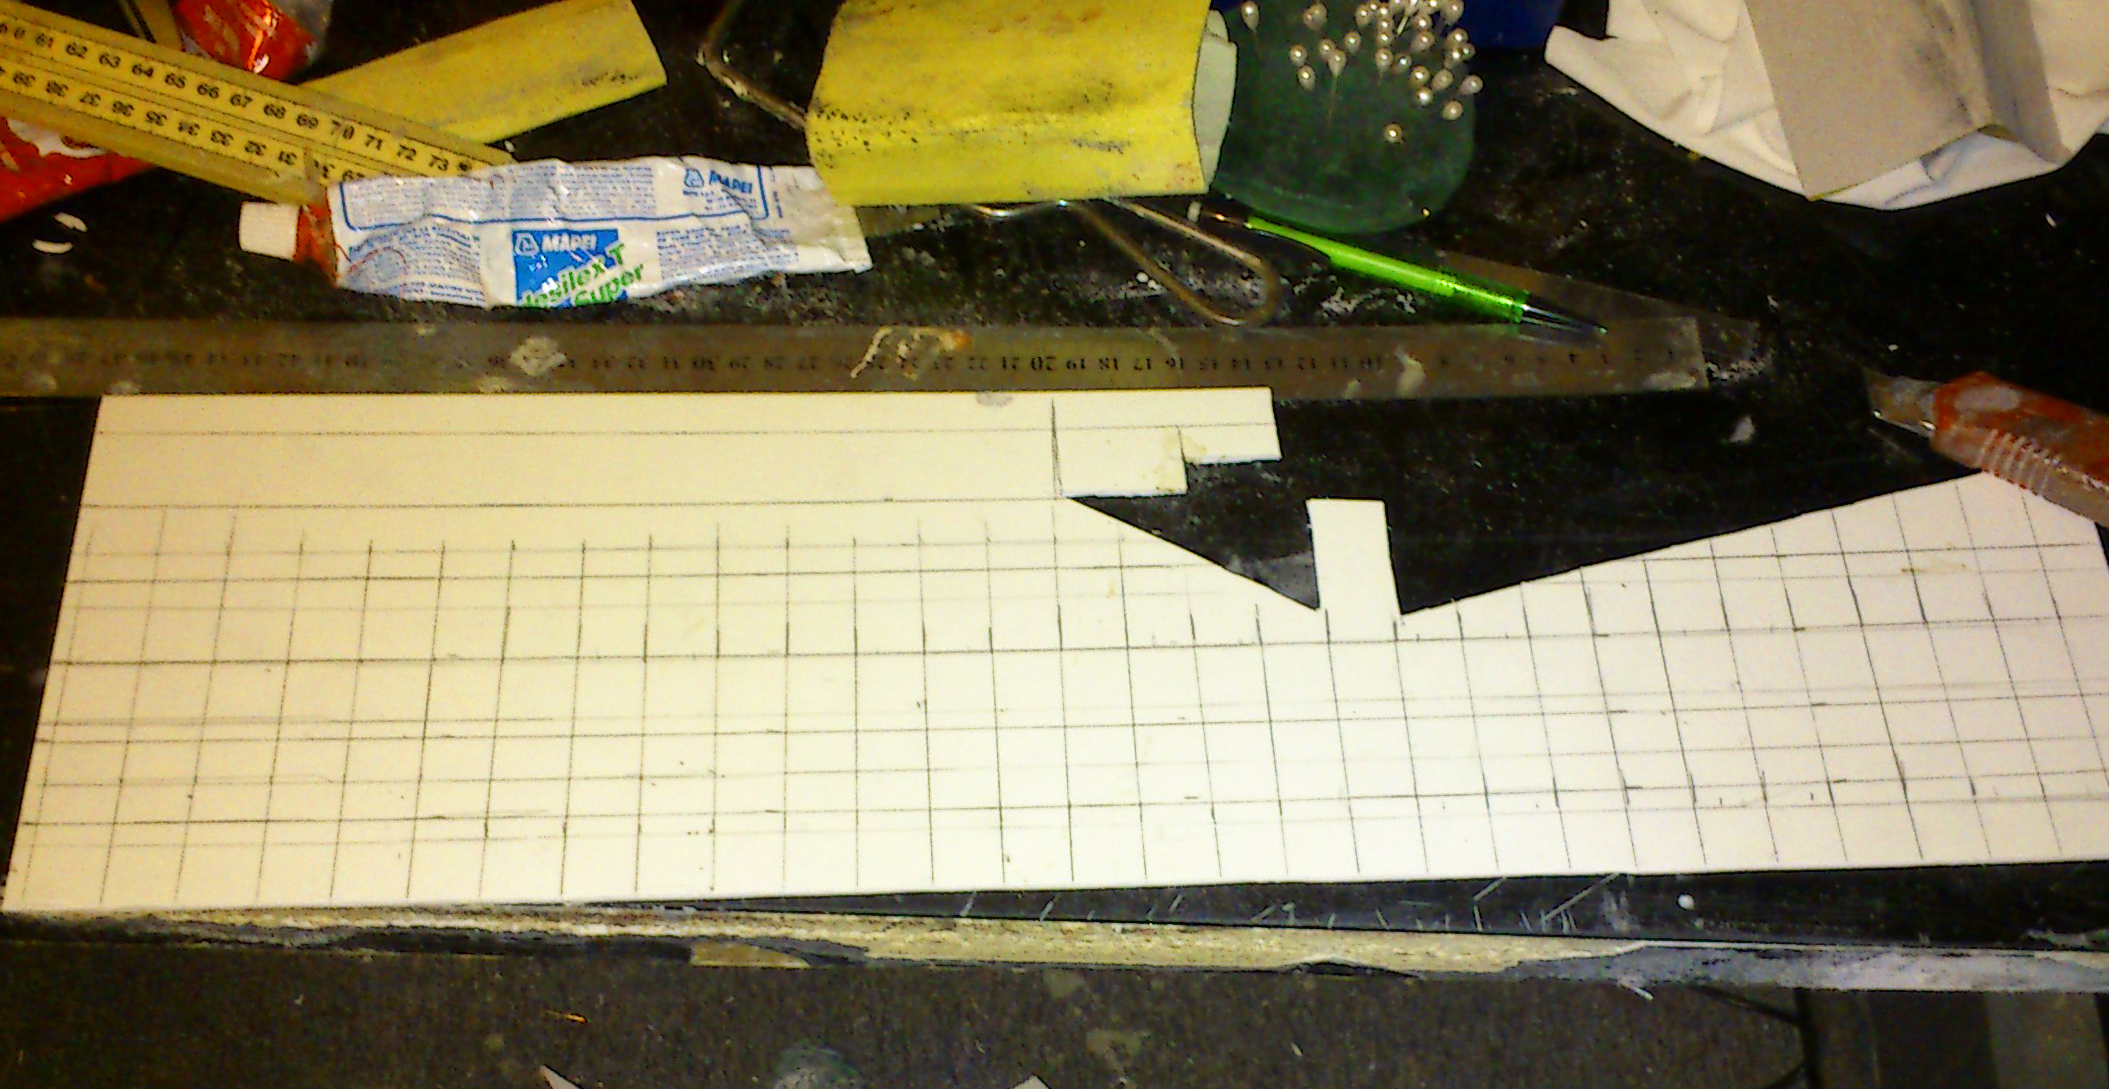

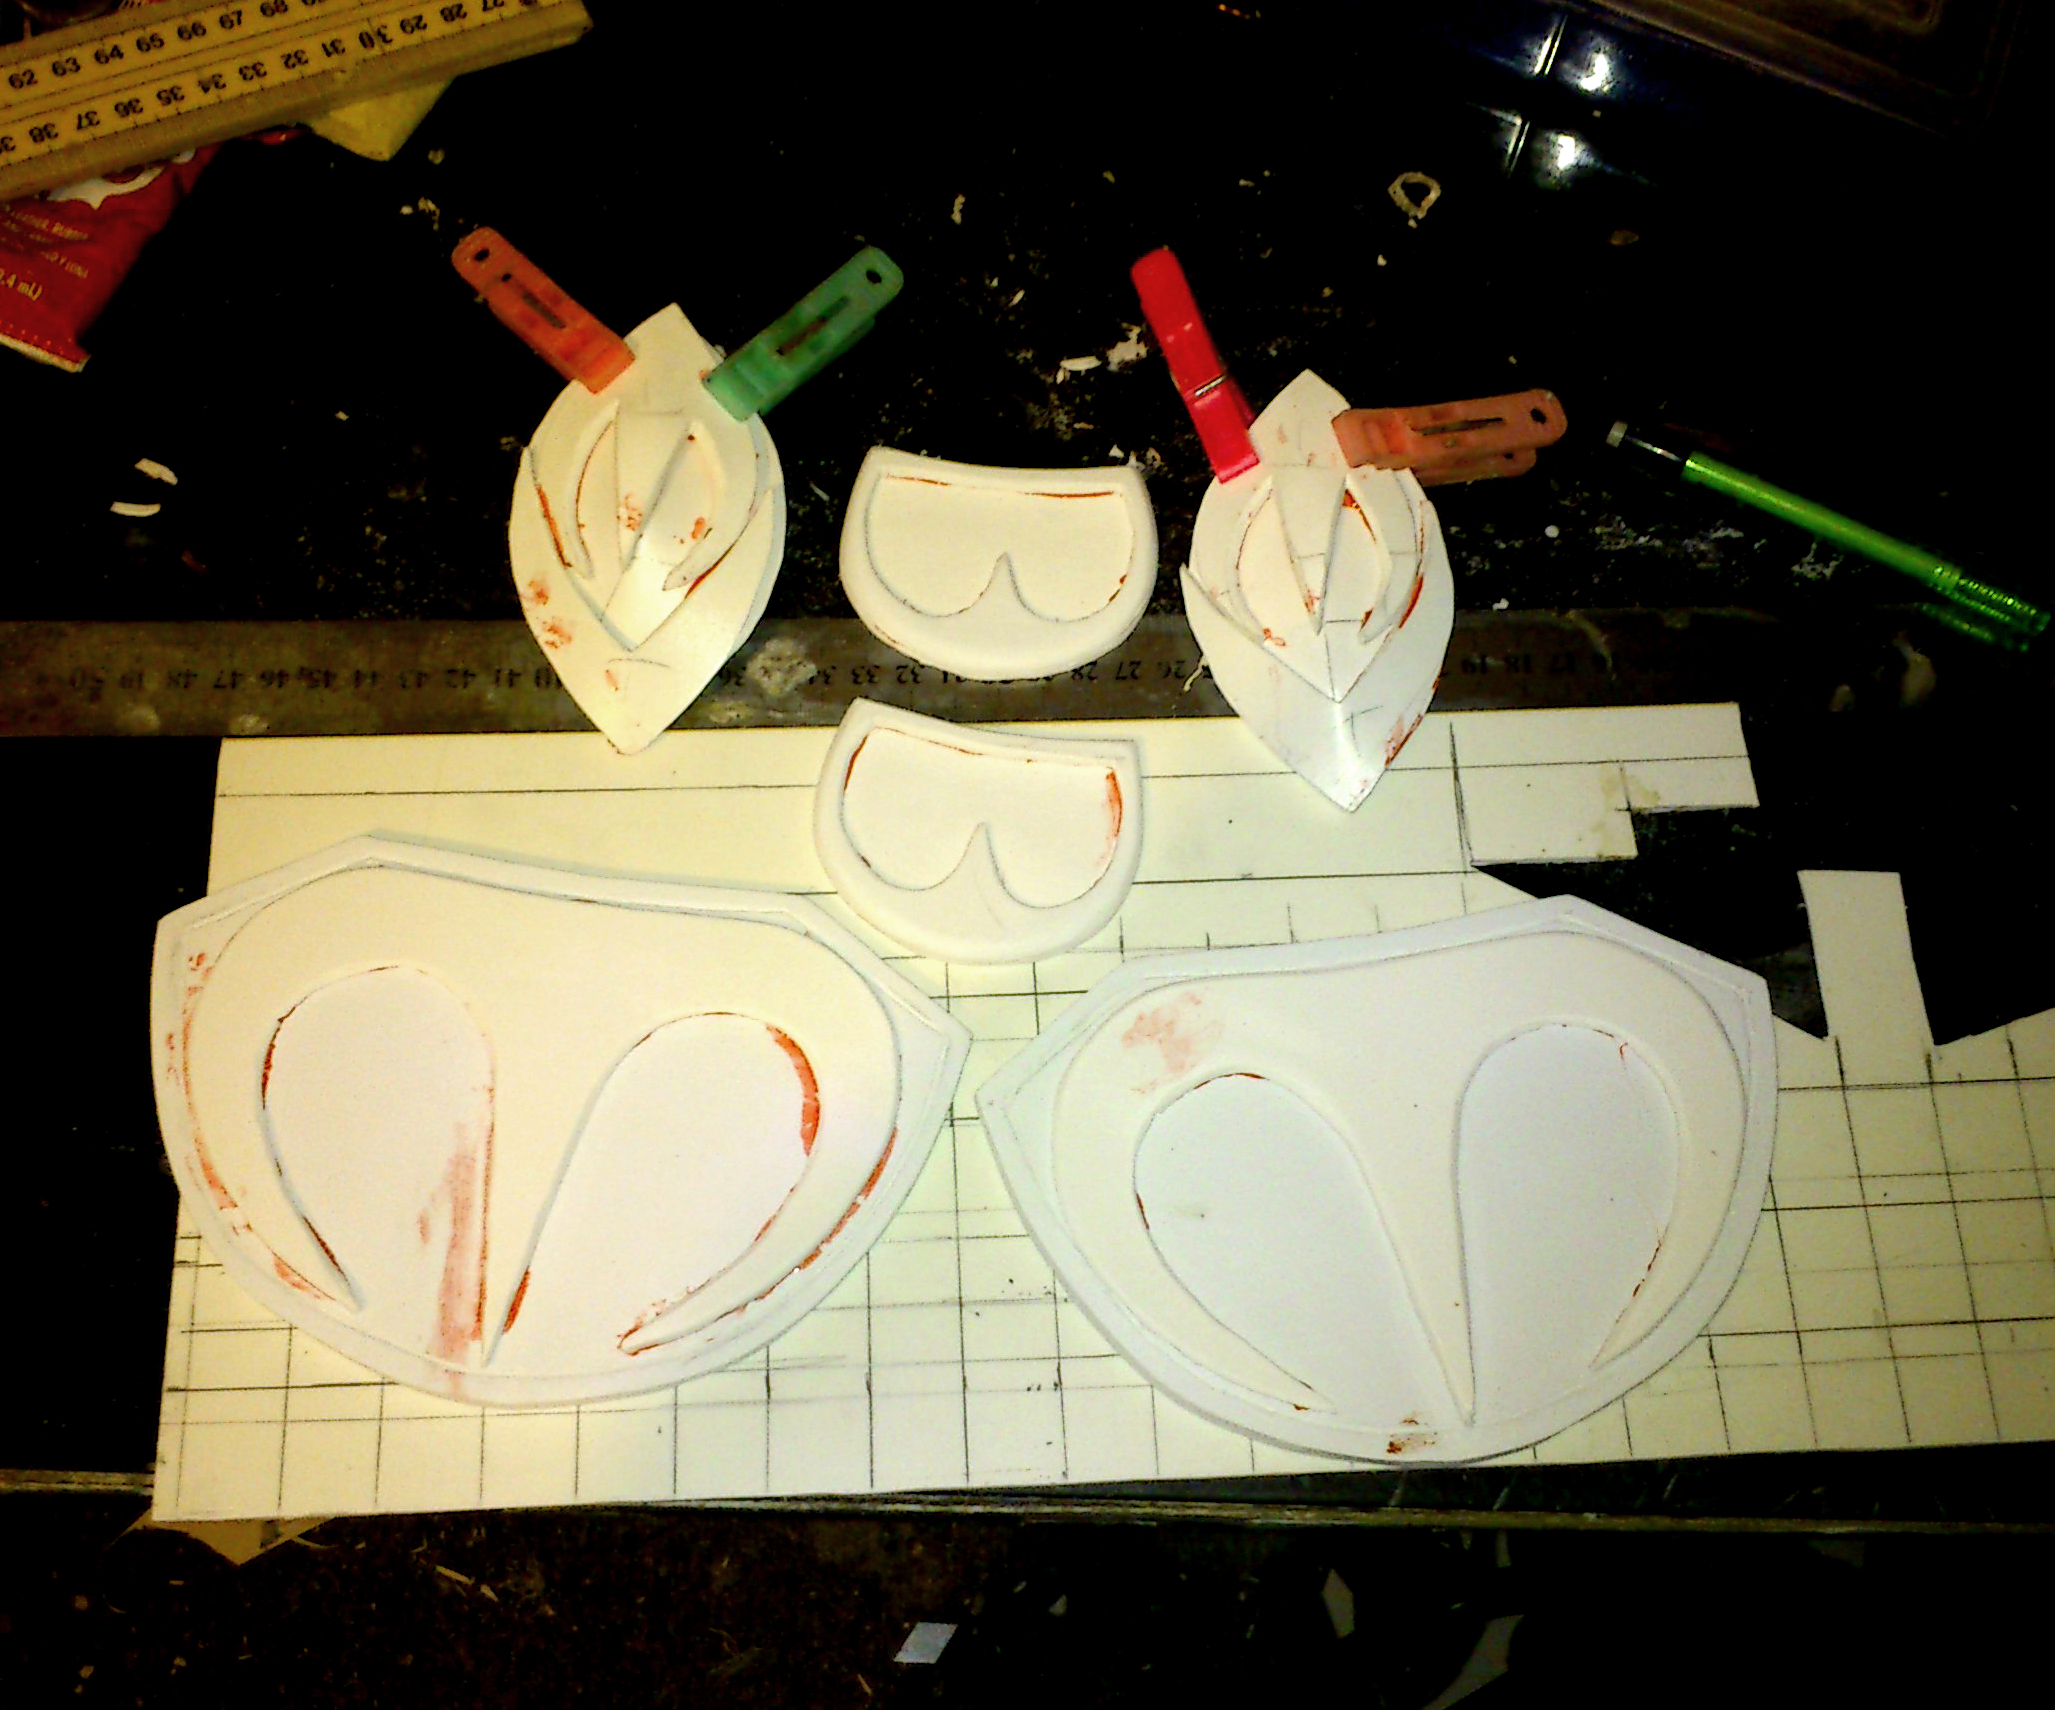
But I loved all the little plastic pieces I made! So many squares! look at them! These are all cut from expanded PVC (Forex here, Sintra, etc.- though different manufacturers apparently heat seal at different pressures/temps so there is a difference!) or extruded PVC. See the red? That’s PVC weld 🙂 That dissolves the plastic to essentially melt and weld. It works best with pressure and with very scuffed surfaces. This is how I’ll be making my Avatar set 🙂
Yes, tht is one of my Shae Vizla rangefinder pieces, I recycle my offcuts where possible! I have a bit container of offcuts!

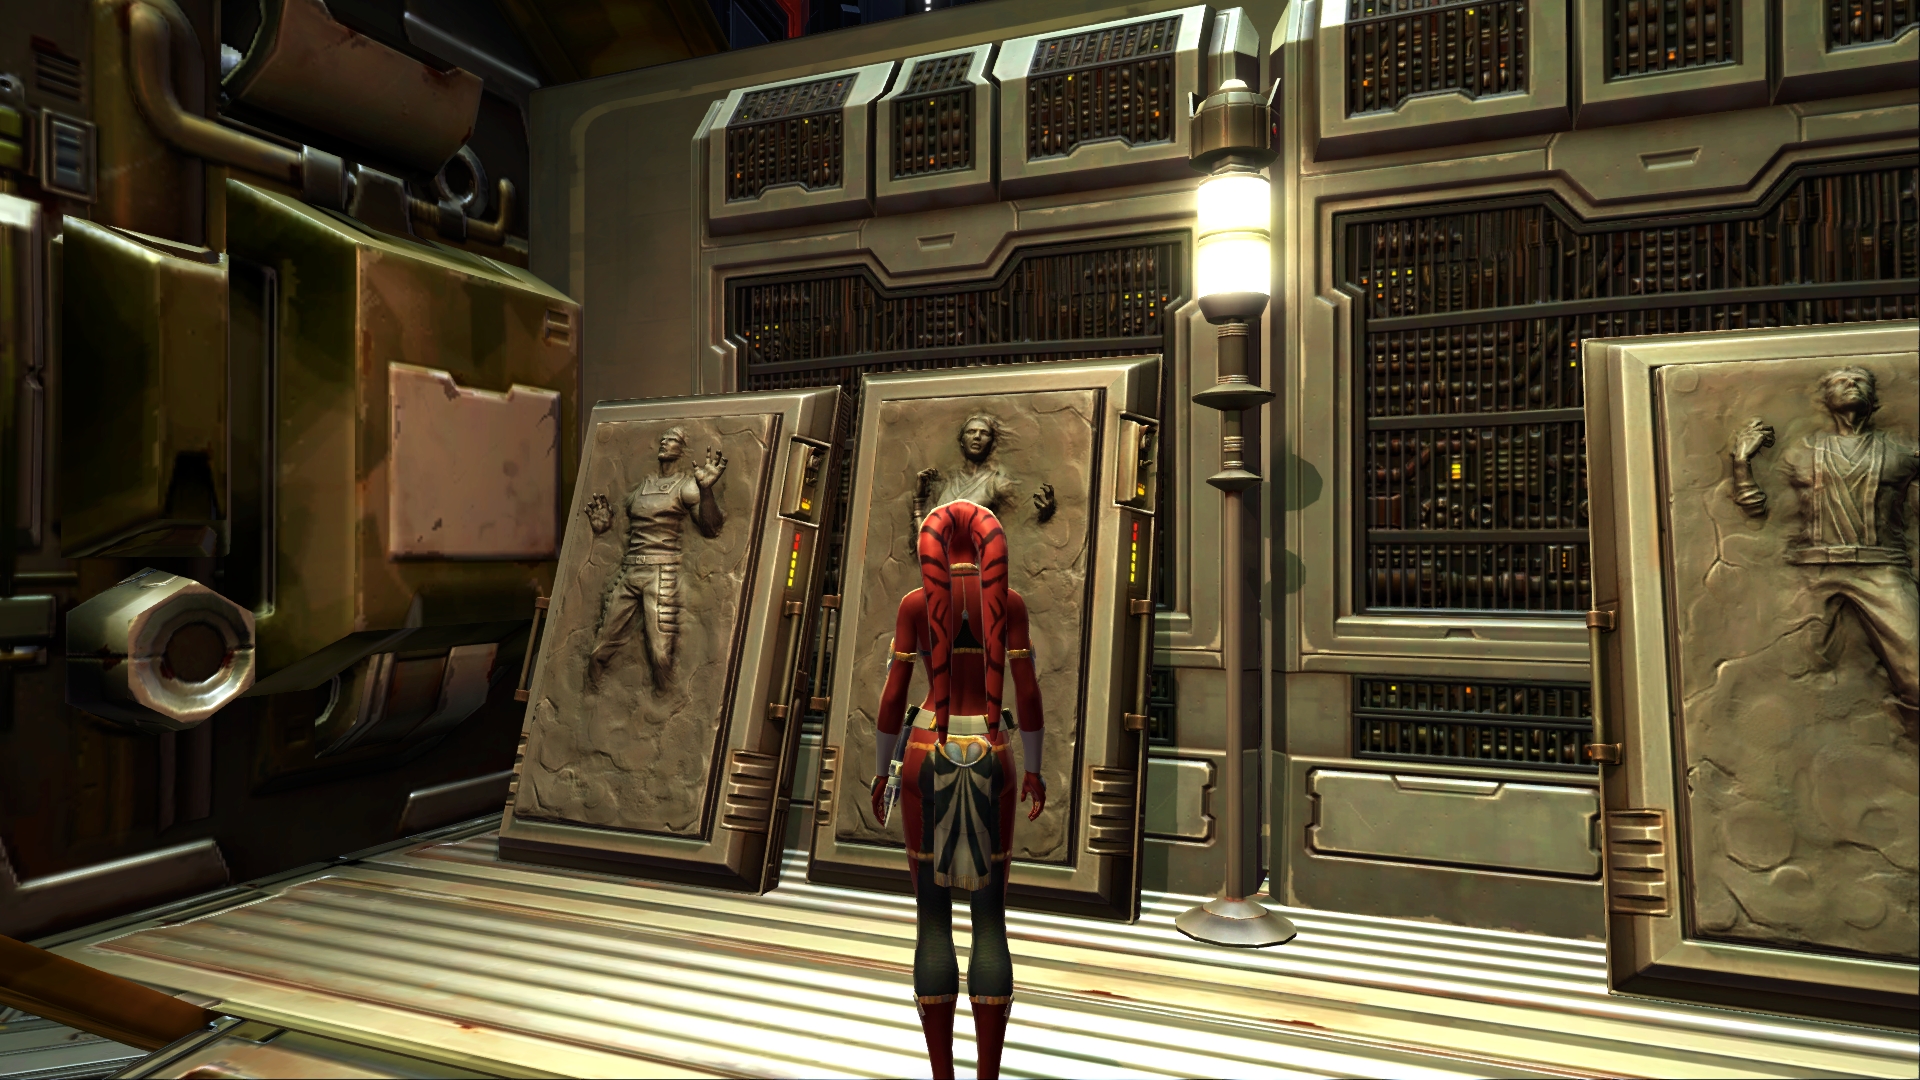
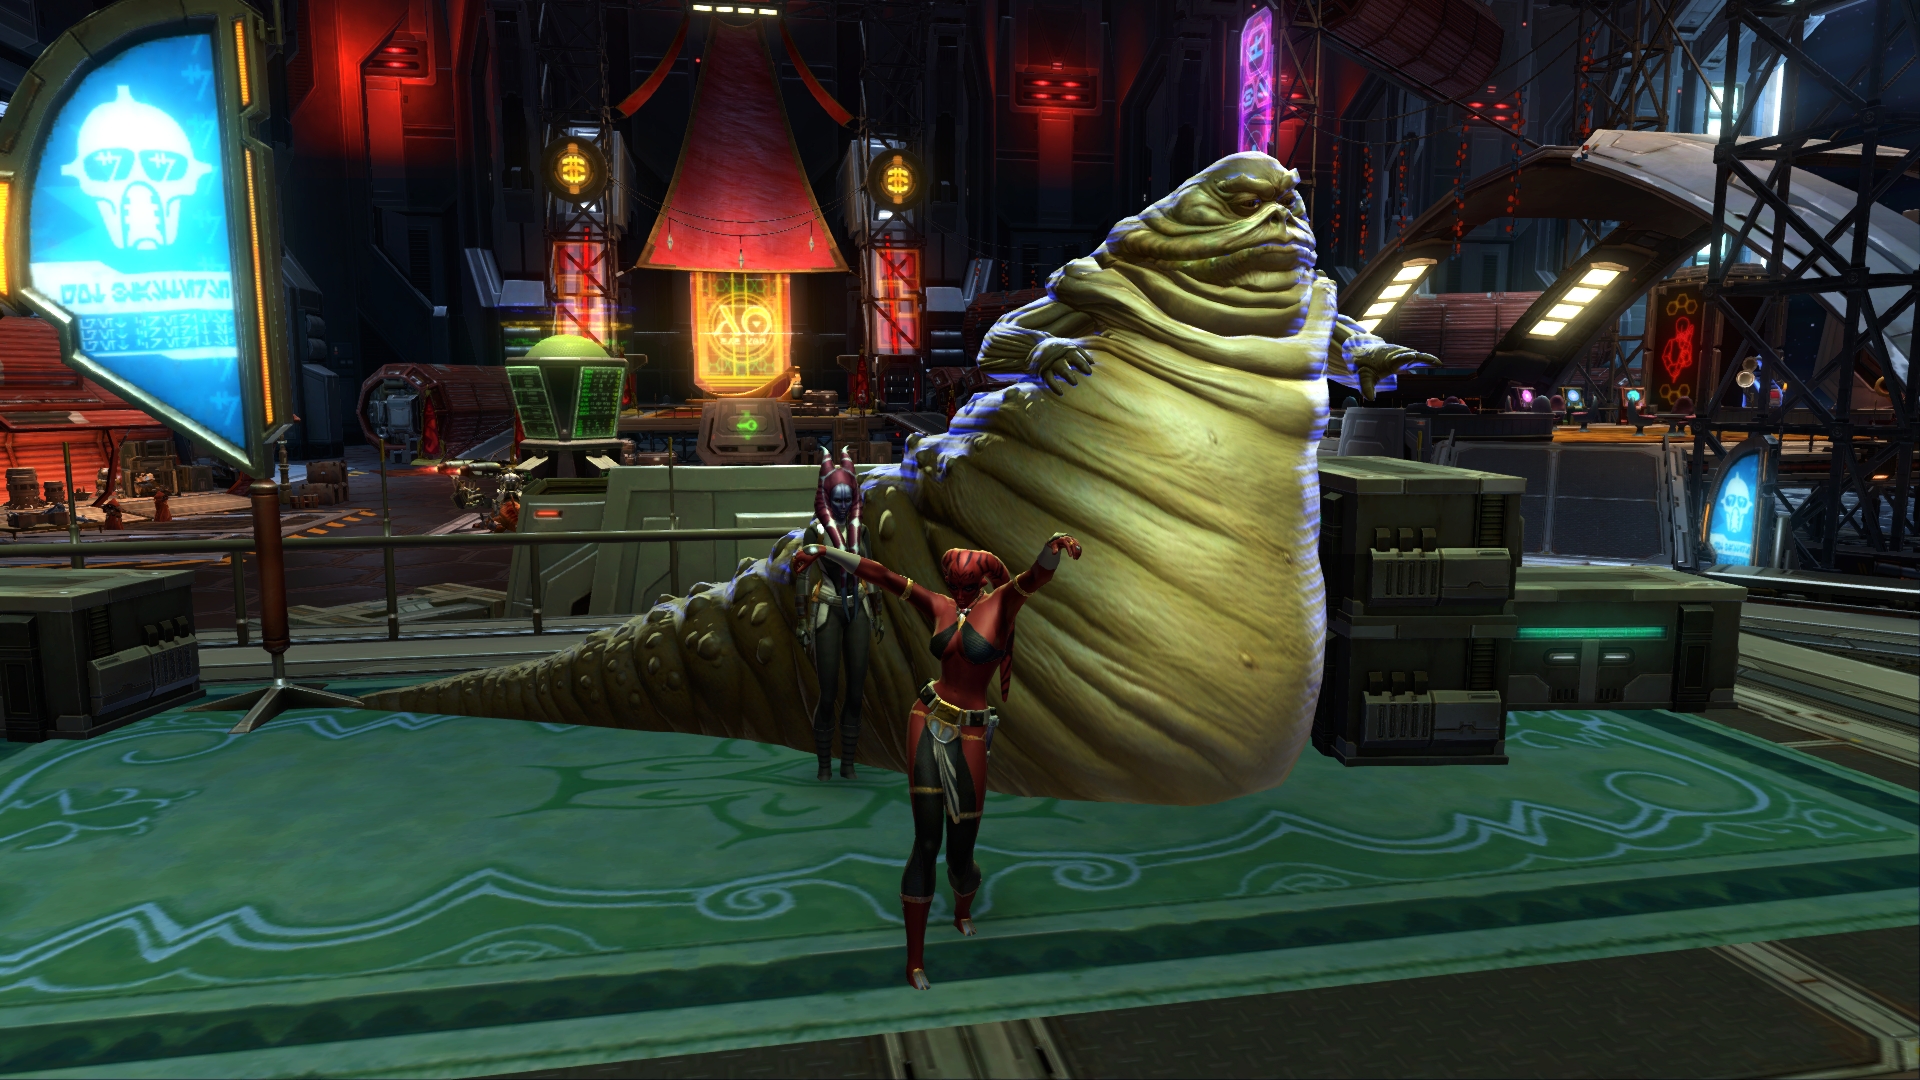
I did just drop in a Black/Grey dye kit and that makes the set go from totally only for the fans to something at least a little more in keeping.
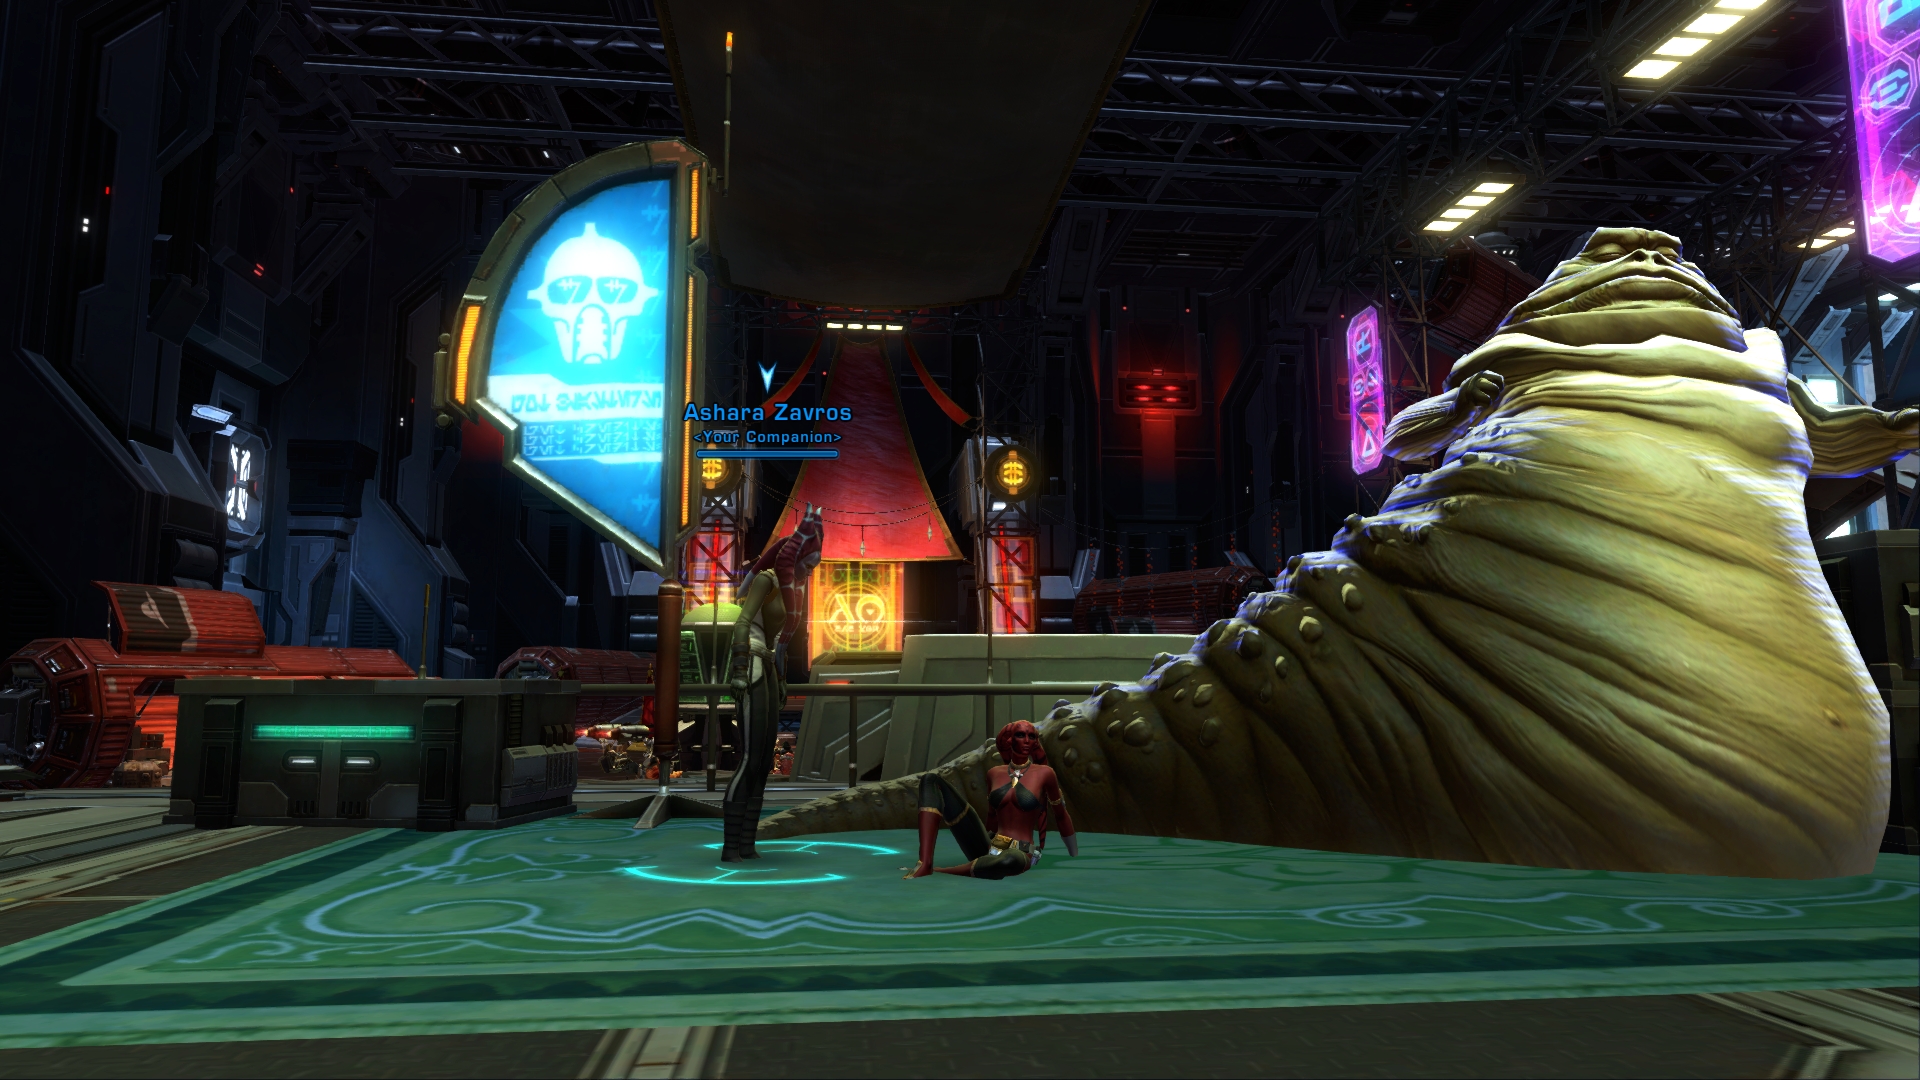
Also what do you do when you put your toon in the dance outfit except find bounties and a Hutt.
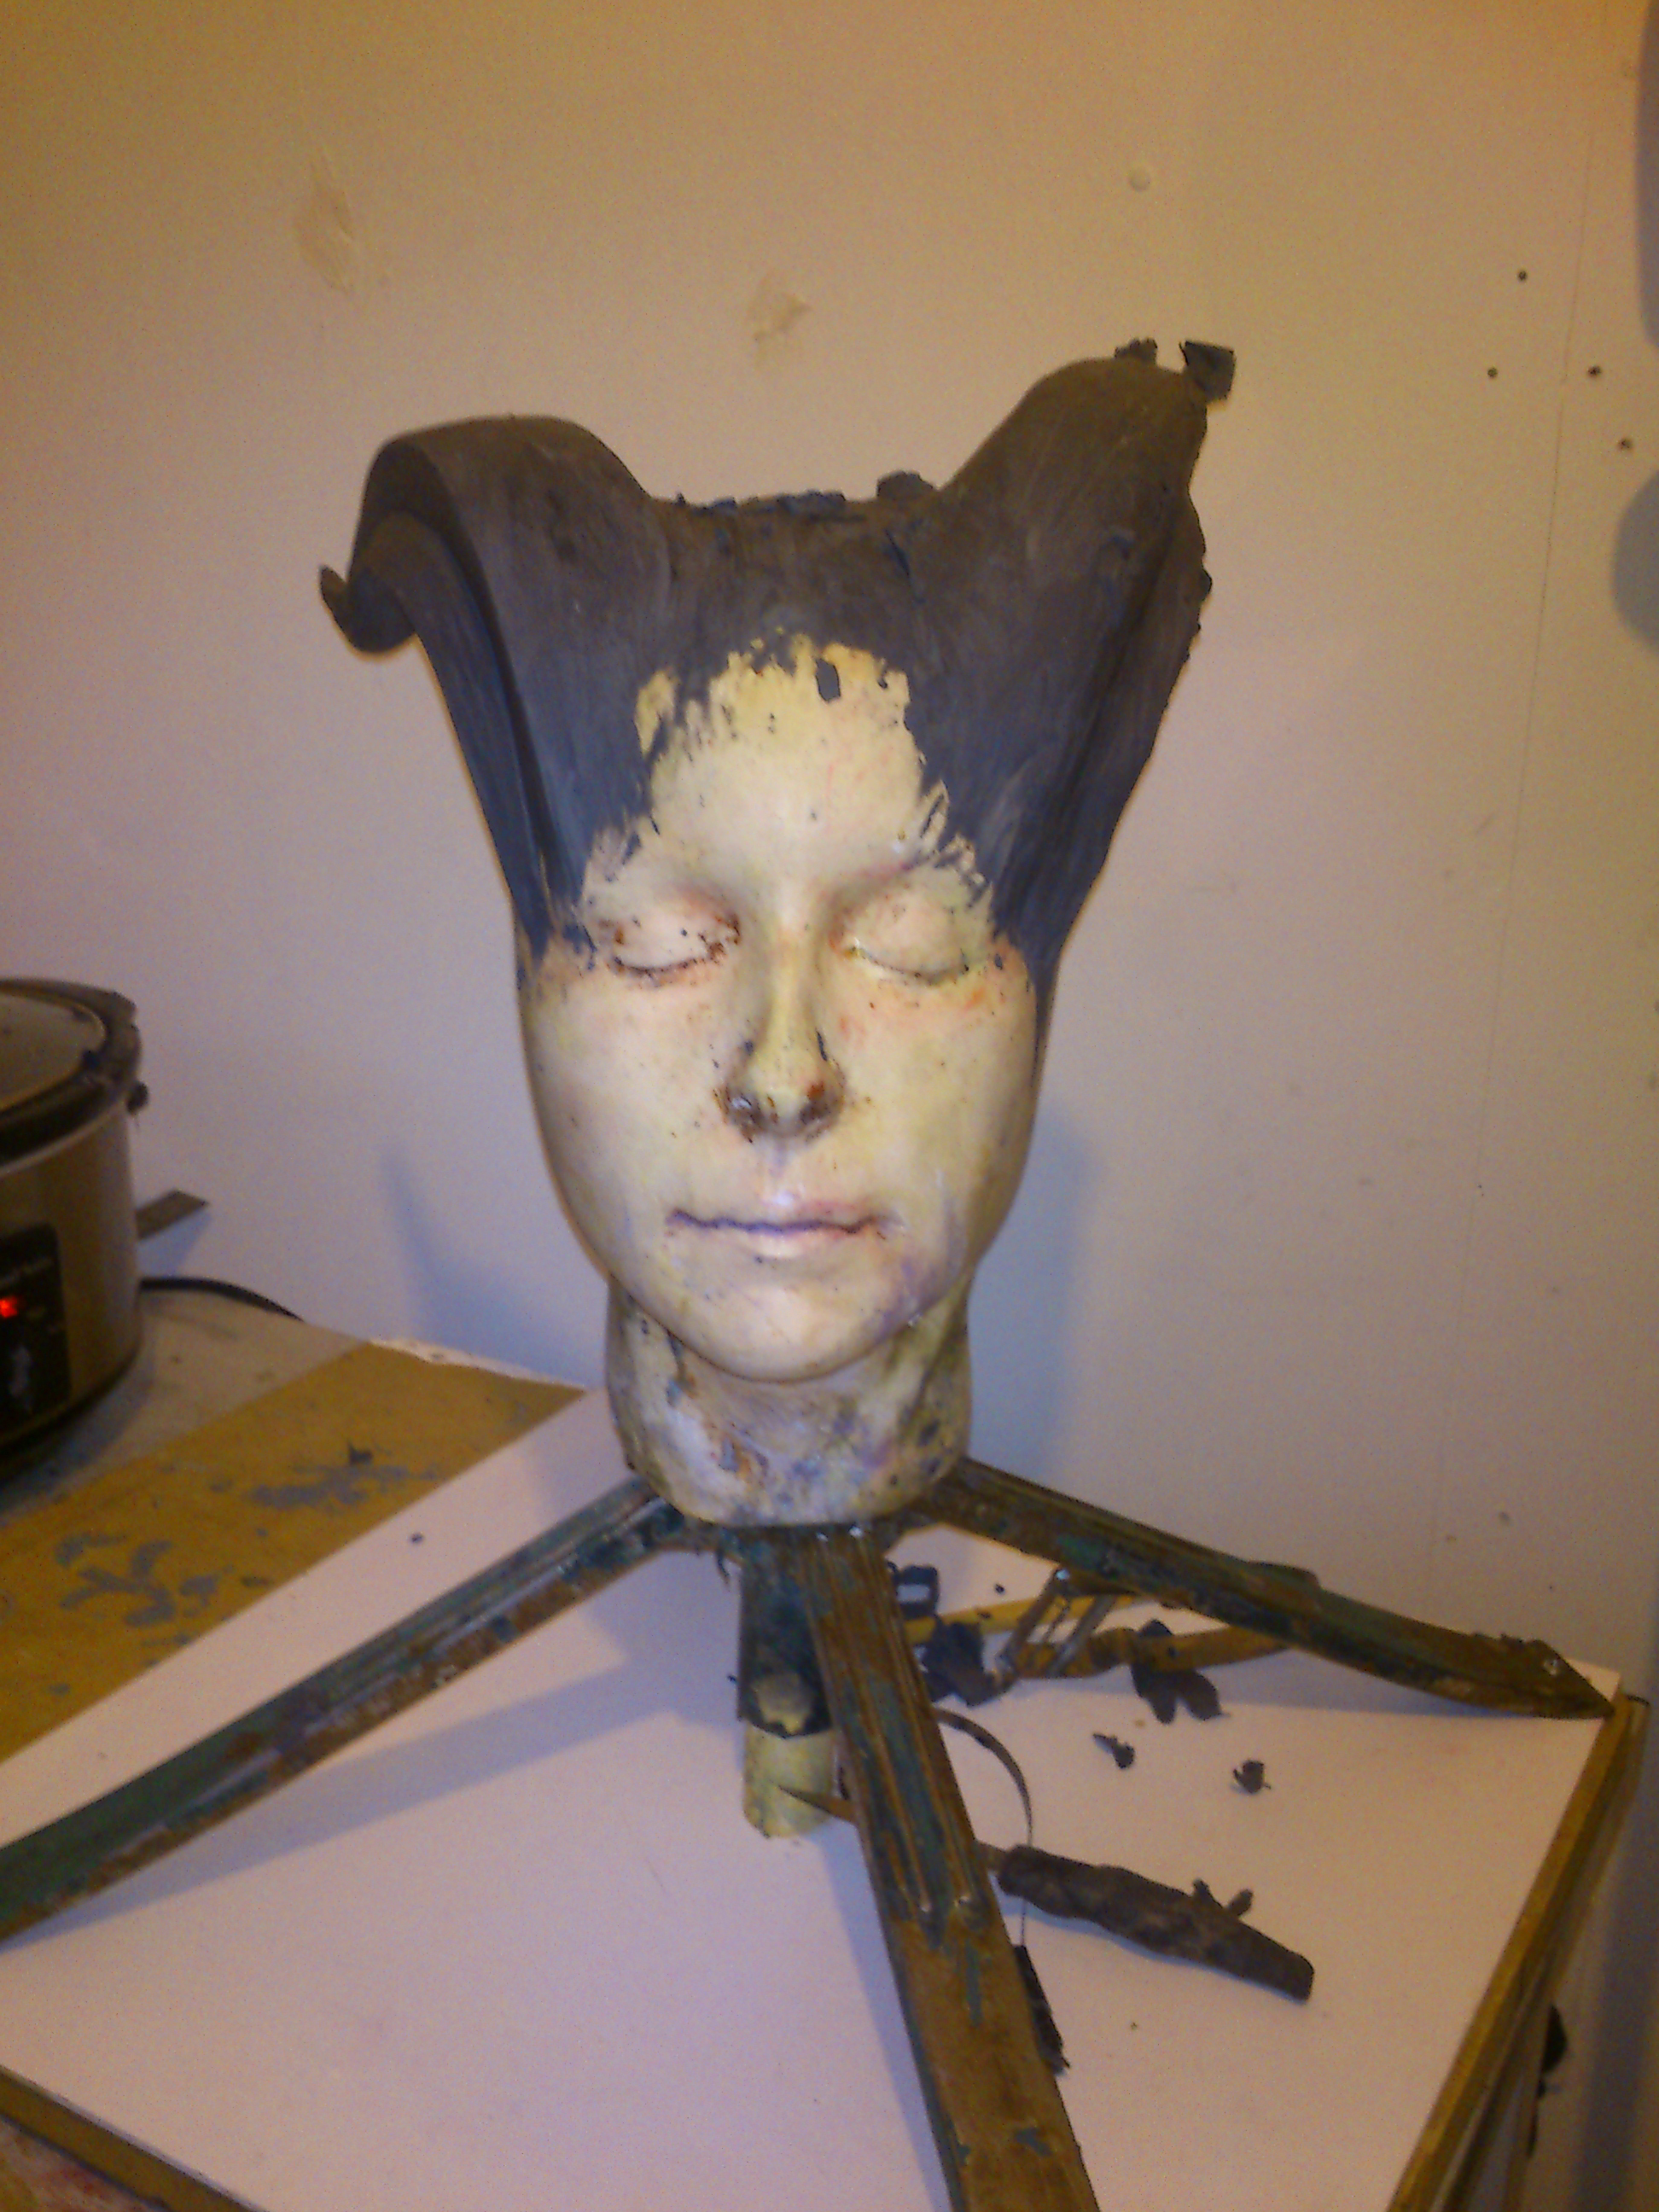
I had to reshape the horns, They were far too out of shape to work. I also know the weather is cool enough to be able to have clay self support somewhat more easily than in summer so decided to risk it!
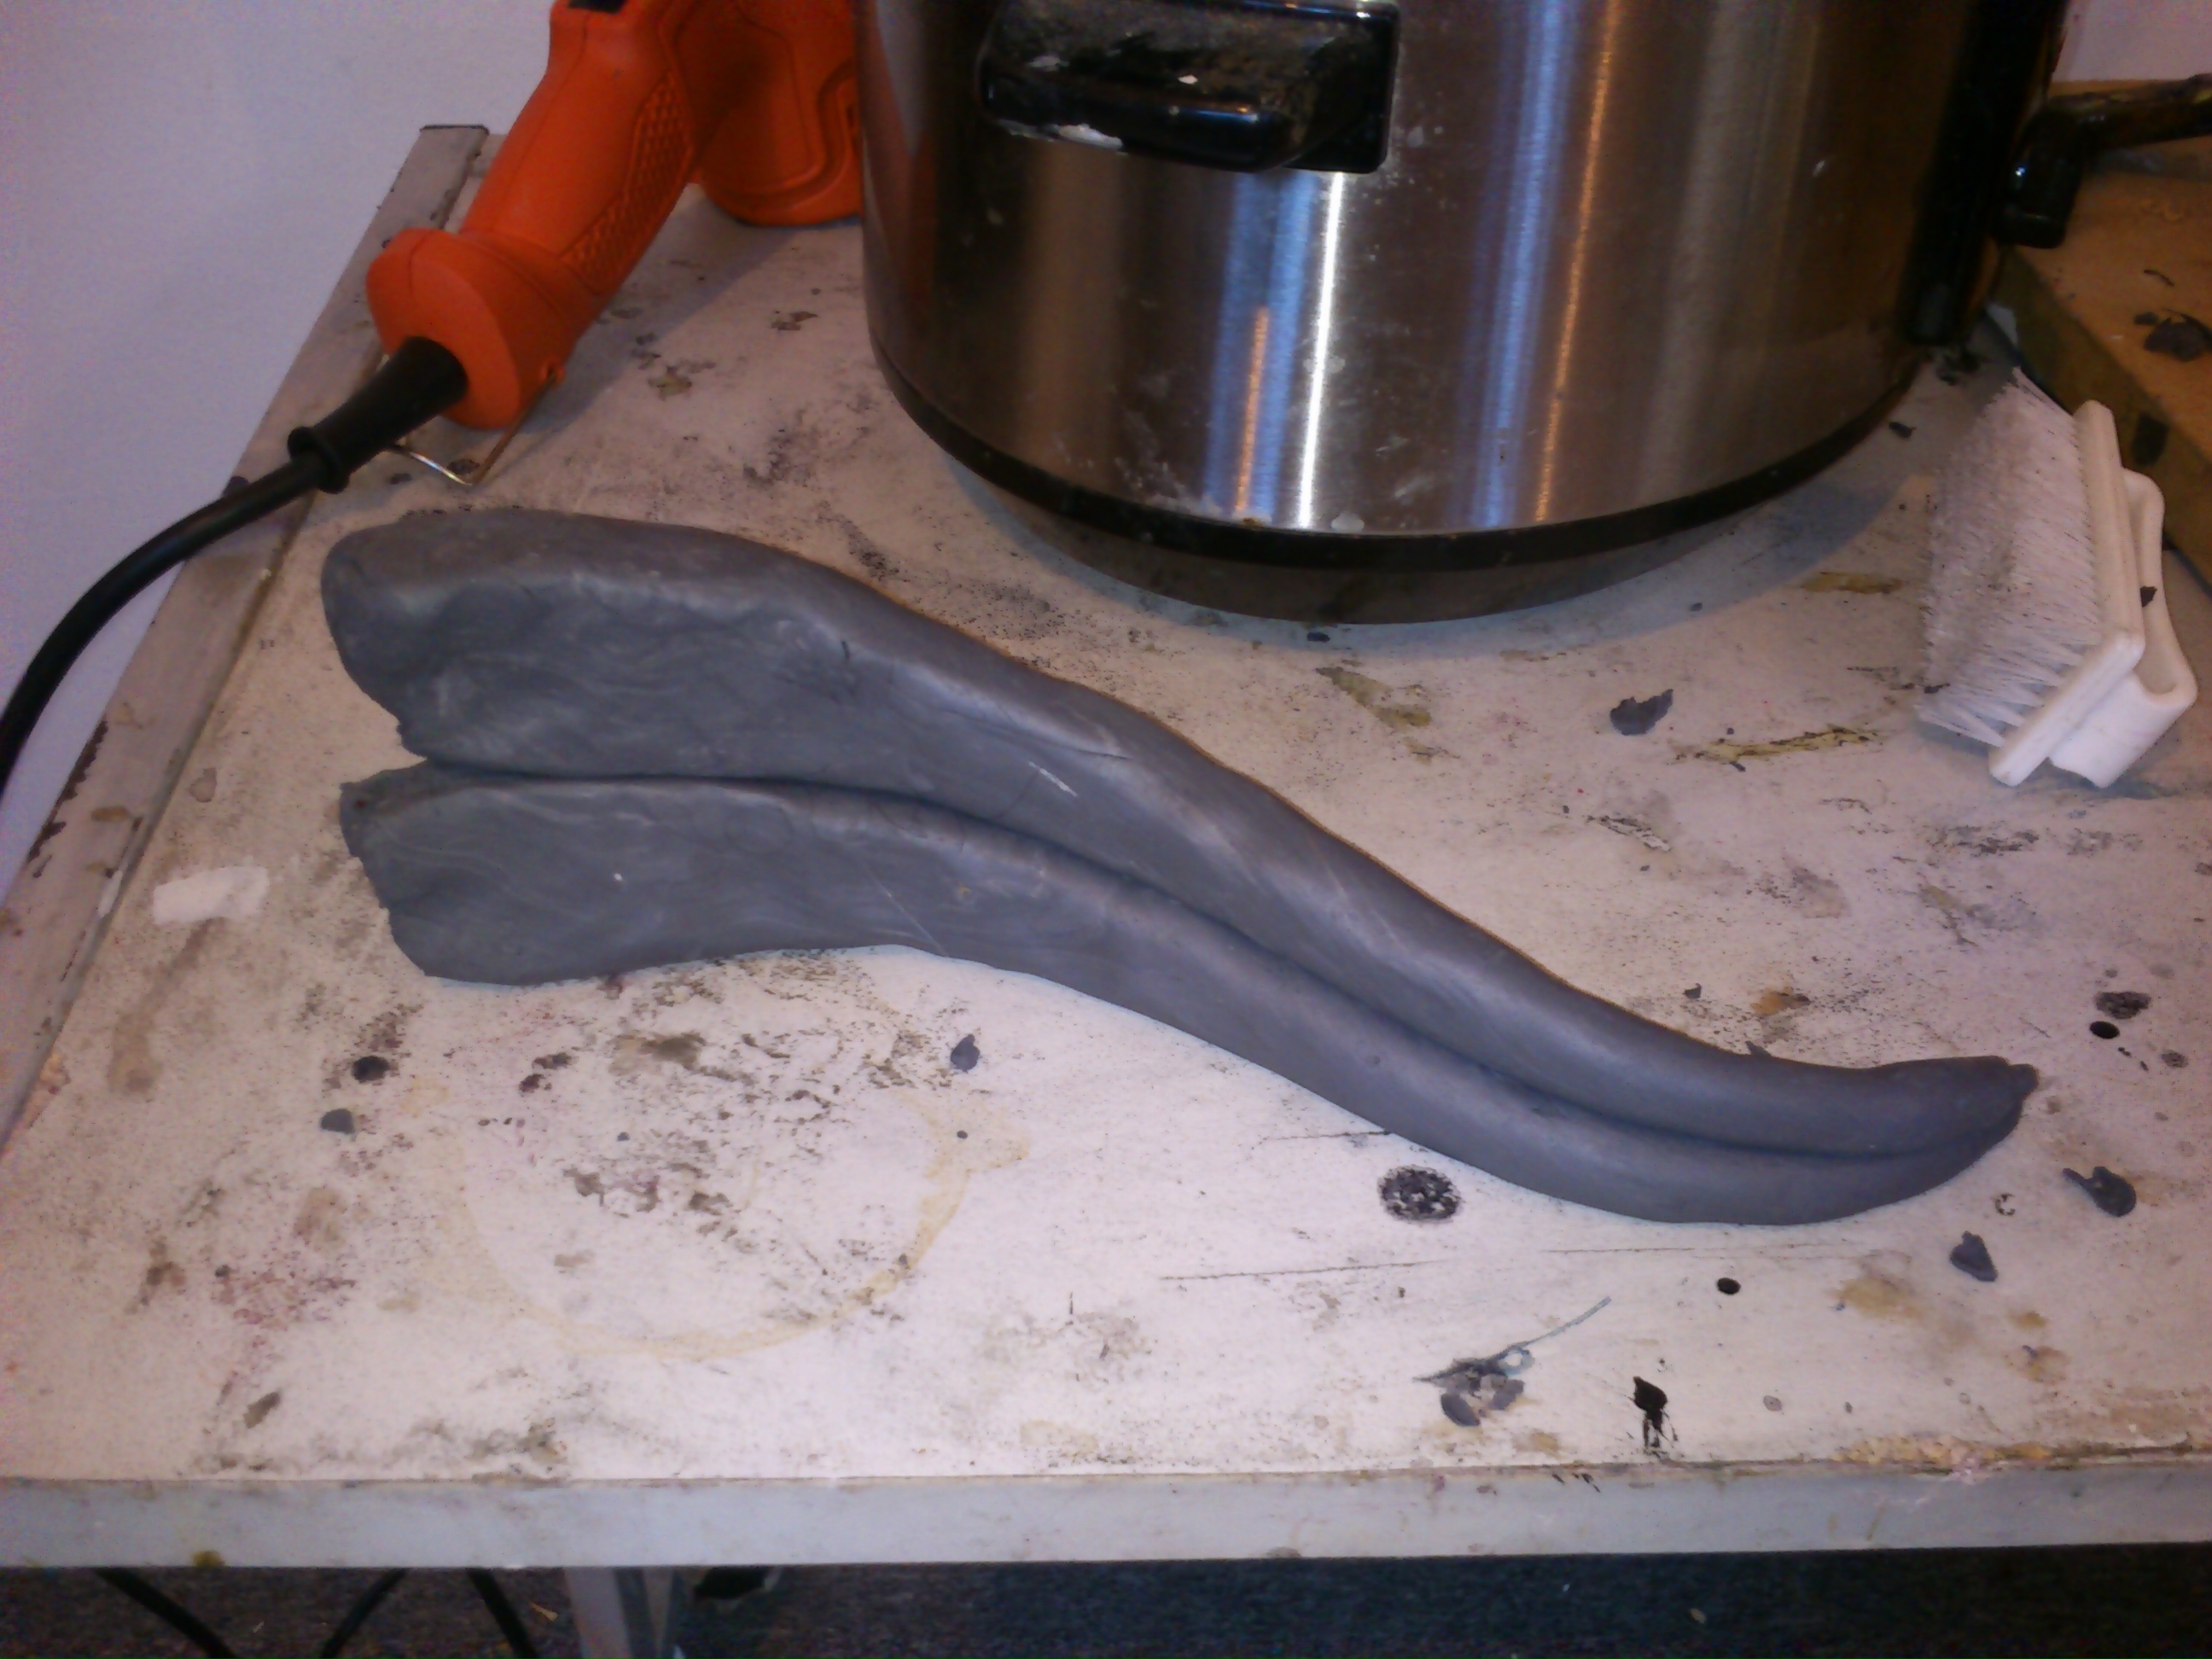
What is this? Why a pair of clay armatures! Basically I wanted some continuous clay of the same density and temperature to be able to build on and carve out. These are very skinny so they were formed while hot but then cooled to shape quickly. This cool clay will also cool the smaller pieces of clay I was going to add.
I started by cutting divots in to the main horn foundations- these were reshaped while I was melting the clay cut off!
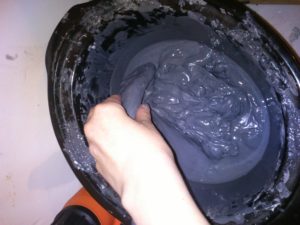
Then I dipped the ends of the armatures in to the molten clay- this was so nice on my hands! Heard of wax therapy? same deal 🙂
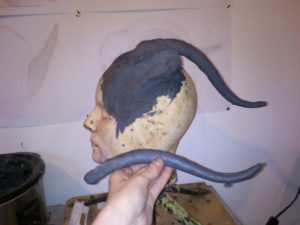
And then pressed the end in to the divot. This worked not just through the molten clay adhering but by the end of the armature warming up enough to soften but not deform, and then the clay of the horn base also temporarily heated up to hold then reset to shape.
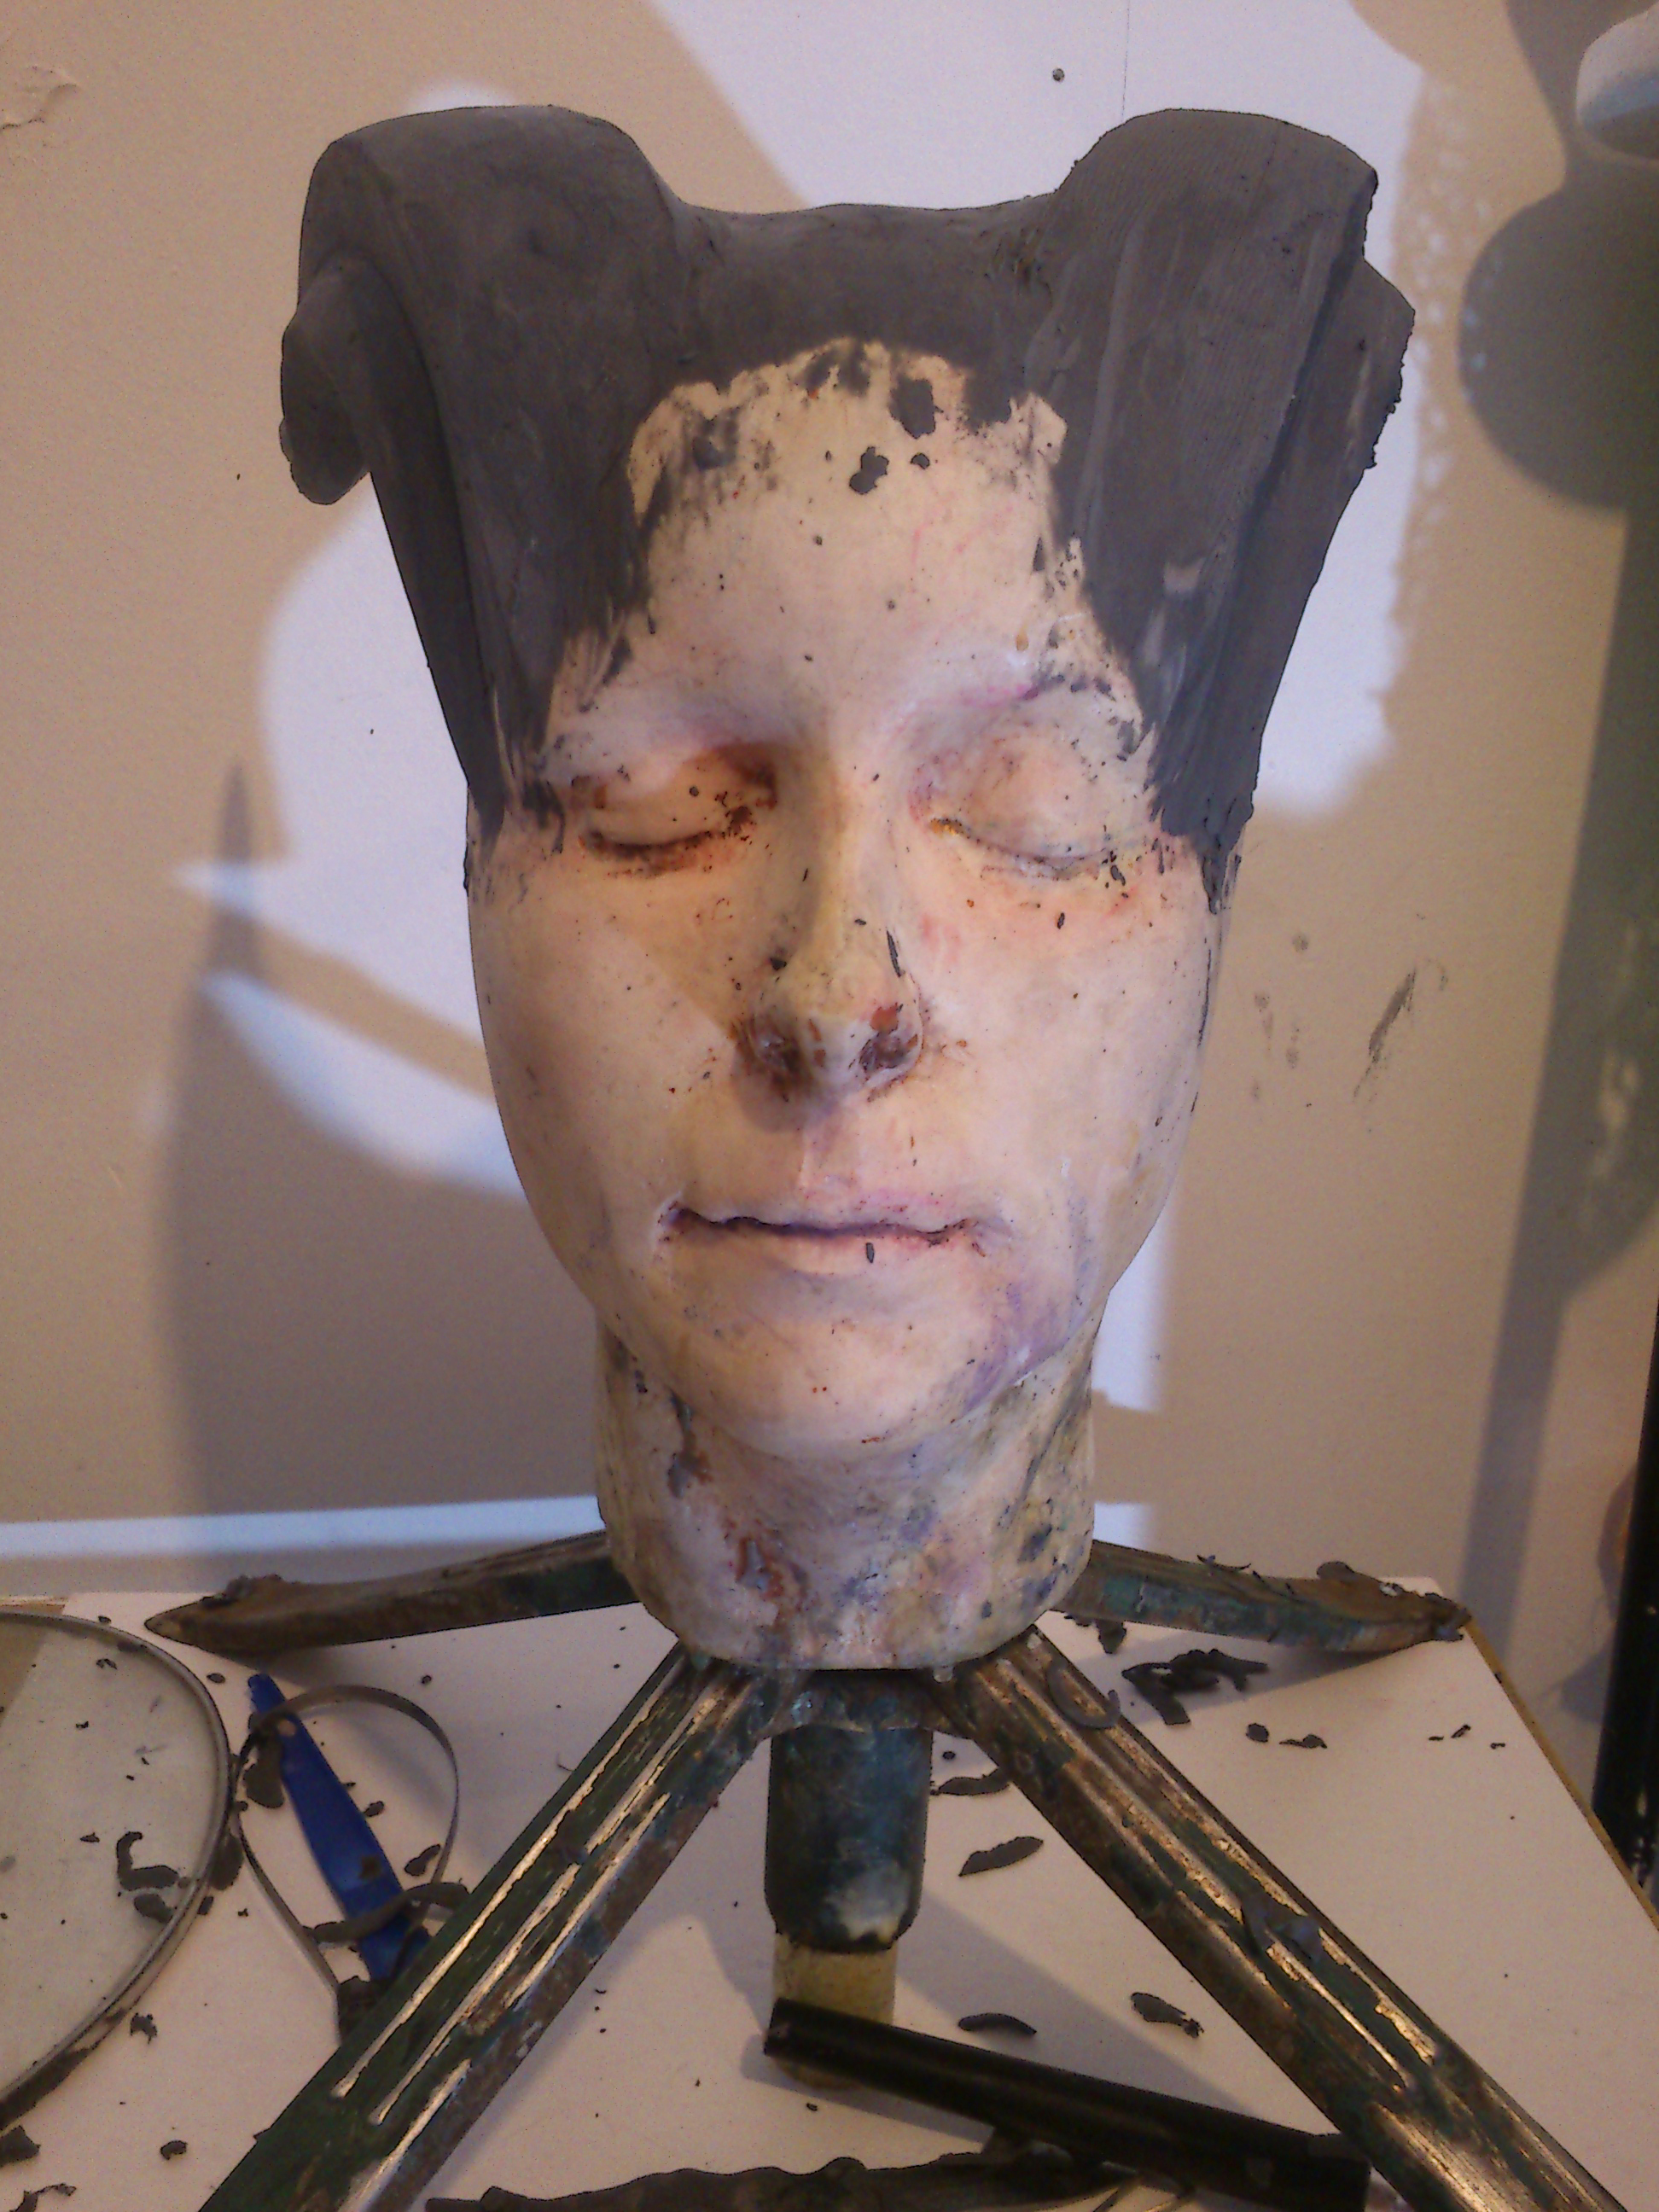
And then I started building up from underneath. This was a better option than adding clay on top. The weight of the clay would have pressed the shape out, and the warmth of the new clay would have also made the armature too malleable.

Even with the care taken to make the armatures even and follow the correct curve it still wound up needing a lot of reshaping.
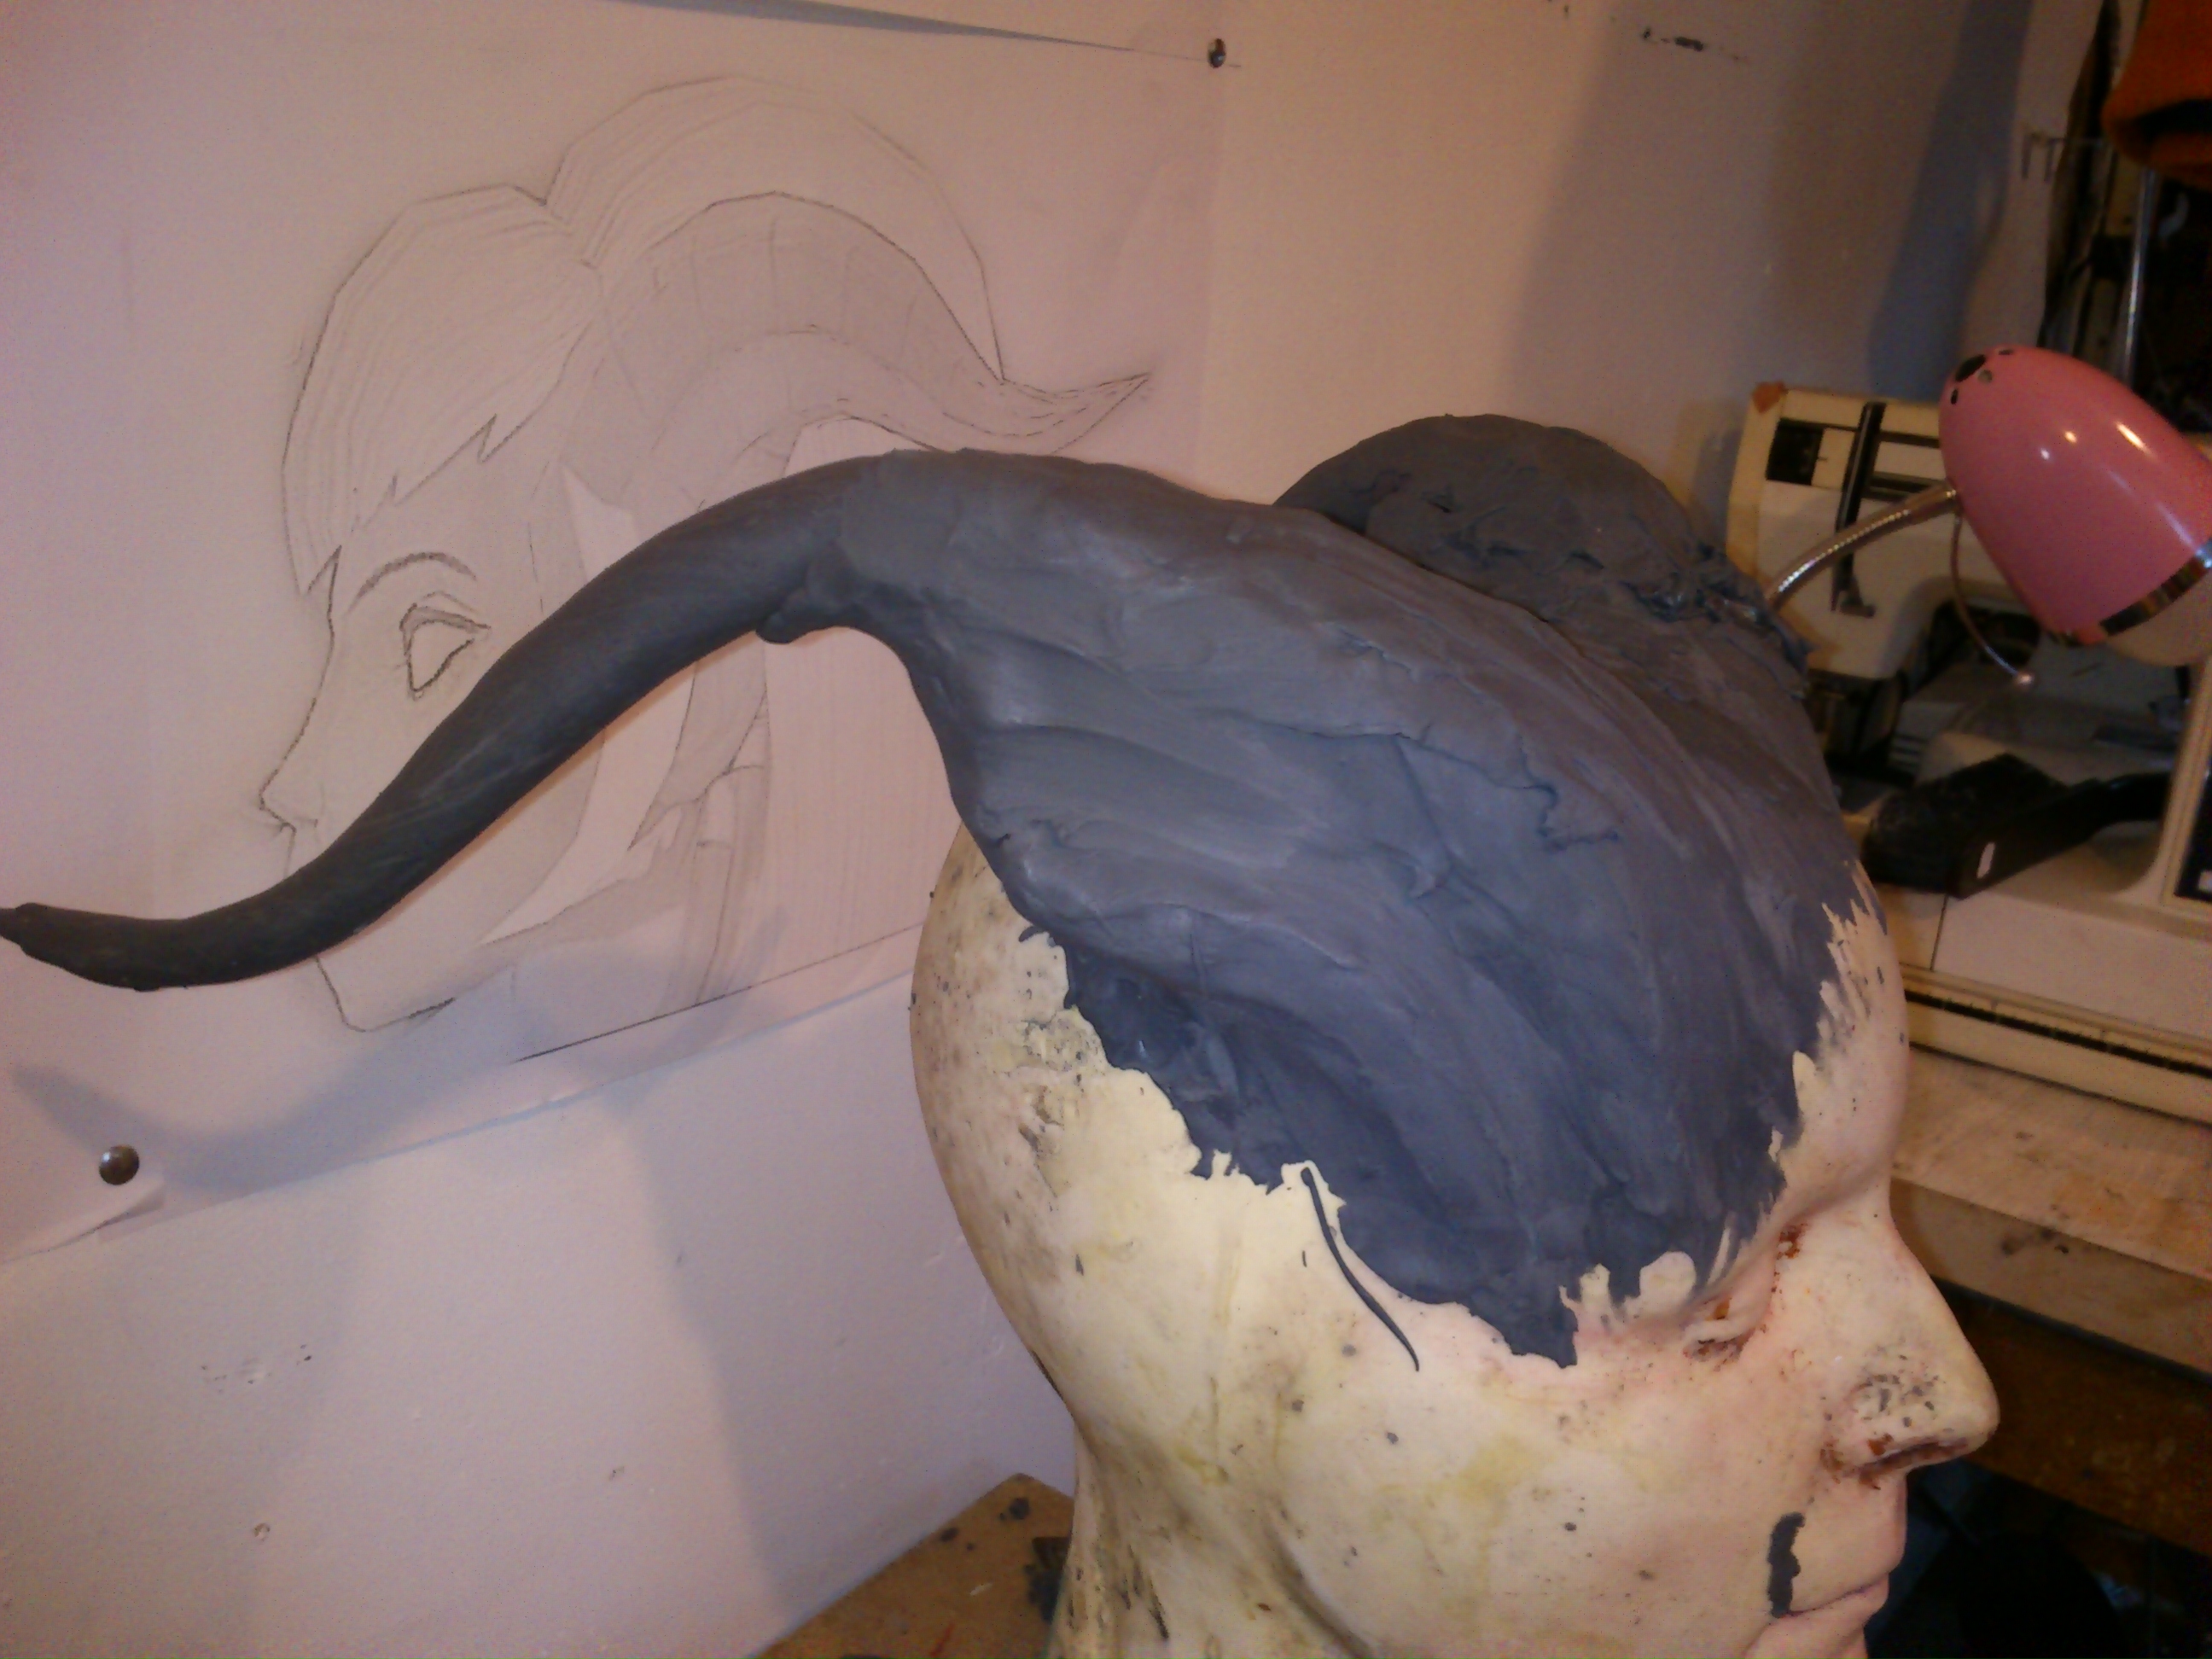
And I left the horn here tonight. Oil based clay is wonderful, but it is temperature dependent. When warm it is good for additive work (taking small lumps and pressing them to shape) when cool it is best for subtractive (using tools to shave or carve the clay.
A lot of the time it is somewhere in there middle and then you need to use a mix of both.
A handy hint is to warm your tools when subtracting anyway. This helps the tool cut through rather than drag the clay.