ELSA AND MALEY UPDATES NOW :)

ELSA AND MALEY UPDATES NOW 🙂

by michaela de bruce, August 11, 2014

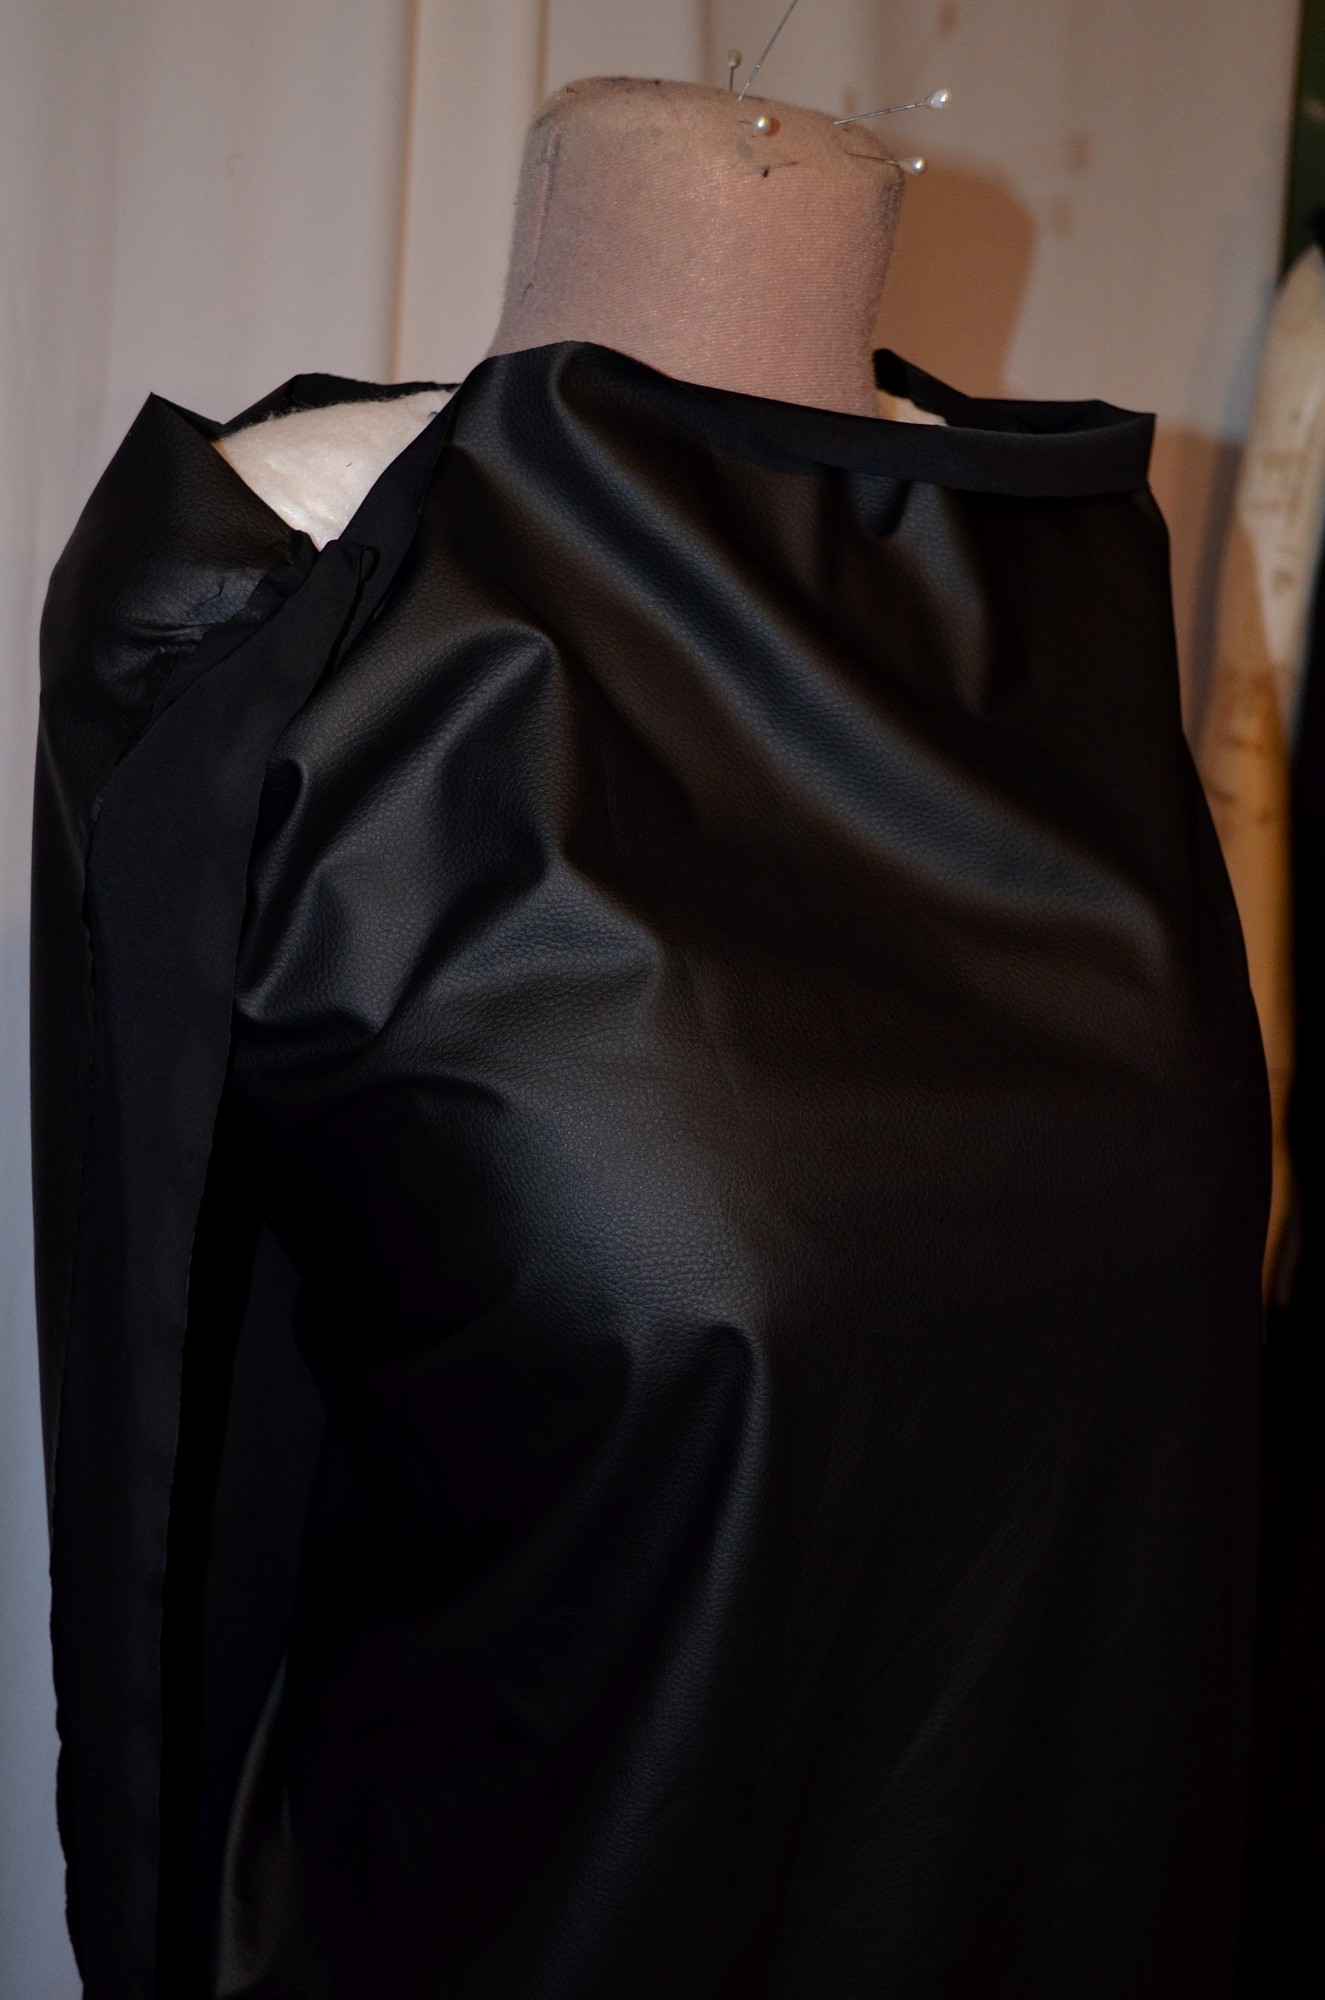
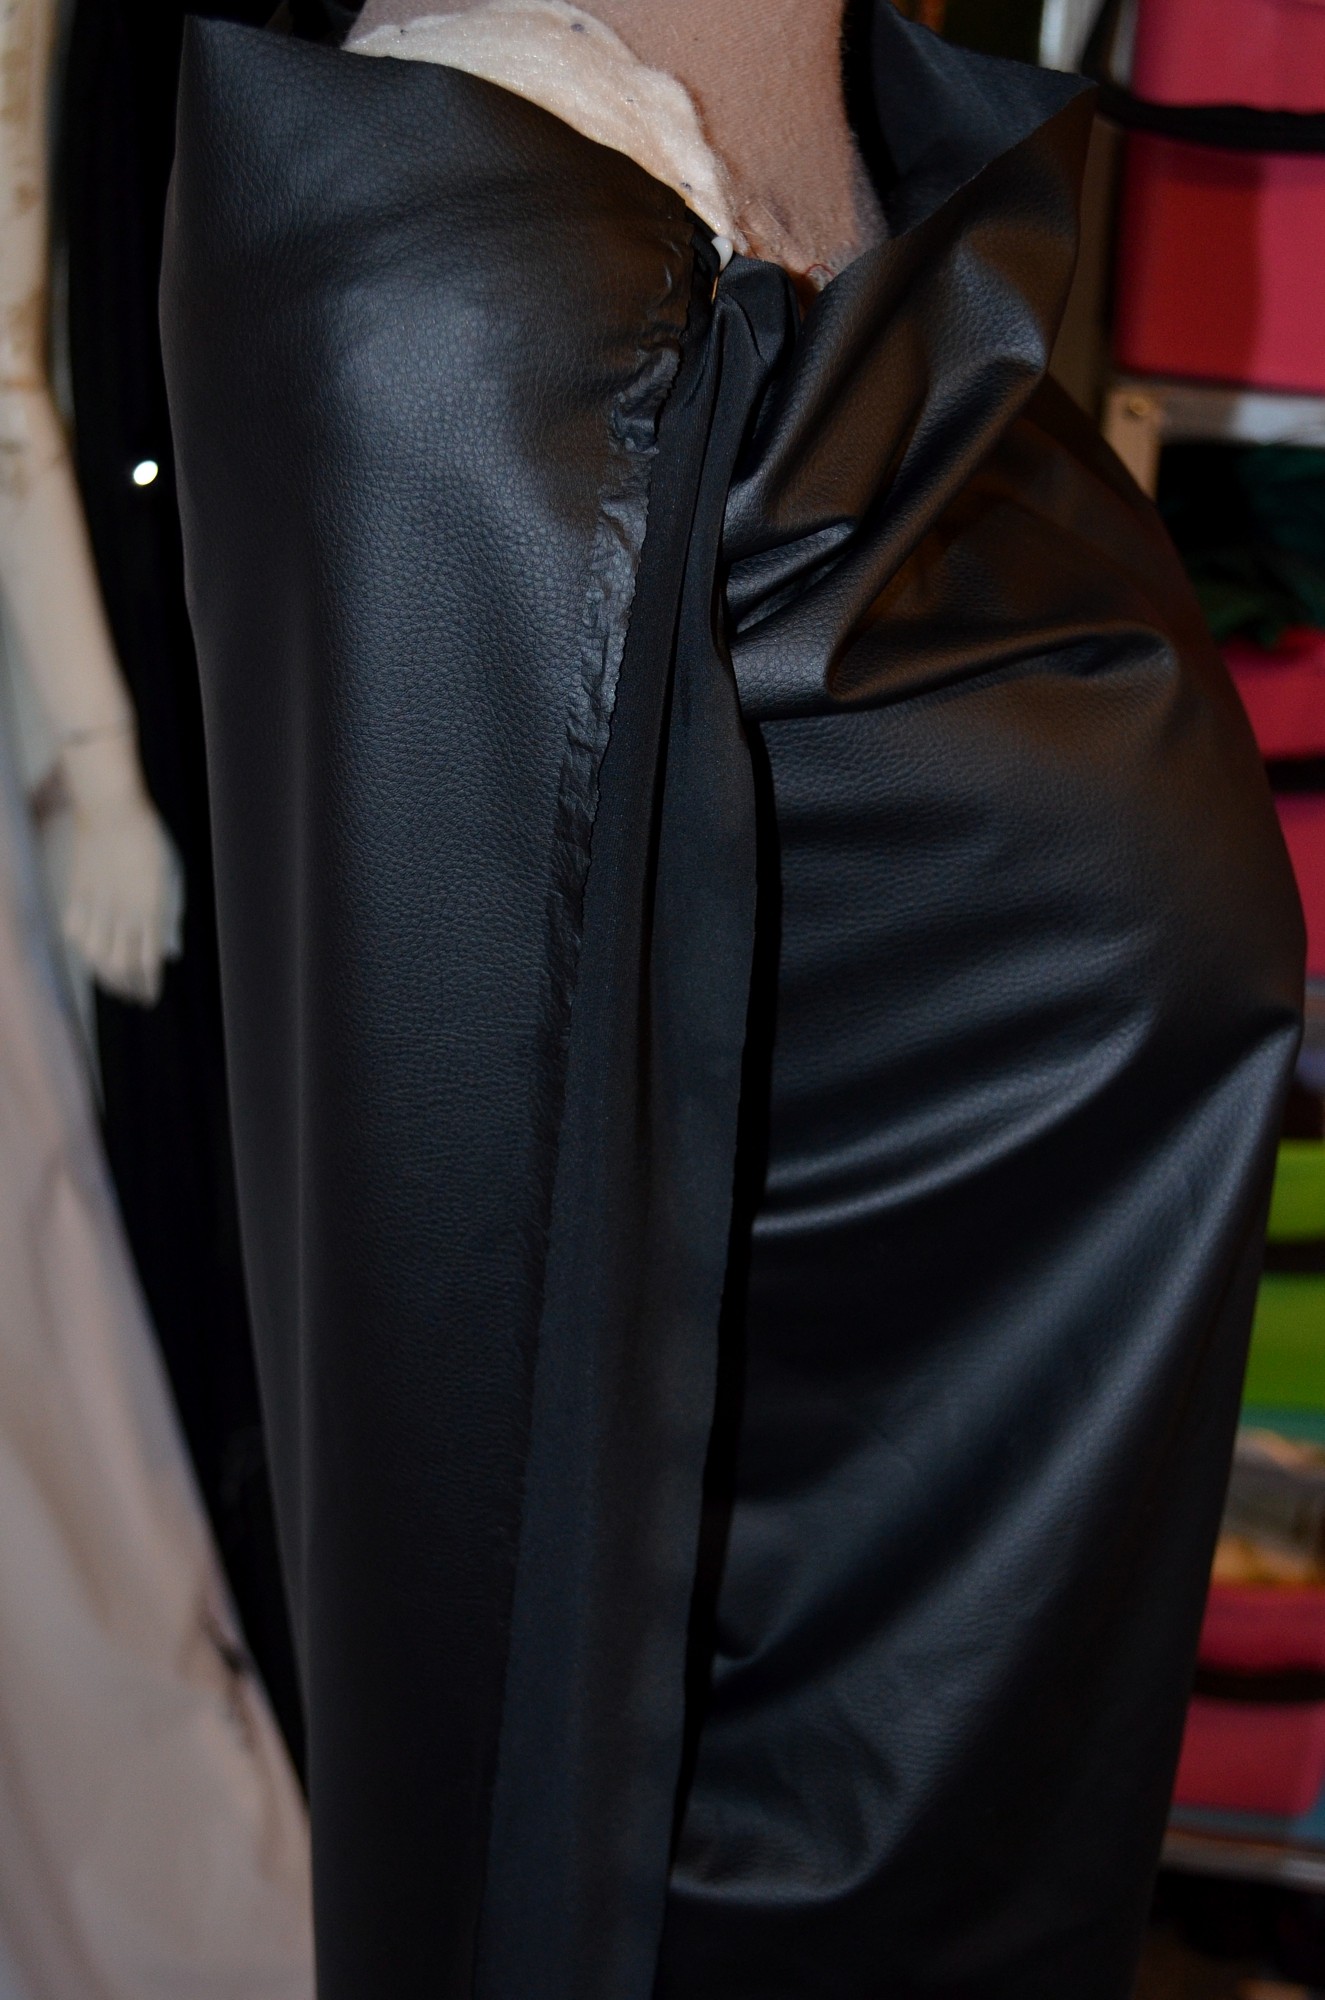
I managed to snaggle some Madonna blue Dylon. They have the tiny pots again! Well not as pots but as sachets. So like the old silver top with colour sun packs, not the cold water dyes. Technically this is the right warm tinted blue for the Elsa cape. I had a rummage in my pile of stashes and I will have to switch out the fabric, I got some dye on a spot but it was a layered spot…. so…. meh.

I also got more sequins online and worked out how to layer my current fabrics to make the skirt and lining, yay! I’ll have to make all the seams as per the movie to make sure the fabrics stay nicely in line if I do, and also try and get a layer of super sheer tulle over the top to avoid catching. But there will be the right weight to the skirt. The reason my mind went to Mackie immediately is not just the sparkle but the weight you get in that classic beaded and sequined fabric. It swings, it flows, and slinks. And from the top to the bottom, not just at the hem. It may be worth watching a few Cher videos of her Vegas shows…

And I got some RIT colour remover to knock out the salmon of my viscose satin (used also for my Mina drapery lining) so I can tint that up to line the skirt and bodice.

I almost bought some large circular sequins to cut up but decided I may just wind up buying some already cut. I do wish I could get bigger shapes or that the sequin film I have was more durable but ah well. There are places to get wholesale bulk amounts but I’d need to really make sure about shapes and colours.

Also I grabbed some idye for my silk. My marroon silk should definitely dye, it has grippy but not waxy finish so should absorb the dye well.

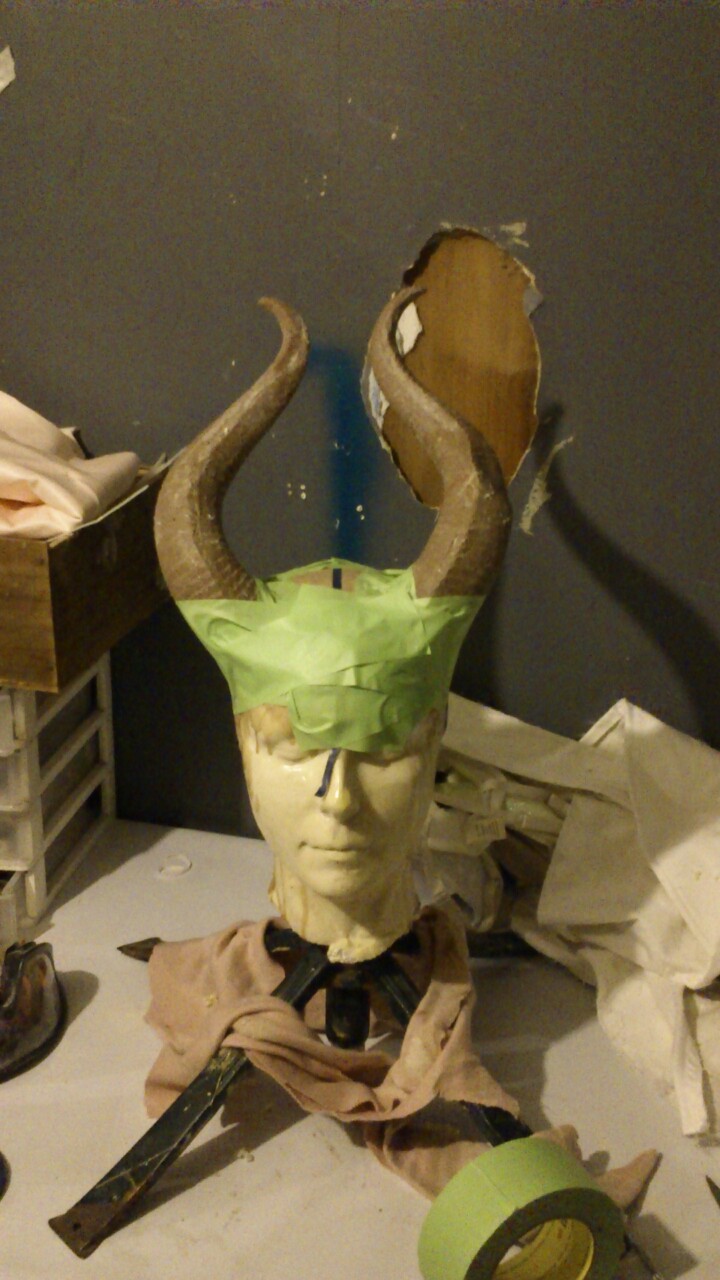
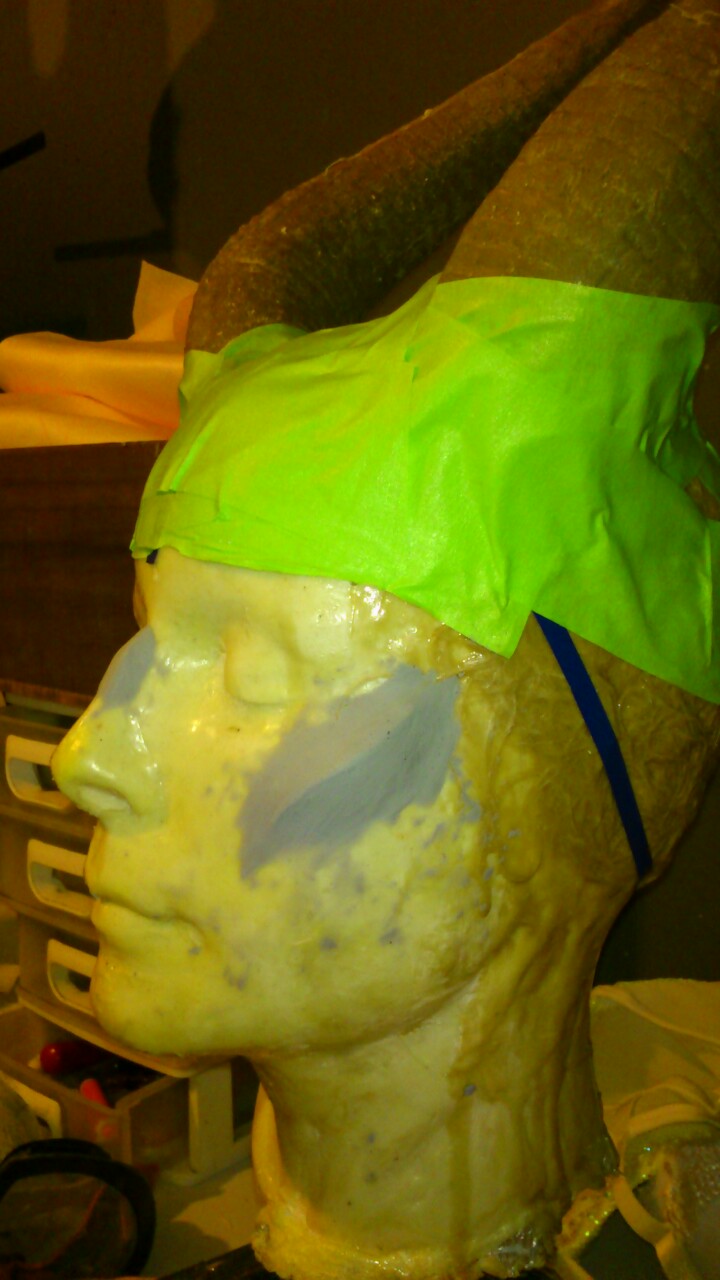
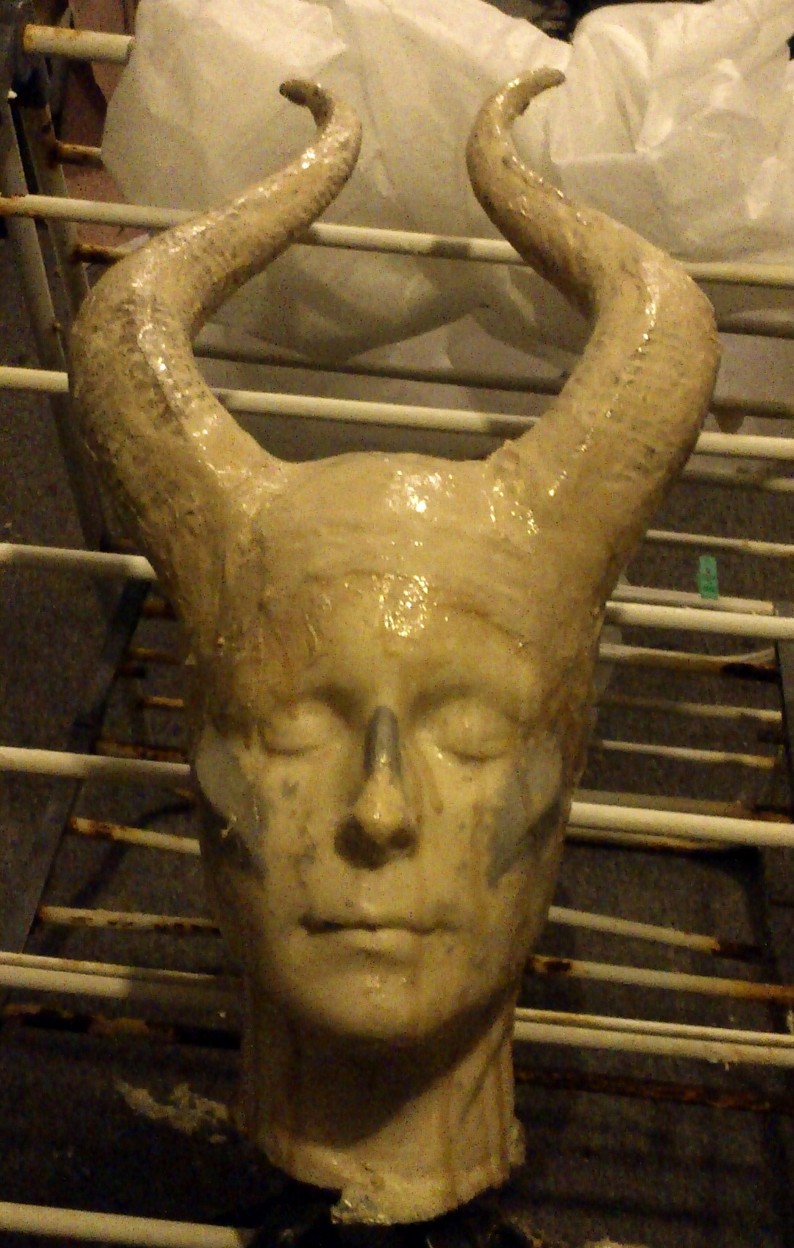
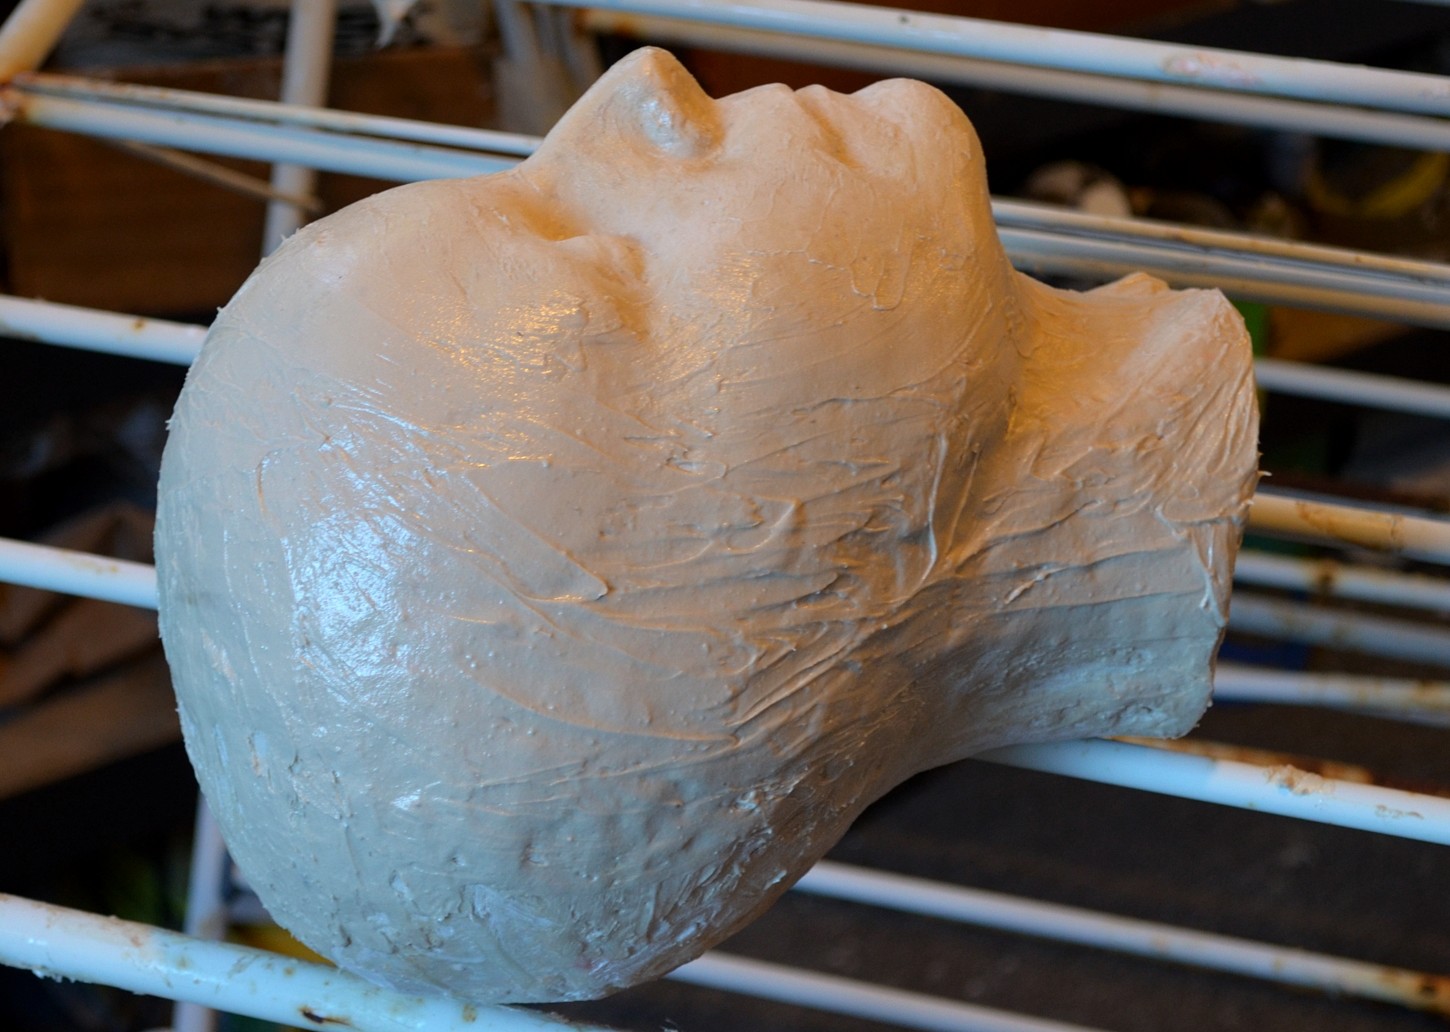
The horns will be cut back a little more. With fitting so well over the top I can cut in at the side. But my head cast then does need to be cut back a good 6mm in on one side! So yes, I’ll have to do that later as well 🙂

Looks like my local hardware store sells aerosil! But it’s labeled as glue powder so I need to check it out online, because hooray if it is just aerosil!

HORNS CUT BACK

HORNS CUT BACK

by michaela de bruce, August 10, 2014

So you can tell I actually sanded this thing even if I’m not holding a tool 🙂
Seriously, that is not a bad pastel hair fade attempt that’s awesone sanding powder.
Still relying on being on the floor and using what safety equipment I have but I have just cleaned a respirator mask so will really have a go with the mouser tomorrow.
Hmmmm maybe not. I had to have a nap today.

I TRIED TO DO THIS AS A POST YESTERDAY- HORNS GLUED CHEEKS STARTED

I TRIED TO DO THIS AS A POST YESTERDAY- HORNS GLUED CHEEKS STARTED

by michaela de bruce, August 5, 2014


So I wasn’t sure I could get away with such small appliances but I can and they really do make a huge difference. I have a much more pointed nose than Angelina and was worried the nose piece would make my nose look shorter, but it does the opposite! It’s not just a bump, it’s very carefully tapered so as to raise in to the bridge higher than my actual nose. That piece makes it longer, and I would not have known unless I had my facecast to actually look at it from the outside :)

The cheeks are no deeper than 1/2″ and atm about 1 1/2 wide, if that and that will get smaller once I start smoothing it properly (after peeling them off, evening them up, and then sanding the PVA layer on the face). So very close to the originals. The mainly move and sharpen the cheeks unnaturally than really change the shape of the face. In part because they need to lie only on places where there is not a lot of movement so avoiding the eye socket and going past the apple of the cheeks. I may move them a bit further in to the temples though.

In order to get the horns off I may have to soak the head in water to soften the PVA and peel it off. I’ll do that once I get the horns stabilised and ready to test. The bogging stage will not be messy as the filler can be used at densities high enough to make it hand formable and non sticky.


The horns are slightly asymmetric, I need to check this on my own head to see if it is obvious in reality.

MALEFICENT HORNS, OF DOOM!!!

MALEFICENT HORNS, OF DOOM!!!

by michaela de bruce, August 5, 2014

Not really, but they were a PITA to get to this stage. The glue on one side didn’t cure and so fell off and in the middle of mixing fibre and filler. This means a very short working time and so I tried all sorts of ways to get it stuck back on.

Heating the mix to make it cure faster? Nope. And my heat gun died. Sigh.

Cleaning and using a contact glue? Nope. Too much uncured resin around interfering on a chemical level.

Cleaning and using a hot glue gun?
JUST BARELY BUT IT DID!

I checked on the horns and they are still stable and the resin is curing. It’s still cold and malleable but working.


Also see if you can spot what I did. Sorry small image is small. But it’s not in the traffic but nearly centre of the photo…


And finally Mr Boo. Looking discombobulated after a bit of fur ball wheezing this morning. He always looks as if it is something happening to him by some unseen person. So a few pats and a warm toasty blankie and he was okay.

AND HEAD CAST FINAL BOGGING, I HOPE!

AND HEAD CAST FINAL BOGGING, I HOPE!

by admin, July 28, 2014

I will be able to trial the mouse sander tomorrow 🙂 Actual mouse sander that has proper accessories and exhaust which means no burning through motors!

Also it is super light. This was very important.

No new ear casts because I am about to start to slow walk to bed.

Basically back filled the side seams that had opened while sanding back and evening up what needs to be evened and then able to be cut back. I didn’t realise how much extra I had added in my effort to join the two halves together.

So after this I will be able to back fill and shove on a spike pipe so as to be able to work some clay on that face! I’ll have to leave the surface a bit rough to help the clay hold. But very happy to get this to the no more resin stage! Except my ears. Darnnit!!!

1 COMMENT


    • KRISTEN

      REPLY

    • July 28, 2014

    it looks good!

MALEFICENT TABBARD TESTING

MALEFICENT TABBARD TESTING

by admin, July 28, 2014

My super soft crepe for the Hindi Satine costume has done stunt duty for the tabbard pattern. If I were able to dye this a lovely rich black I’d just go and use this for the actual lining. sadly there is not enough to do so even if it were cost effective.


It is both easy and not easy. I really wanted that accordion effect down the side and to direct the majority of the folds to the front. I am really happy with the front but the back really needs some work. It needs to be shaped differently to allow for the cloak to fit smoothly over the top. Sigh. But I will be able to grab the pattern of this before I start to  try to work on that. But at this stage, yes it looks like about 11 yards of fabric is needed. Full width fore fronts and backs (6m) and then about 2 yards each side for the back panels that turn in to the cloak. Maybe more as there is a strange gore CB that may hide a good fold of fabric.

MY FABRIC ARRIVED, BLISS :)

MY FABRIC ARRIVED, BLISS 🙂

by admin, July 22, 2014

So perfect!

http://www.mjtrends.com/products.Stretch-Black,Matte-Vinyl,Fabric#.U829YPmSyao


It really is stretchy and it really does have that texture 🙂 Very good vertical stretch in fact more stretchy than horizontal 🙂

I’ve been a fan of their product for years, and have used it for all my Shiny Butt catsuits:

Catwoman, Witchblade, Mara Jade, Blood Dragon, Shae Vizla., Regina/Maleficent stunt costume.

So I wasn’t too concerned about the quality but I was unsure how well the texture would show. And it really is as advertised 🙂


So leather onsie will get done in the most perfect fabric available 🙂 Also the emails you get are lovely 🙂 I do now wish I’d grabbed the spiral steels at the same time but never mind 🙂


As a comparison:

http://arts.nationalpost.com/2014/05/31/magnificent-maleficent-high-fashion-costume-design-for-angelina-jolie-in-disneys-dark-new-film/


So not the exact match but close and really good. I think there is some hue and contrast shift here, and the colour of the stretch vinyl is a warm black. Not charcoal, not raven black but still on the warm muted side of the richest deepest black.


1 COMMENT


    • KRISTEN

      REPLY

    • July 22, 2014

    Looks great though! Just wish shipping from MJtrends wasnt so expensive to the UK.

MALEFICENT FABRICS :)

MALEFICENT FABRICS 🙂

by michaela de bruce, July 25, 2014


I remembered O have a lovely crepey fabric in stash 🙂 It’s what I used for my Rachi so I can hopefully make the moors robe and a circle skirt to go with my Rachi robes to make a custom jedi 🙂

Velvet… omnomnomnomnom.


Leather for the boots! This brown pvc coating does come off (with a solvent)


Perfect finish and weight for functional boot covers. Who am I kidding. I’ll make a full boot upper!


The MJ Trends stretch matte PVC. This is amazing! Super stretchy much softer than it looks here, I have not stretched it as I do not want to pin through the fabric. But I have tested it against their shiny butt stuff and it has a very similar stretch. Slightly more vertically though. So a light single knit backing with a light but good coating. I have a few samples to send to locals to get a feel. I may be able to post small 5cm by 10cm pieces to others as well.

Well worth the money and shipping. It’s fully tracked so it is pretty much dollar for dollar fabric/shipping. This is why I didn’t get spiral steels at the same time. Now I wish I did!


1 COMMENT


    • KRISTEN

      REPLAY

    • July 25, 2014

    OOh that fabric does look amazing plus all the drapy fabrics in your stash!

Coveralls, finally

Coveralls, finally

So yes, it’s been an interesting few days since I decided absolutely no resin or messy work until I have new coveralls. So do you think any of the automotive or hardware stores have them? No. Don’t be silly. You only need dust or paint (spray, not brush on) protection. I had to spell it out that I am talking about real fibreglassing with resin and glass and all that too.

So finally at the local family owned mini one stop shop yes, there were my favourite super light super cheap coveralls. Only two but they are both mine.

And so are a few more bits to make feathers. Just need to check what glue I can use. But it should work well 🙂 And I can also test some more supplies. 🙂

Also a big box arrived from Queenstown 🙂 So operation make a slightly more comfy but not really Star Wars costume has begun. After 12 years. Zam! XD I will probably be just using the greeblies as a guide to side because I think this is a case where my sculpting is a little more precise. But having them on hand means I can actually use them as a guide 🙂

MALEFICENT NOTES

MALEFICENT NOTES

by michaela de bruce, July 13, 2014

Just some sketch notes, I do line art rather than full sketches so as to clearly define seams and edges. Inext stage is to get more specific in terms of exact position. The detail page of the back is for when I see the film again and get proper notes. The lower back is very poorly documented in current publications so I’ll have to hope the doll is accurate or that I can get those costume details from the big screen 🙂
The DVD cover has been released so hopefully it will be out soon enough to use for references!