Elissa net skirt!

I took the original apart and made an extra layer so there are four all up with ruffles on each. Put face to face so that all the ruffles are inside rather than directly under the taffeta skirt or against my legs.

sm_DSC_2671


And it stands up by itself..

sm_DSC_2596 sm_DSC_2595


The third layer is the most supportive:

sm_DSC_2663 sm_DSC_2662

The ruffles are super dense at the top to create a bit of a bustle.

Outermost ruffles are soft and long (three rows). So the following photos are from outside in:

sm_DSC_2654  sm_DSC_2652 sm_DSC_2651 sm_DSC_2650


Hannibal/Elissa/Dressing gown costume logistics, so far.

Sooo… I am going to try and count jewels, ribbon lengths and bead amounts today. Ahahahhahahahahahahha

At least this has taken  more than a few years because I would have had to employ an entire costume shop to make this. Funnily enough as that is how they were originally made… so to the tape measure and notepad! And photos to possibly help illustrate the points…

Fabric:

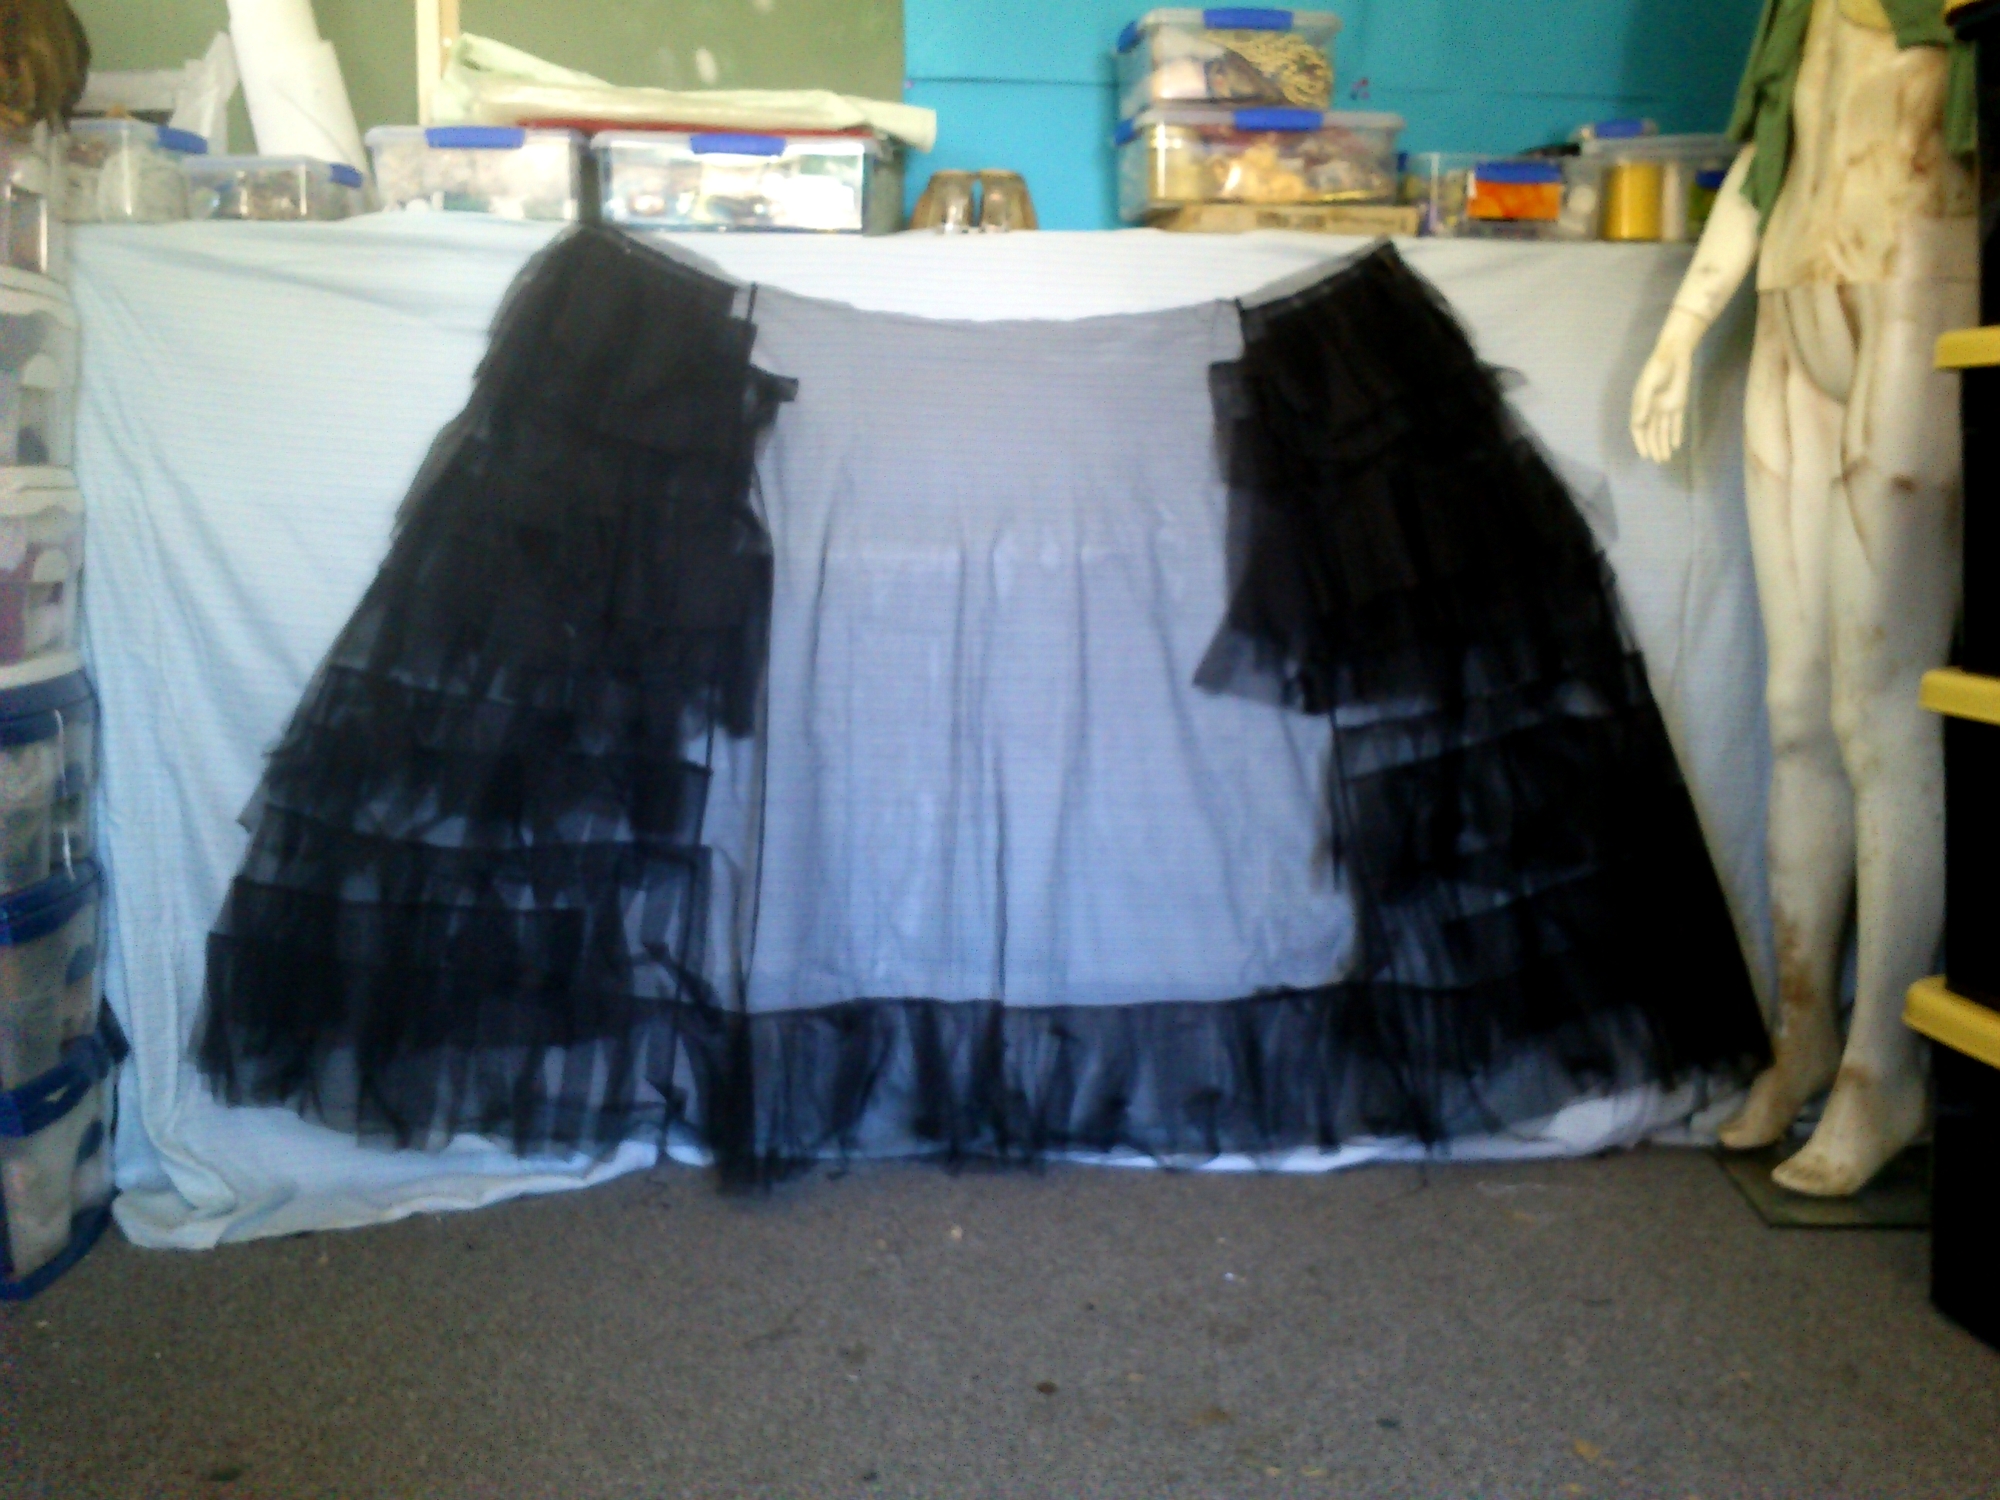
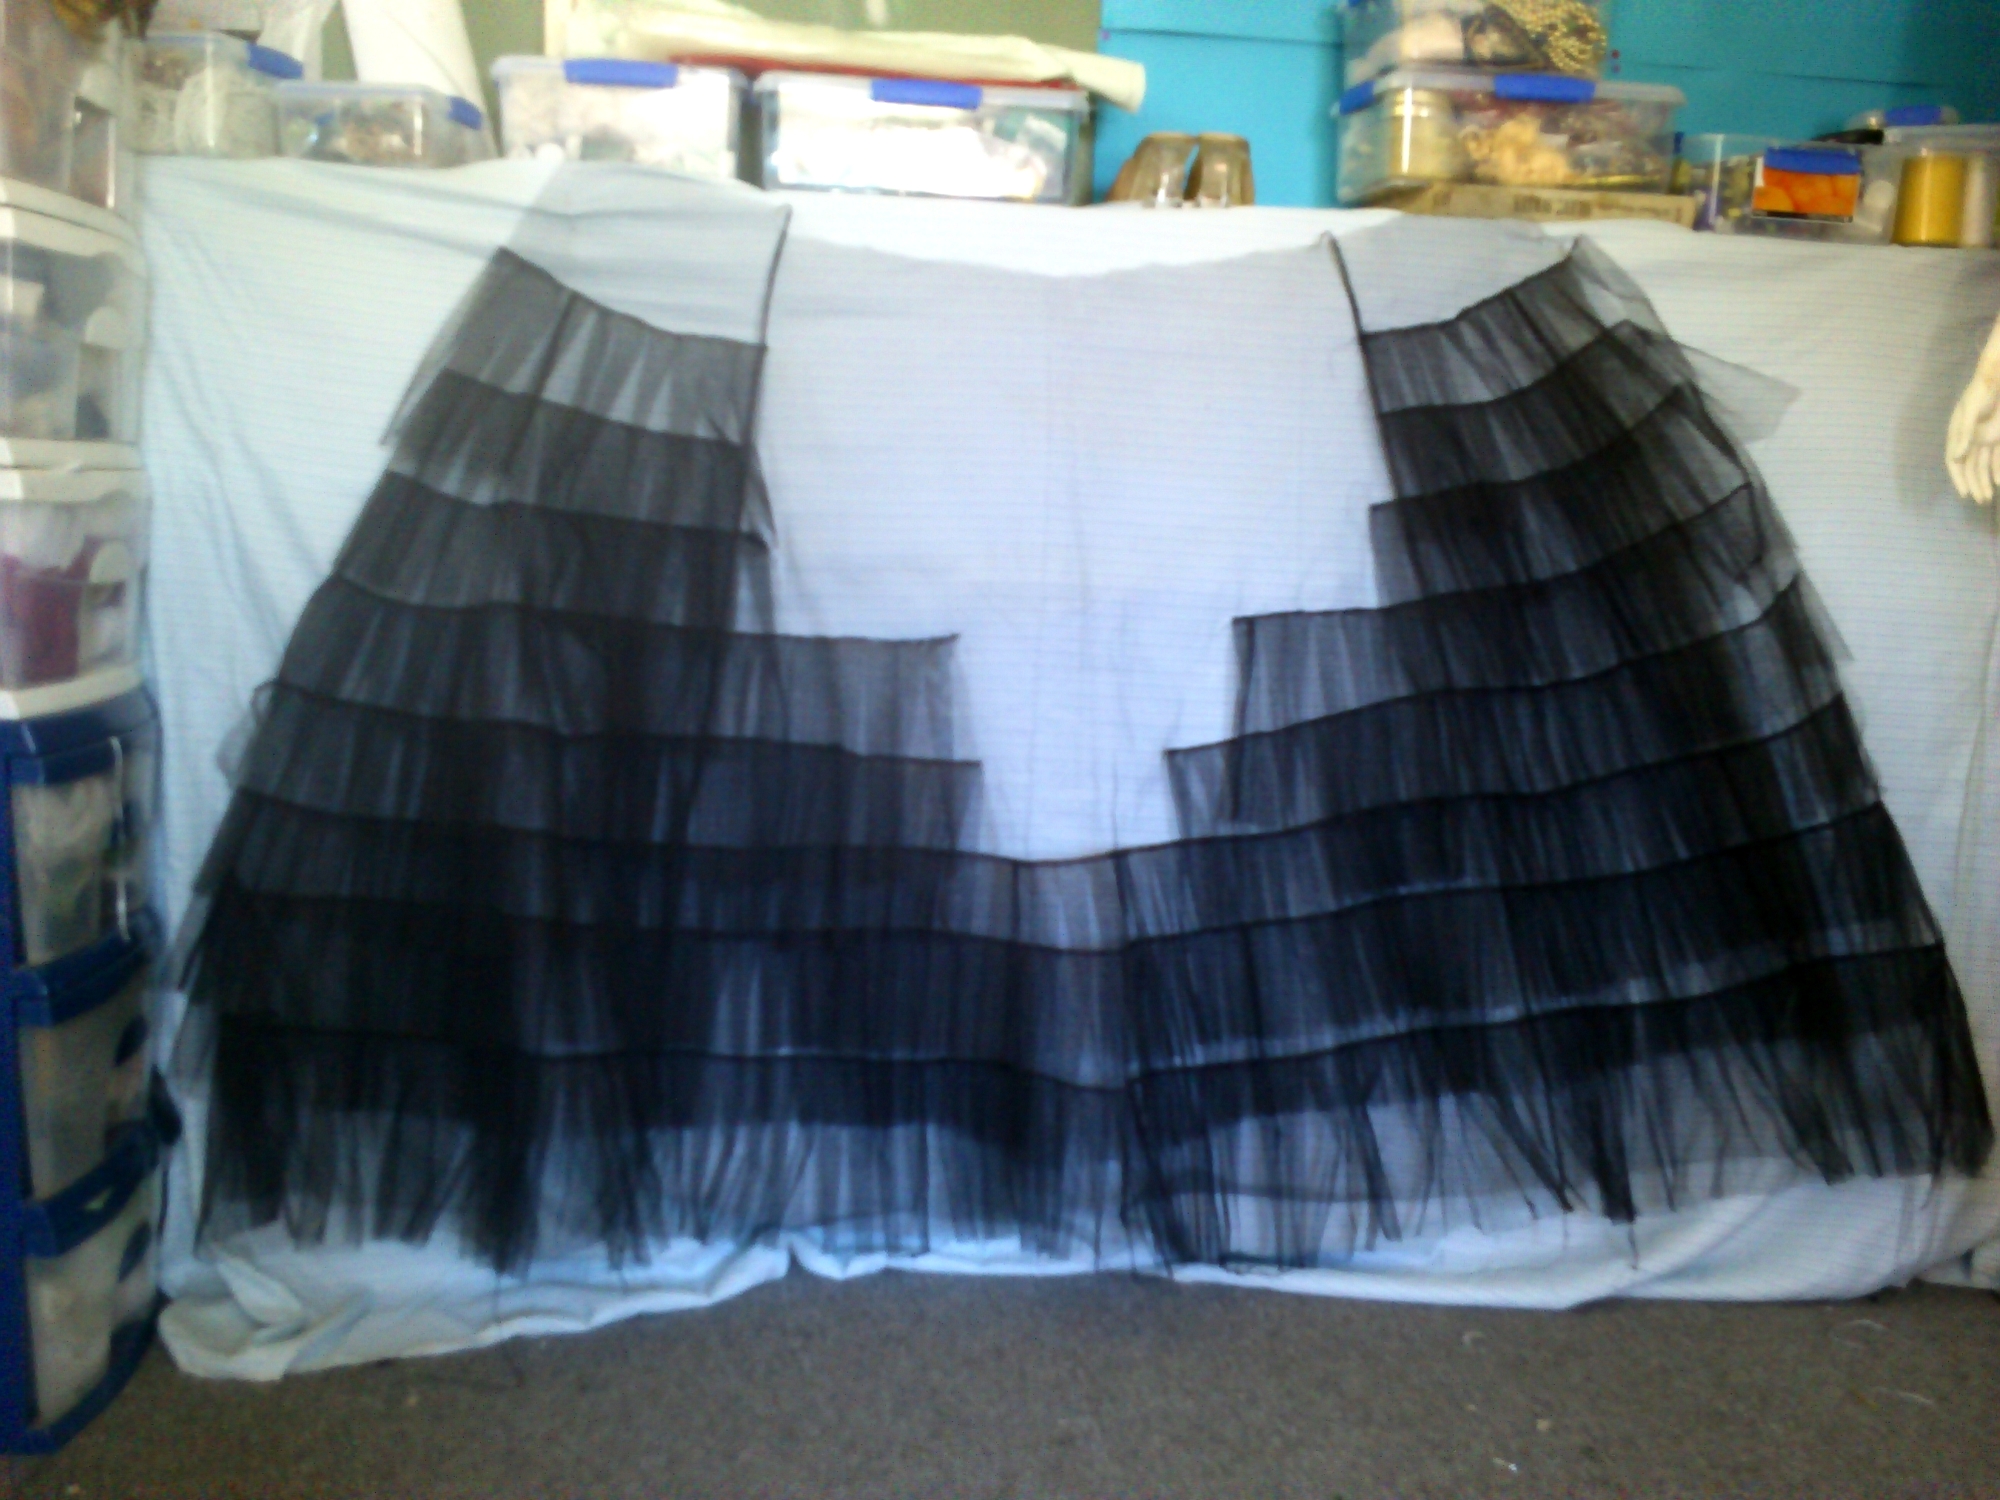
20m heavy net. I think. I can’t find journal or facebook posts from the time I took photos of the net.

1m cotton drill

1m cotton muslin

2m velvet

13m taffeta

Decorations:

443 assorted paste sew on jewels

325 hand cut appliques

68.2m assorted ribbon

36.6m looped braid


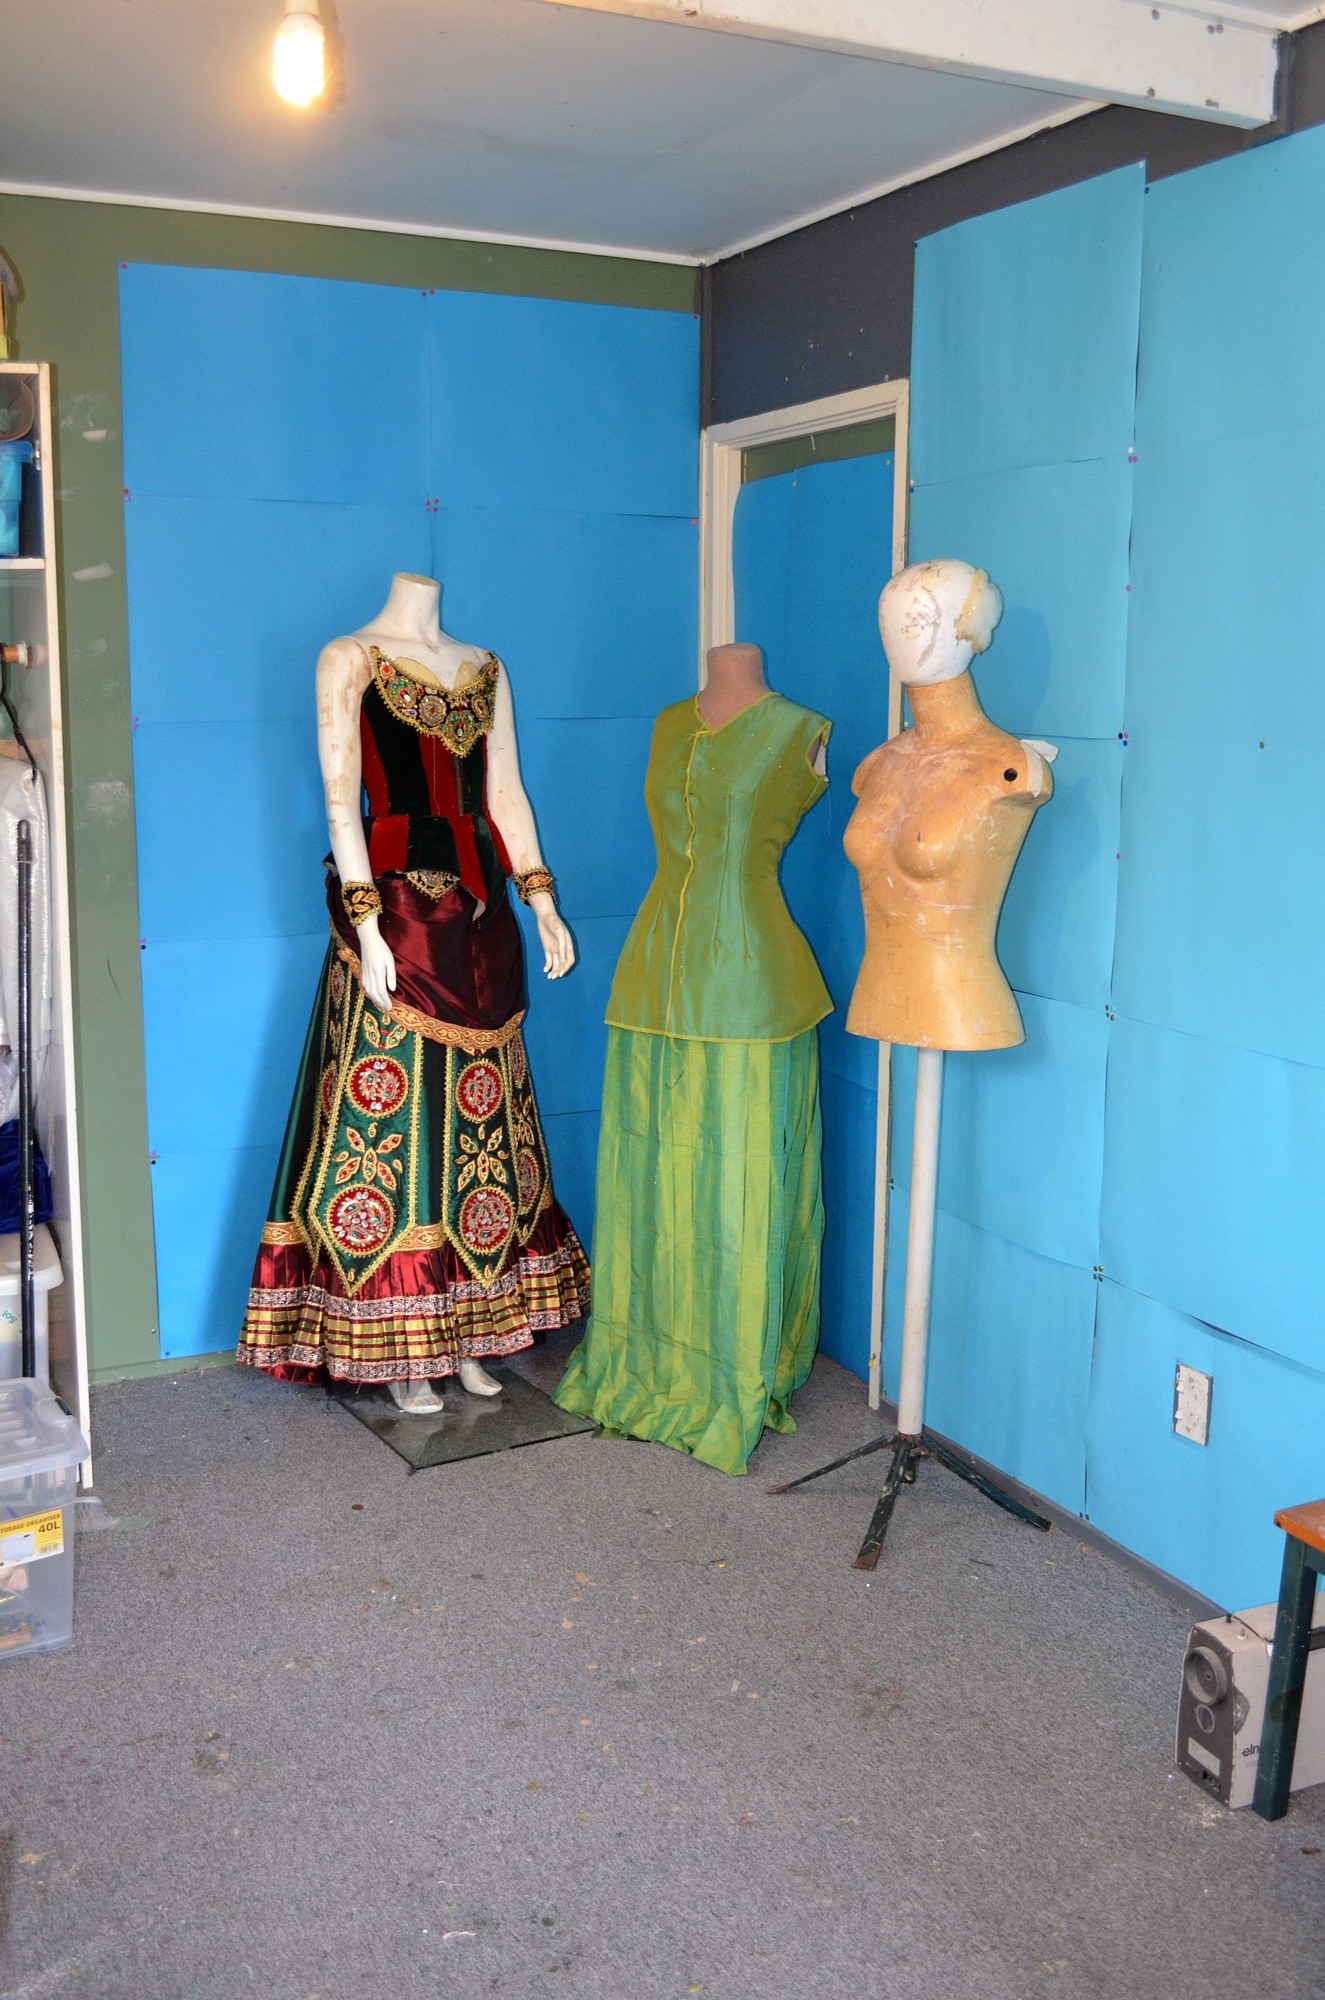
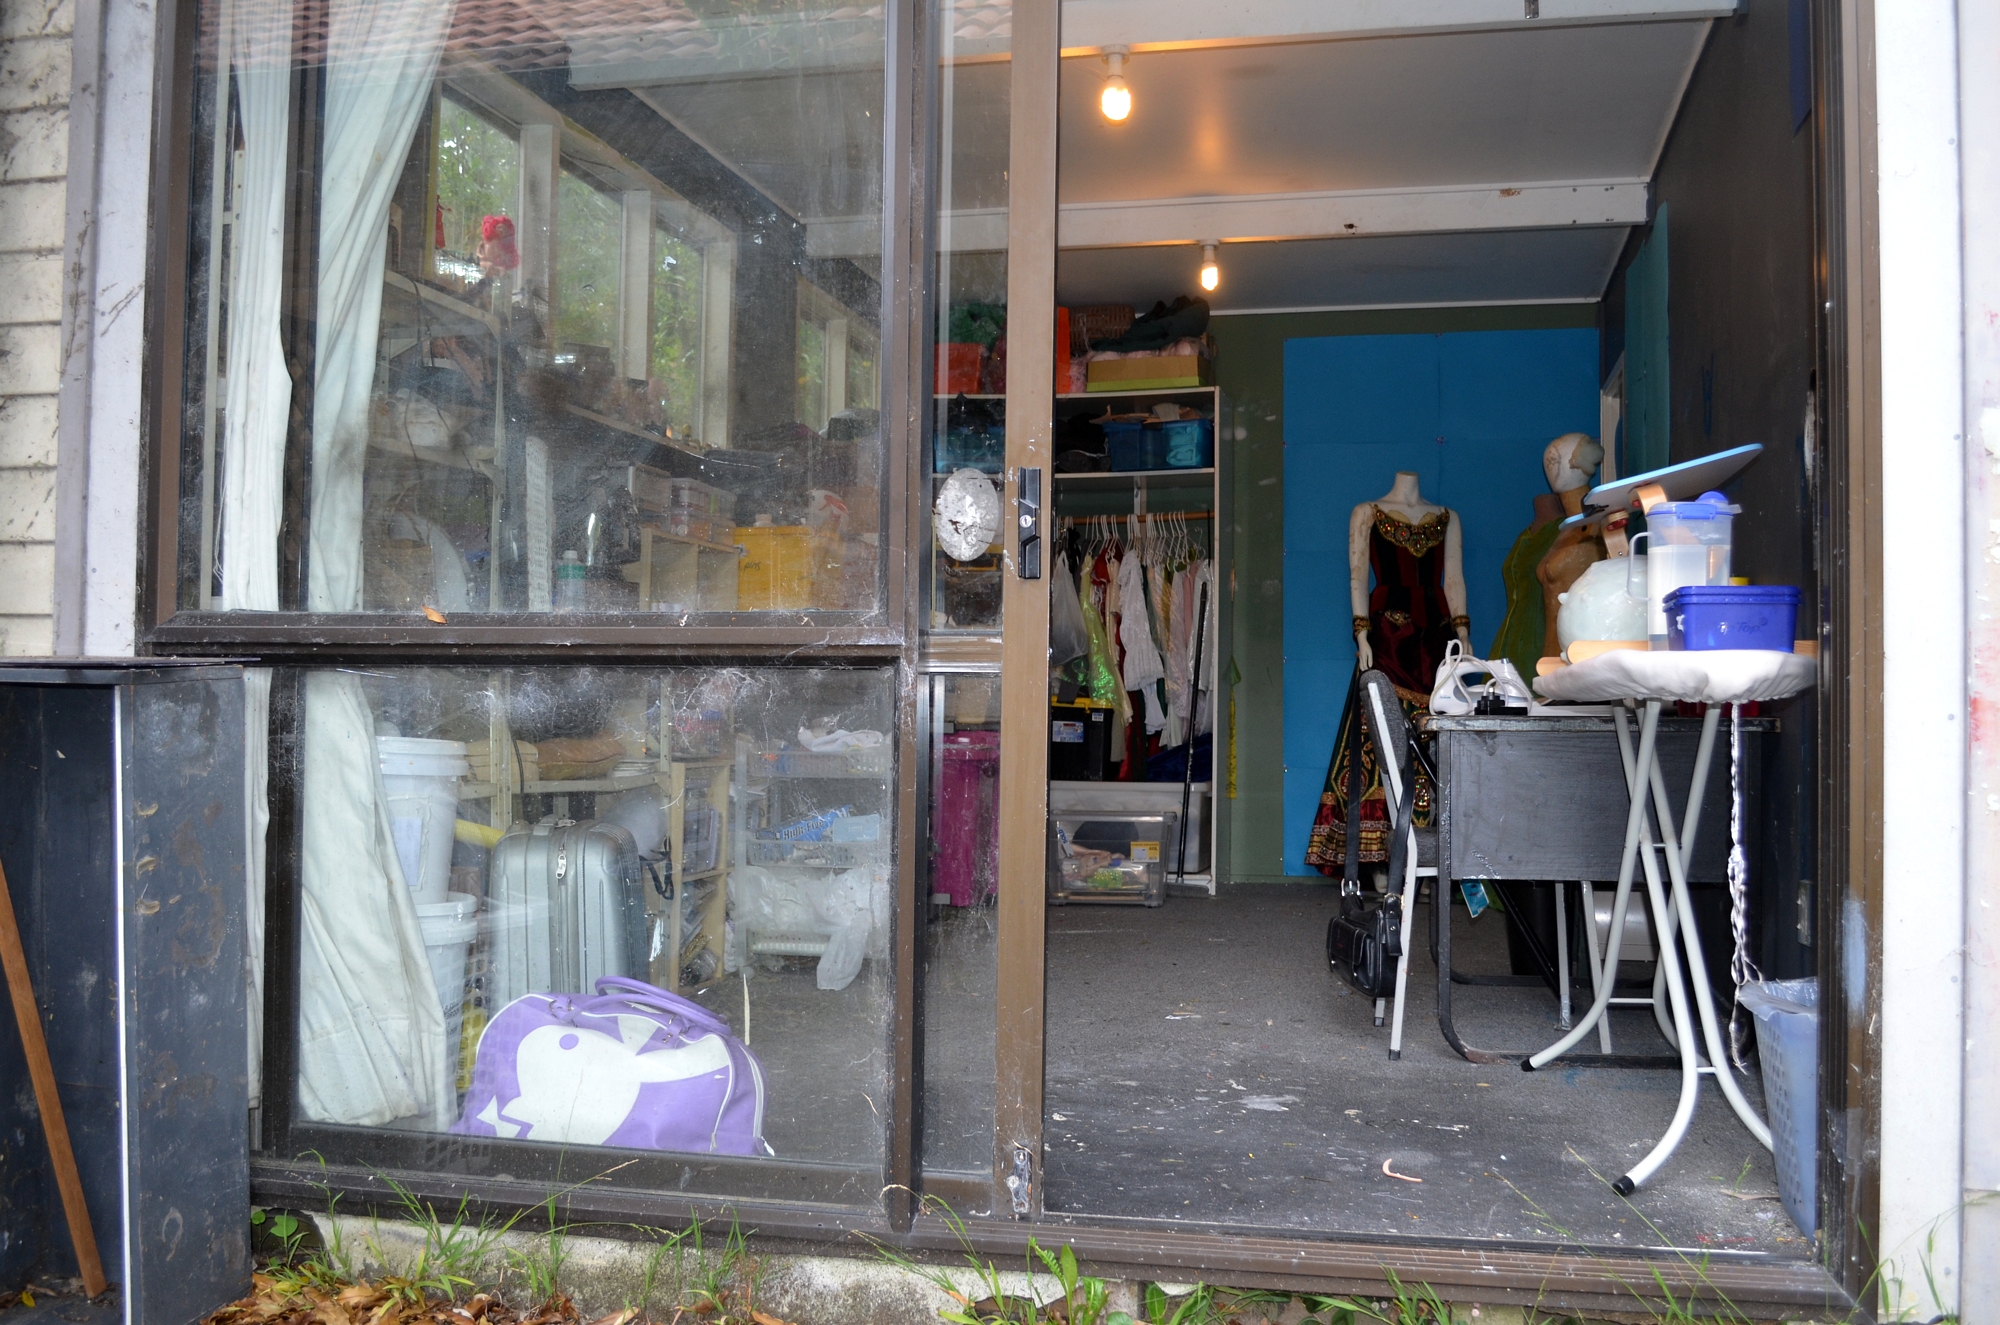
So far. There are the ropes to go and the above does not describe how much hand sewing was involved. Most ribbon is hand sewn on both edges for instance. I also have another 20m or so of ribbon and braid to go on the bodice and the other side of the waterfall drapery and maybe the apron. So this really is more like 2/3 because I still have more jewels as well (plastic from my first version and more paste.)

And I haven’t worked out how much for the dressing gown. I think it’s 4m of brocade, but the georgette ruffles.. no idea. All edged with lace and more lace at the elbows and neck….

Phantomageddon!

Old school reviews of London, New York and Australia. It may help people track down the original photographers as there are a few photos I havem’t seen online or in betteř quality. Now that I have a betteř camera I may be able to park myself in the uni library and get better copies of some of these.

image

Hannibal bodice and wig

Test fit, the zip is pretty rigid but I do need boning. I may top stitch the seam allowances first then put in boning cases and trim. I will indeed do lacing up the back as I am loving this front zip business!

image

I had an invisible zip in my first version but this chunky metal zip will last forever!

Frizzy wig!!!!! Sorry for the fuchsia hair peeking out I will use a spray to tone that back.

More Elissa hemming

So ribbon on ribbon over applique under ribbon on ribbon.

image

Next and maybe possibly last thing to do on them is to add more loopy braid which is all over the other elements.
I would be tmpted to sew rows and rows of ribbon over the shot green taffeta to be closer to the Aussie version but the tabs on those are super wide and only three at the front, so…… No. Keeping the Hamburg vibe here with the heavy reliance on green red and gold only.
And the wee arrow heads will get ironed on and probably edged in more loopy braid.

Last post was some time ago…

So this is going to be weird- I did have a big break before doing the jewels and pinning to the skirt. Now I will need to press the pleats again before sewing.

image

Possibly will machine the pleats at the upper most row of ribbons. And then I still need to work out how far apart to do the appliques on the skirt between the tabs. Before mountng it all on the net under skirt and sewing the heavy tabs in place. Then the drapery and the huge snaps down the back and freacking huge fence hook at the waist and hiding it all with the faux bodice.
But man that trellice so makes the hem. It just makes it so Phantom.

Elissa hem fringe:

Had to be hand sewn, both the shape (open lattice) and the shine (gold thread shreds as it is) made machining just all terribad.

image

image

Now I need to take a big break, like for a day, and then the gems go on and I start pinning it to the top of the pleated hem and hand sew to that. I see a lot of pinning to avoid tears.

So the idea of molding today went out the window…

But.. oooh look!

sm_DSC_0117 sm_DSC_0120


Finally a workroom that is organised and has clear space for photos!!!!! Which means yay tomorrow I can get squishing with silicon and supporting my other molds. In the photo the bodgy mannequin with the foam head has my reshaped and supported Leia hair slide molds 🙂 The hair tie mold? Fits perfectly inside a piece of pipe so I am just keeping it in that 🙂 I may have to trim the edges but aside from that it is really good 🙂